Showing posts with label DIY. Show all posts

Handmade Loofah Soap

I promised a post about the outcome of my Loofah harvest.
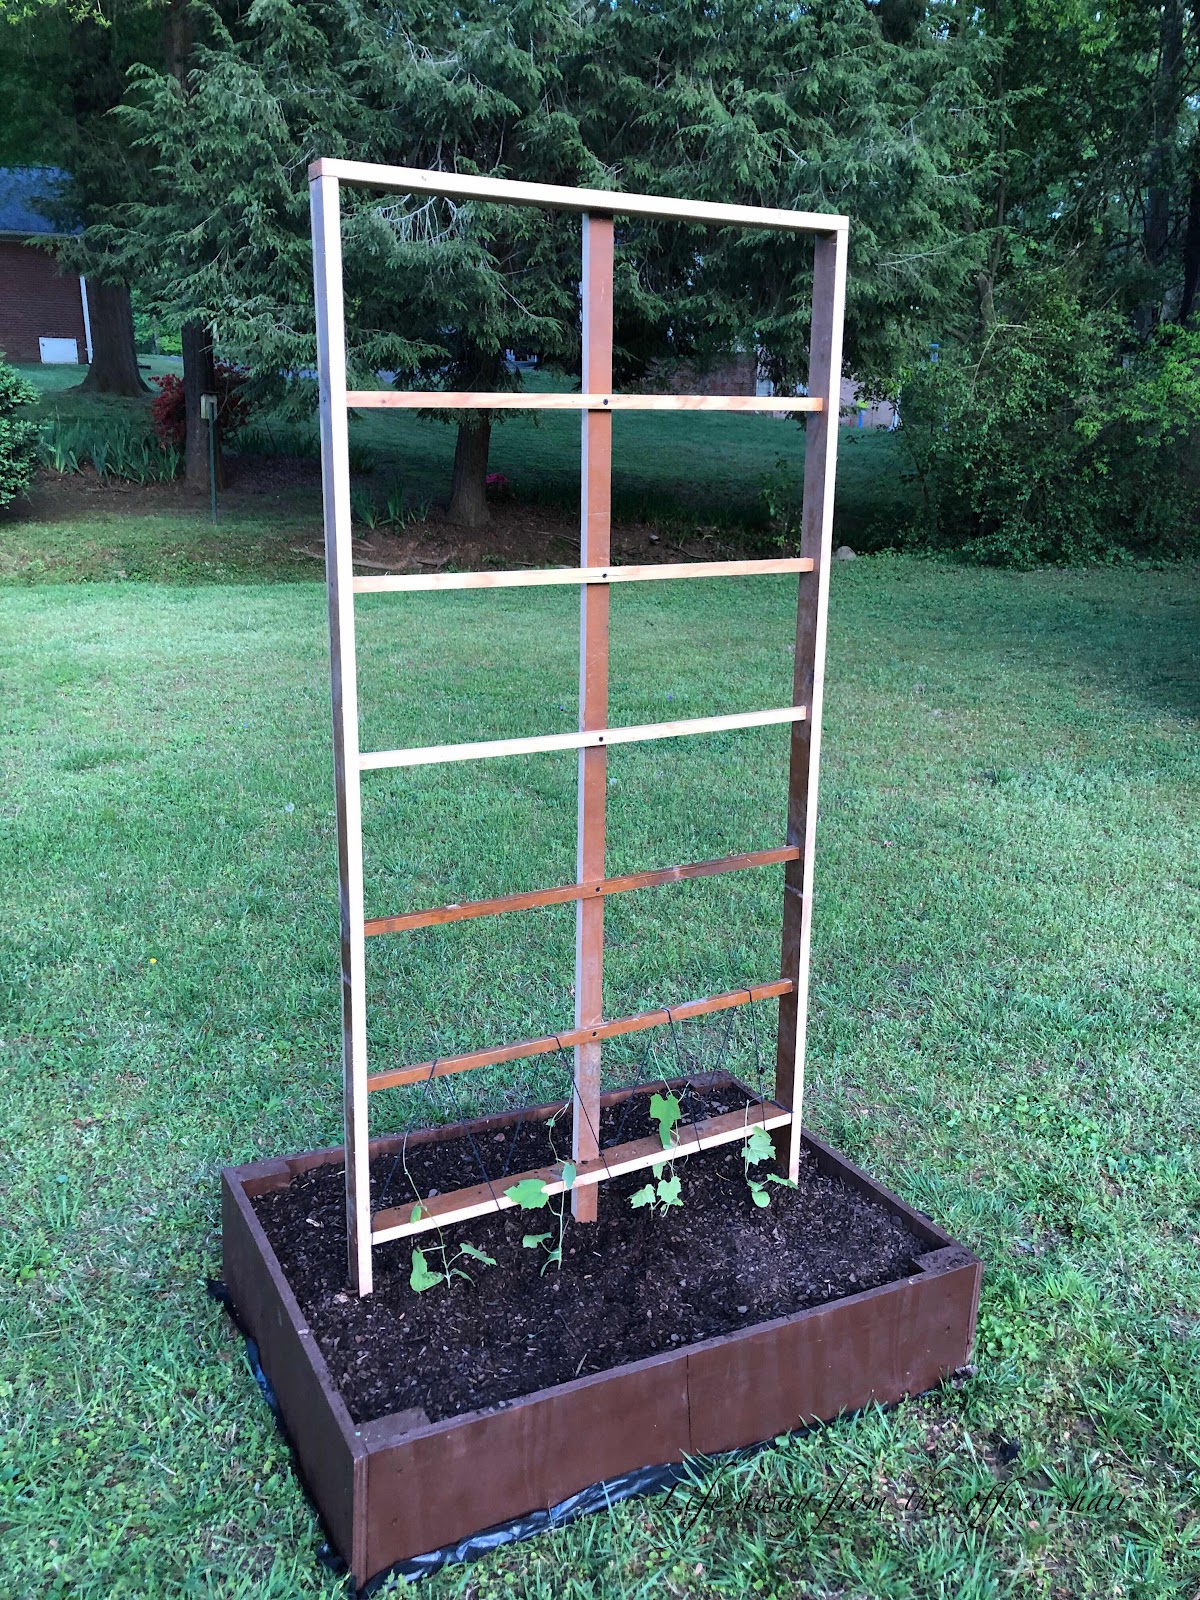
If you have been following my blog then you know I grew a small loofah garden this past summer. Loofah is a natural sponge. It grows on a vine and in the same family as the gourd. They grow large and dry out in the Fall. Once they skin is hard and dry, you peel it off to reveal a loofah sponge ready to remove seeds, rinse and use. 


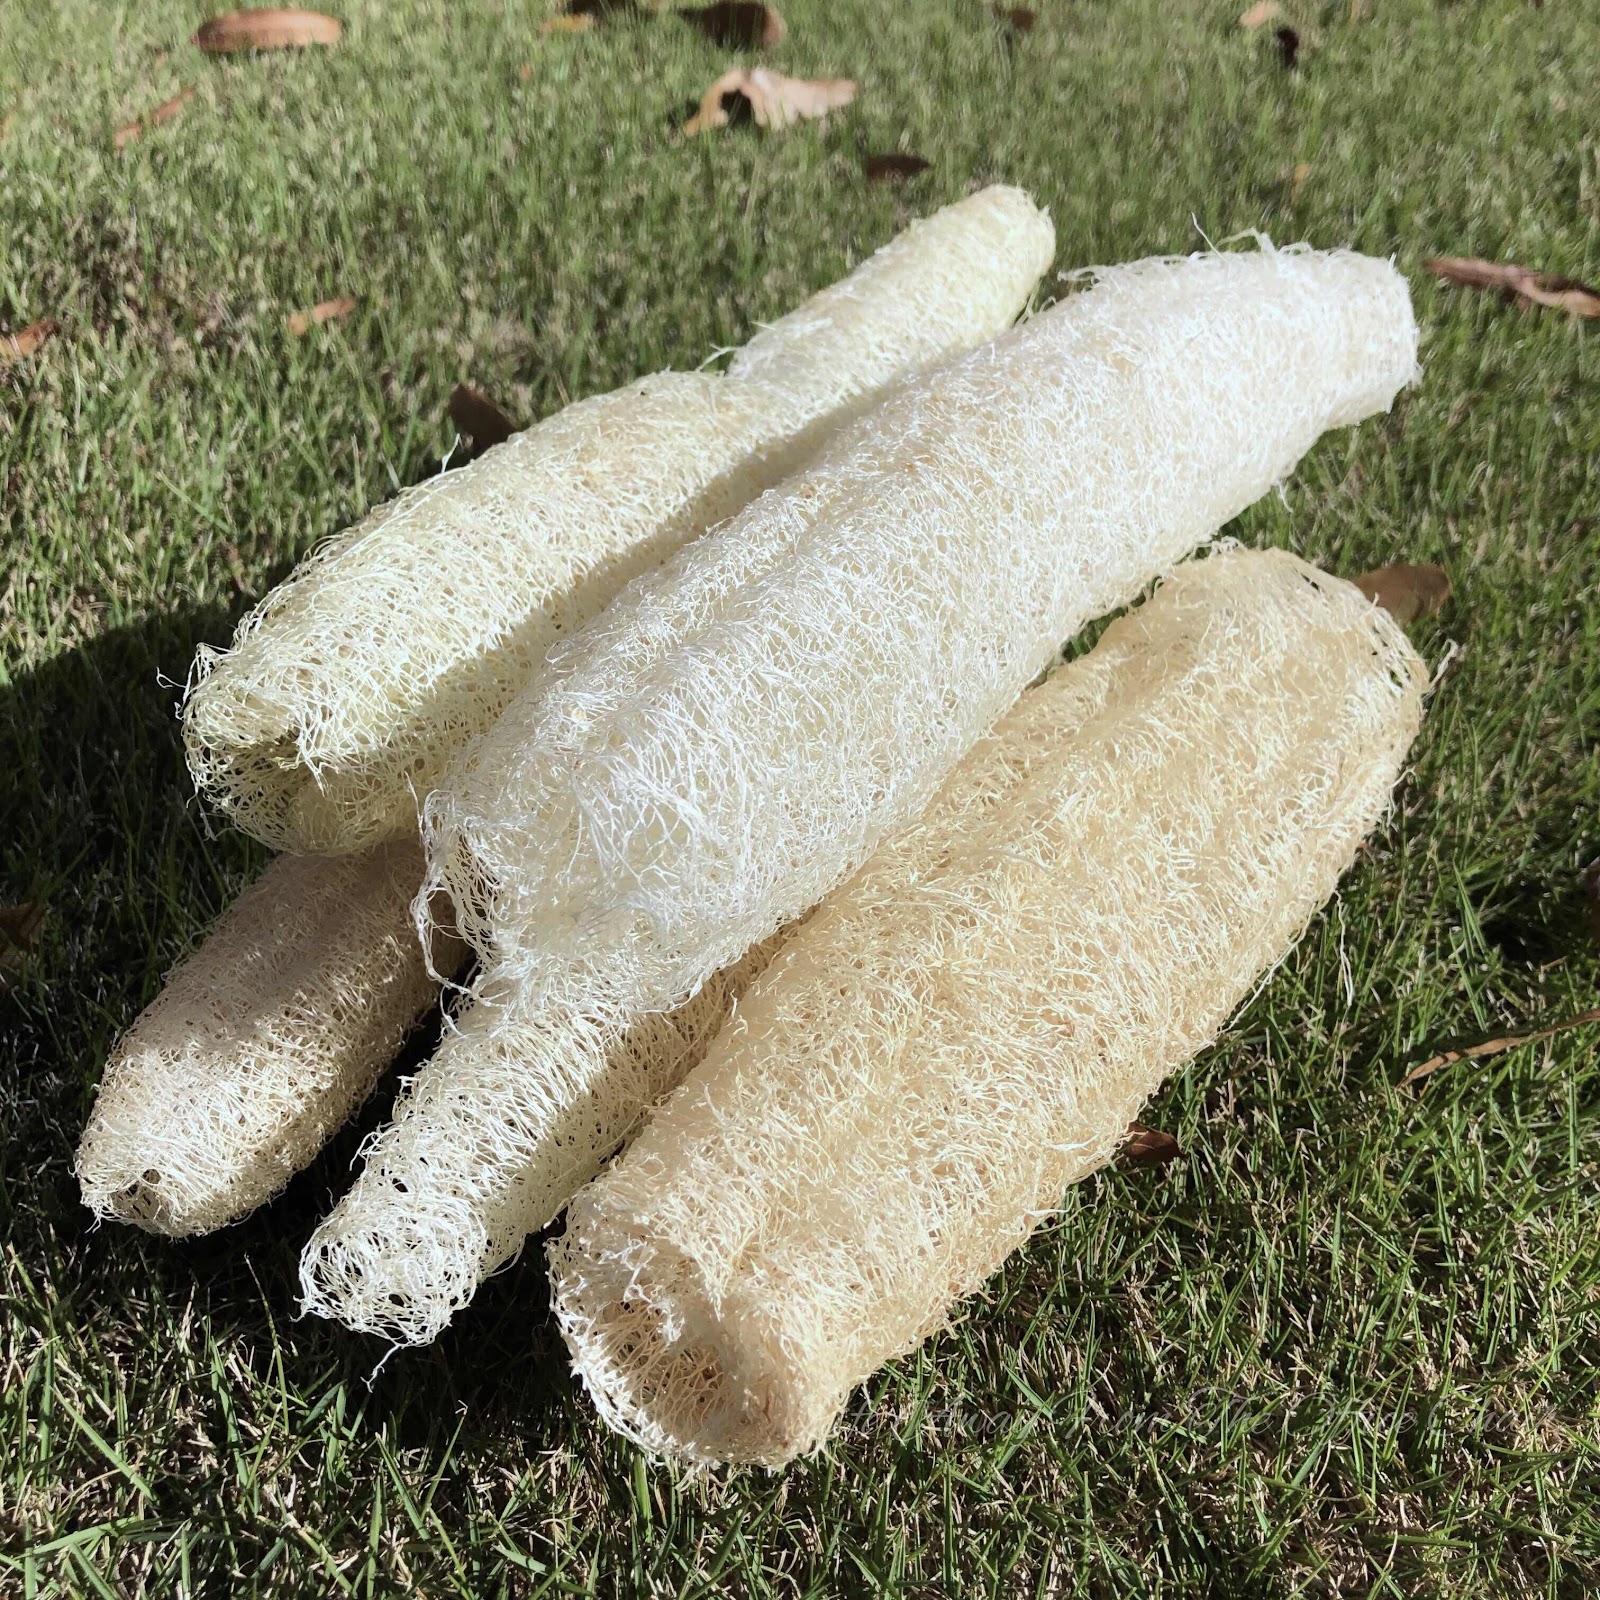
My harvest was small. I had many loofahs appear but never reached maturity. I blame it mostly on the size of the trellis I had it to climb. They need a lot of space to spread. I was a little disappointed. I wanted to have an abundance of sponges to share, but it didn’t happen. 

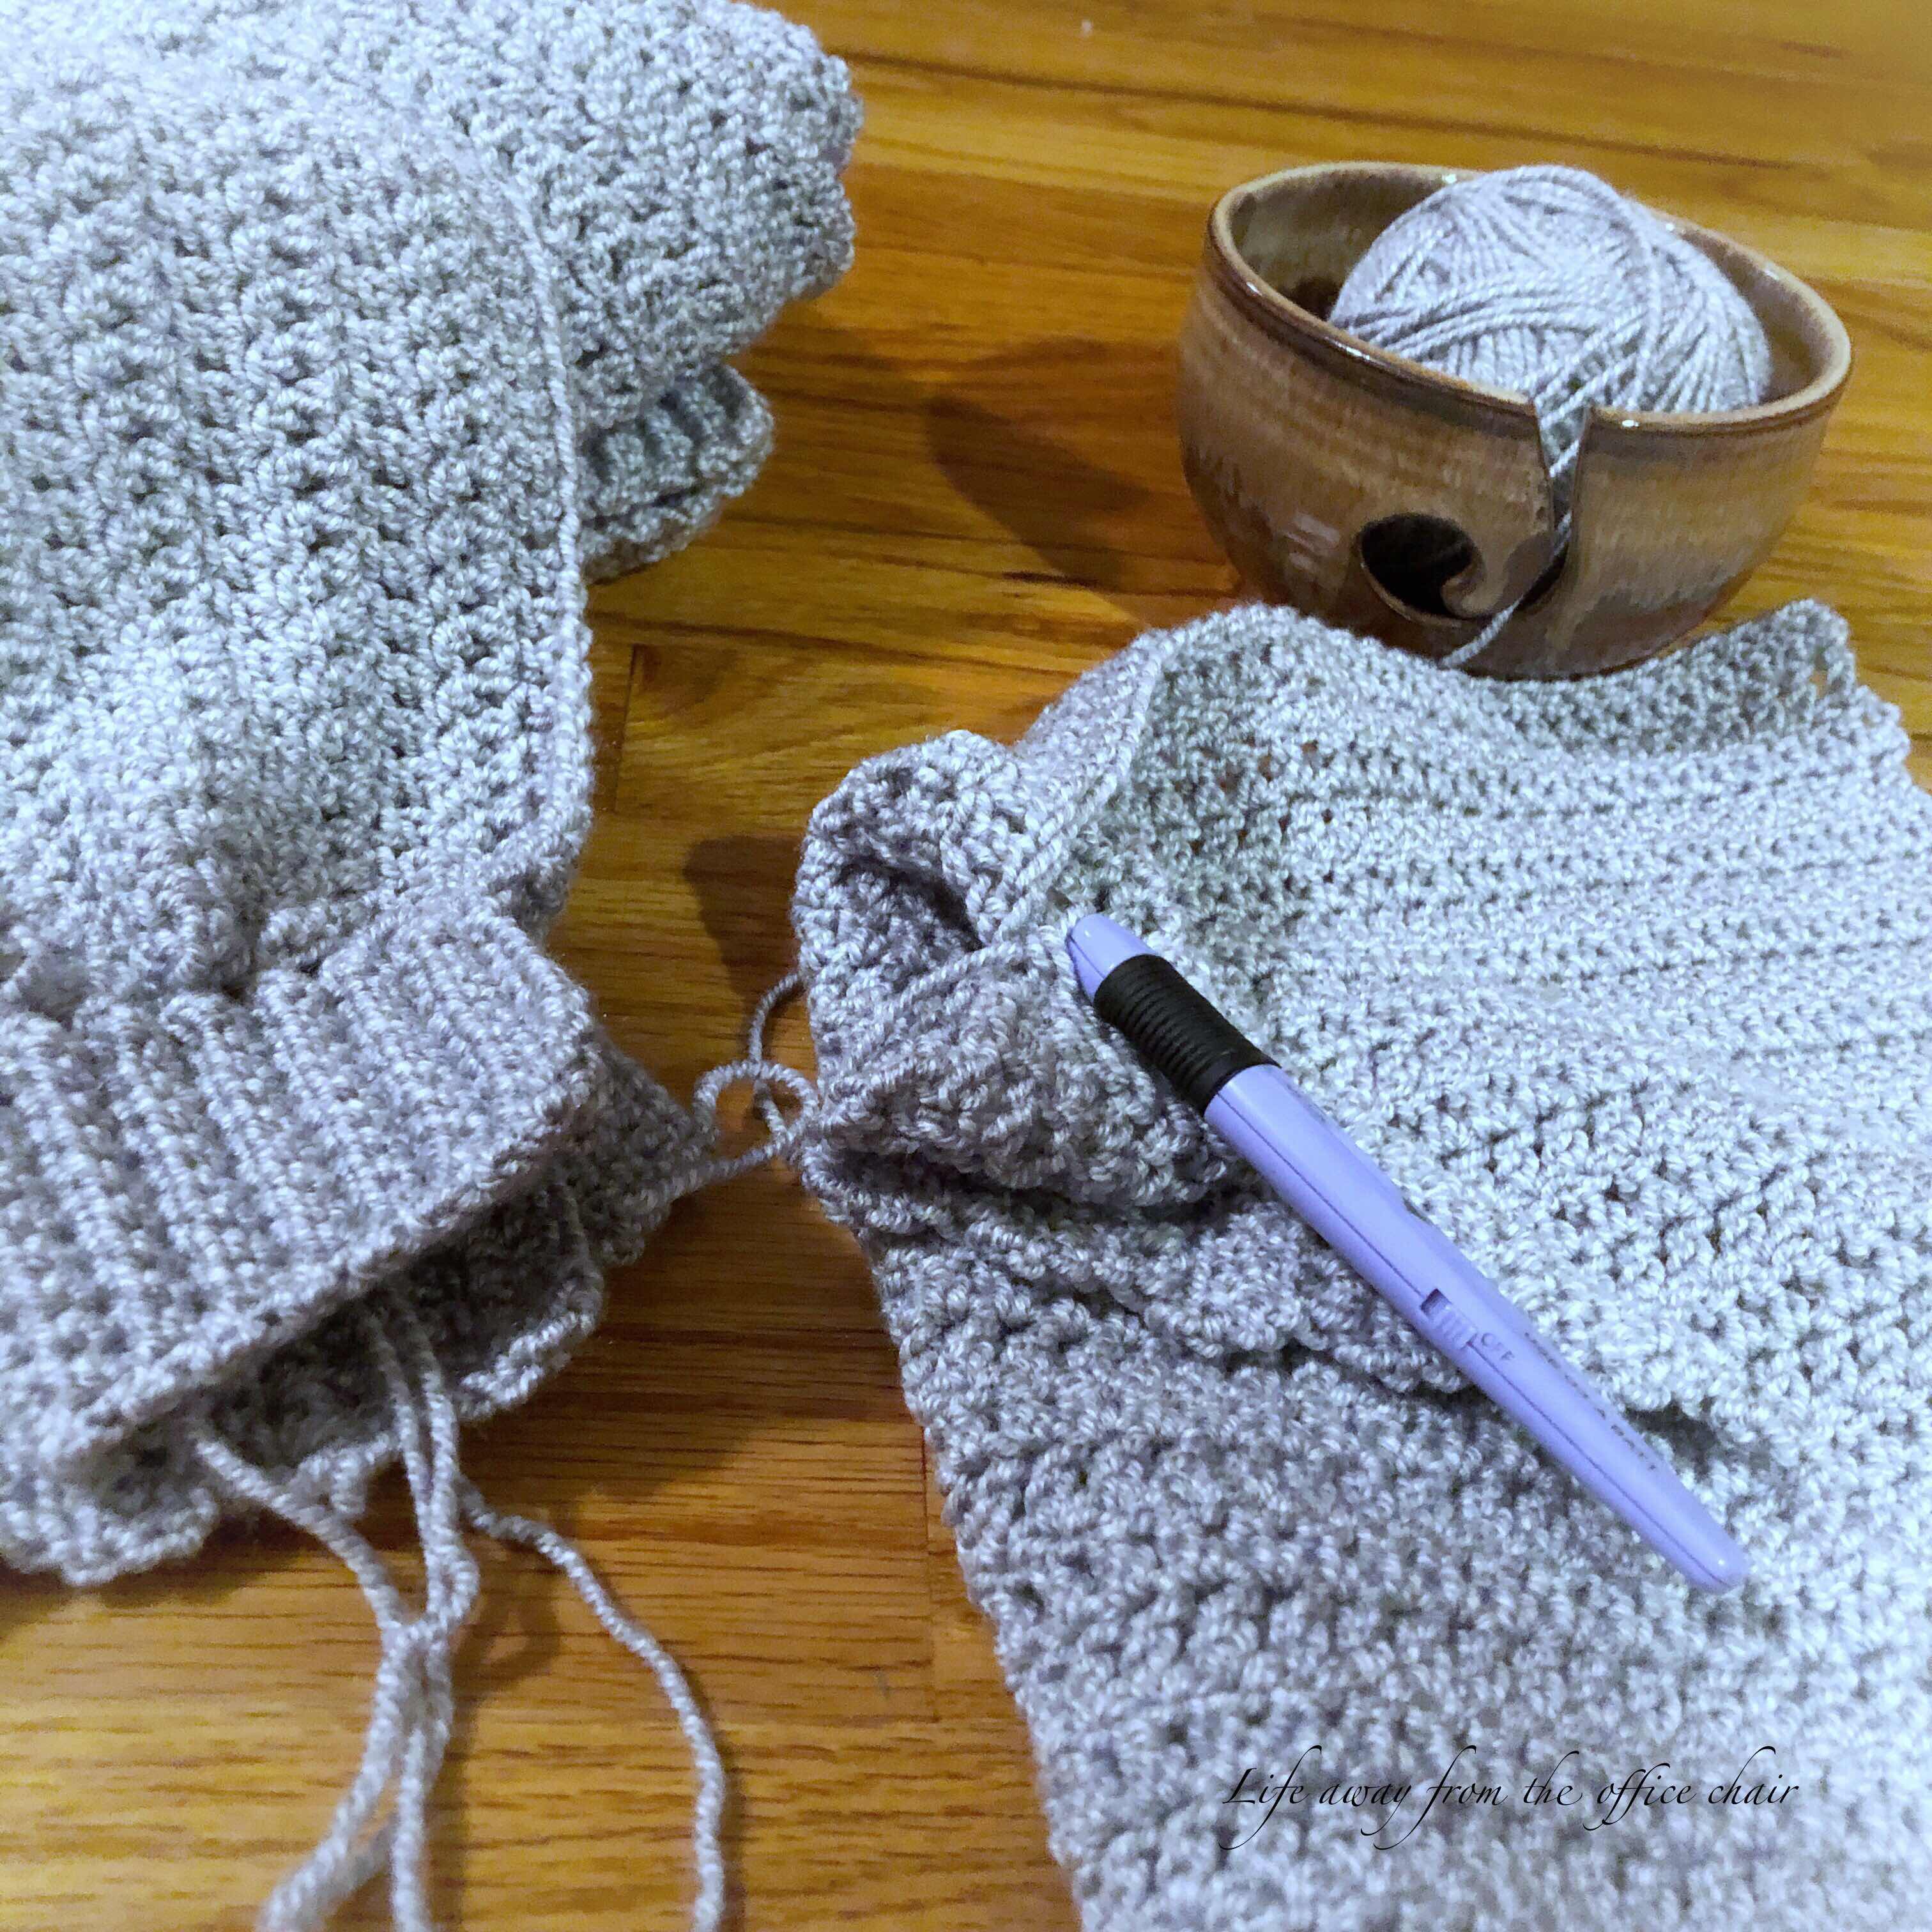
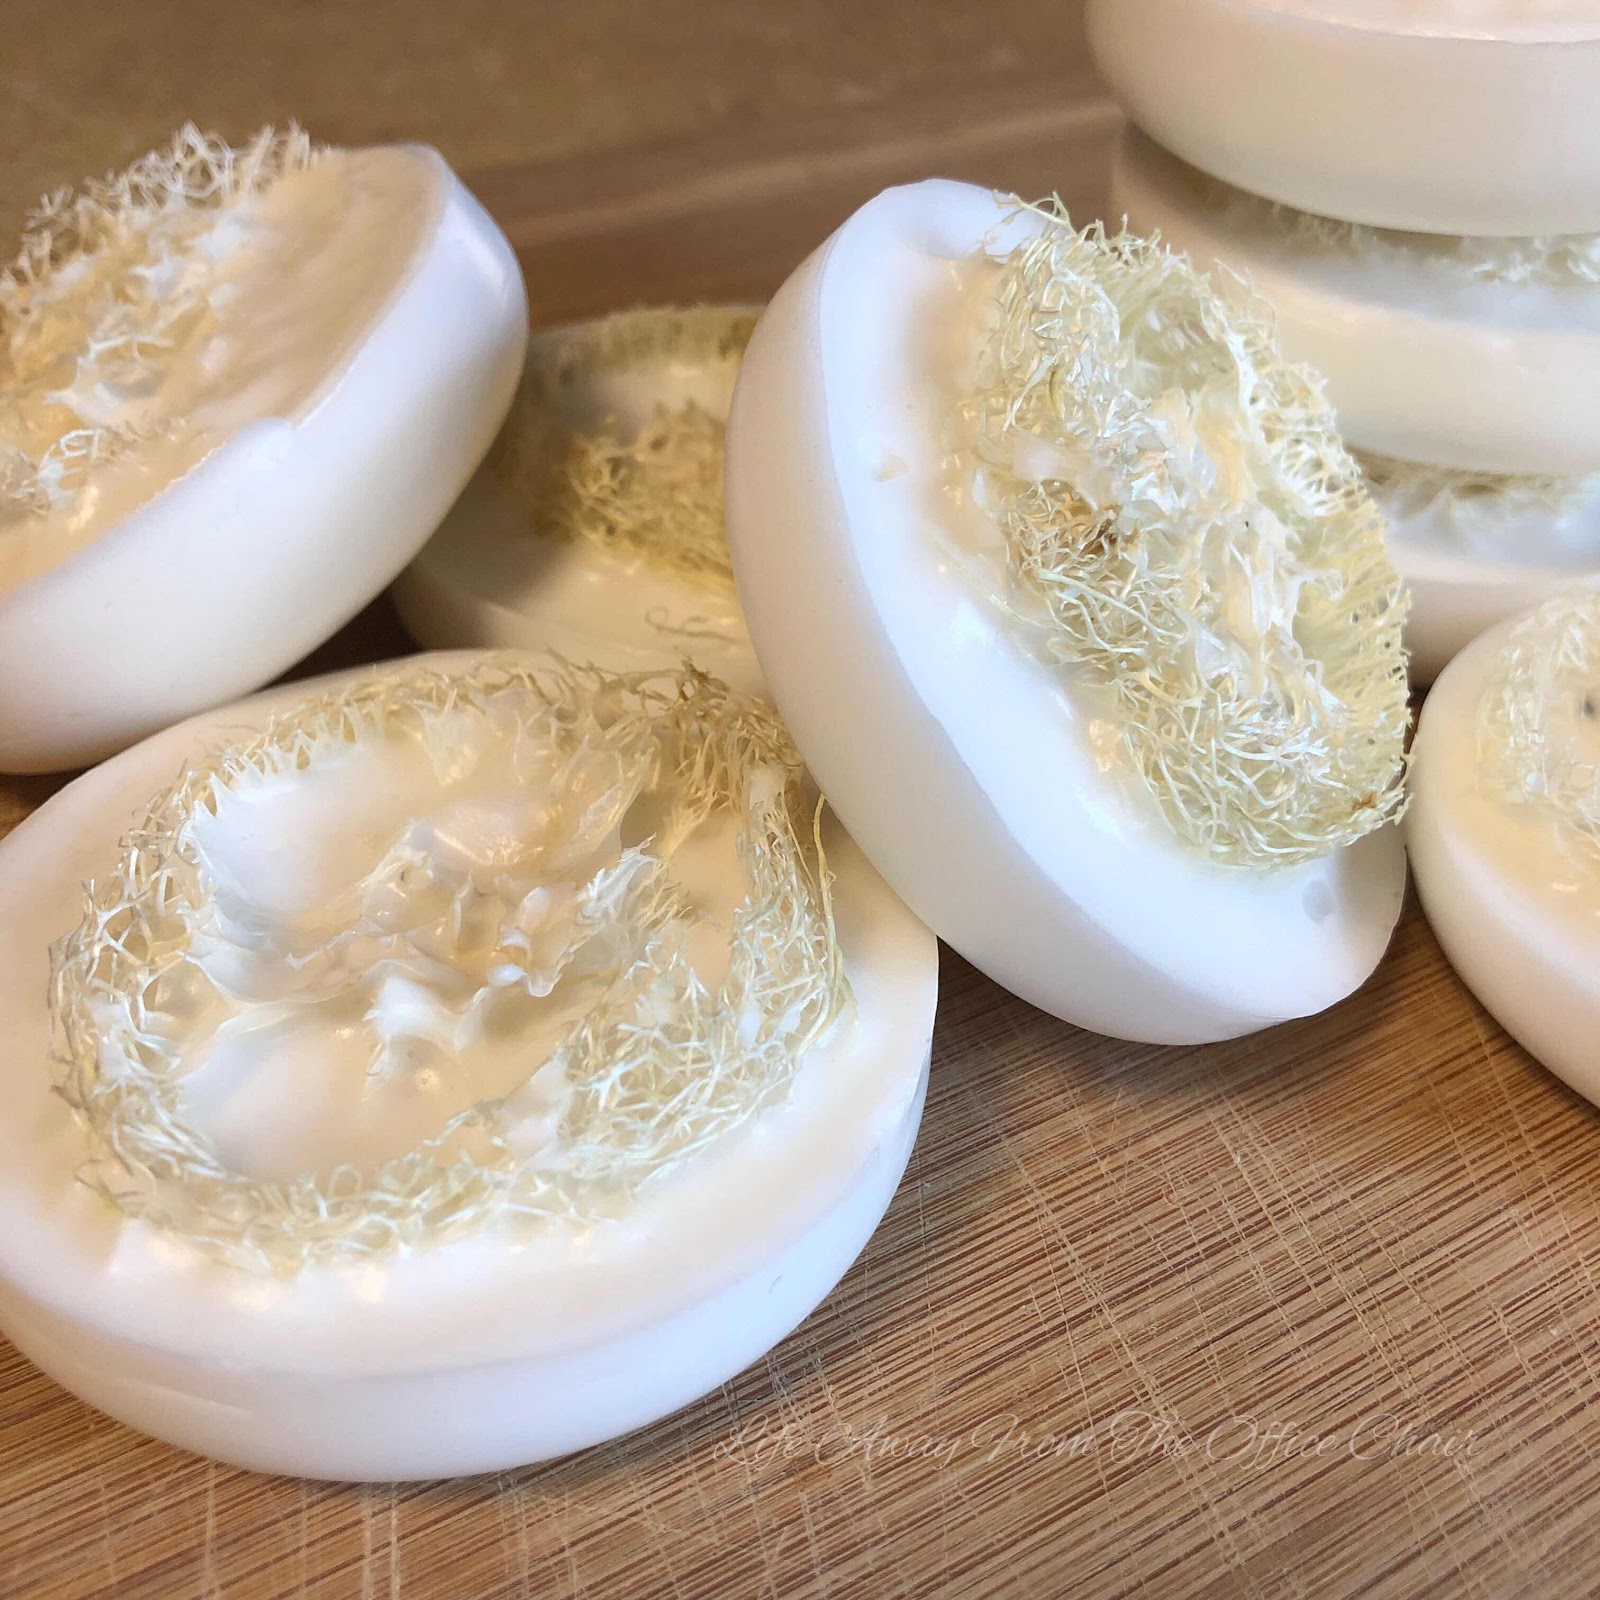
I found a way to share the small harvest of loofahs with friends by cutting them into pieces and making them into soaps (not my friends, my loofahs). For Christmas I was able to give each neighbor a couple homemade loofah soaps and a set of my crochet washcloths as gifts. They also received homemade cookies. 


The process was easy. 
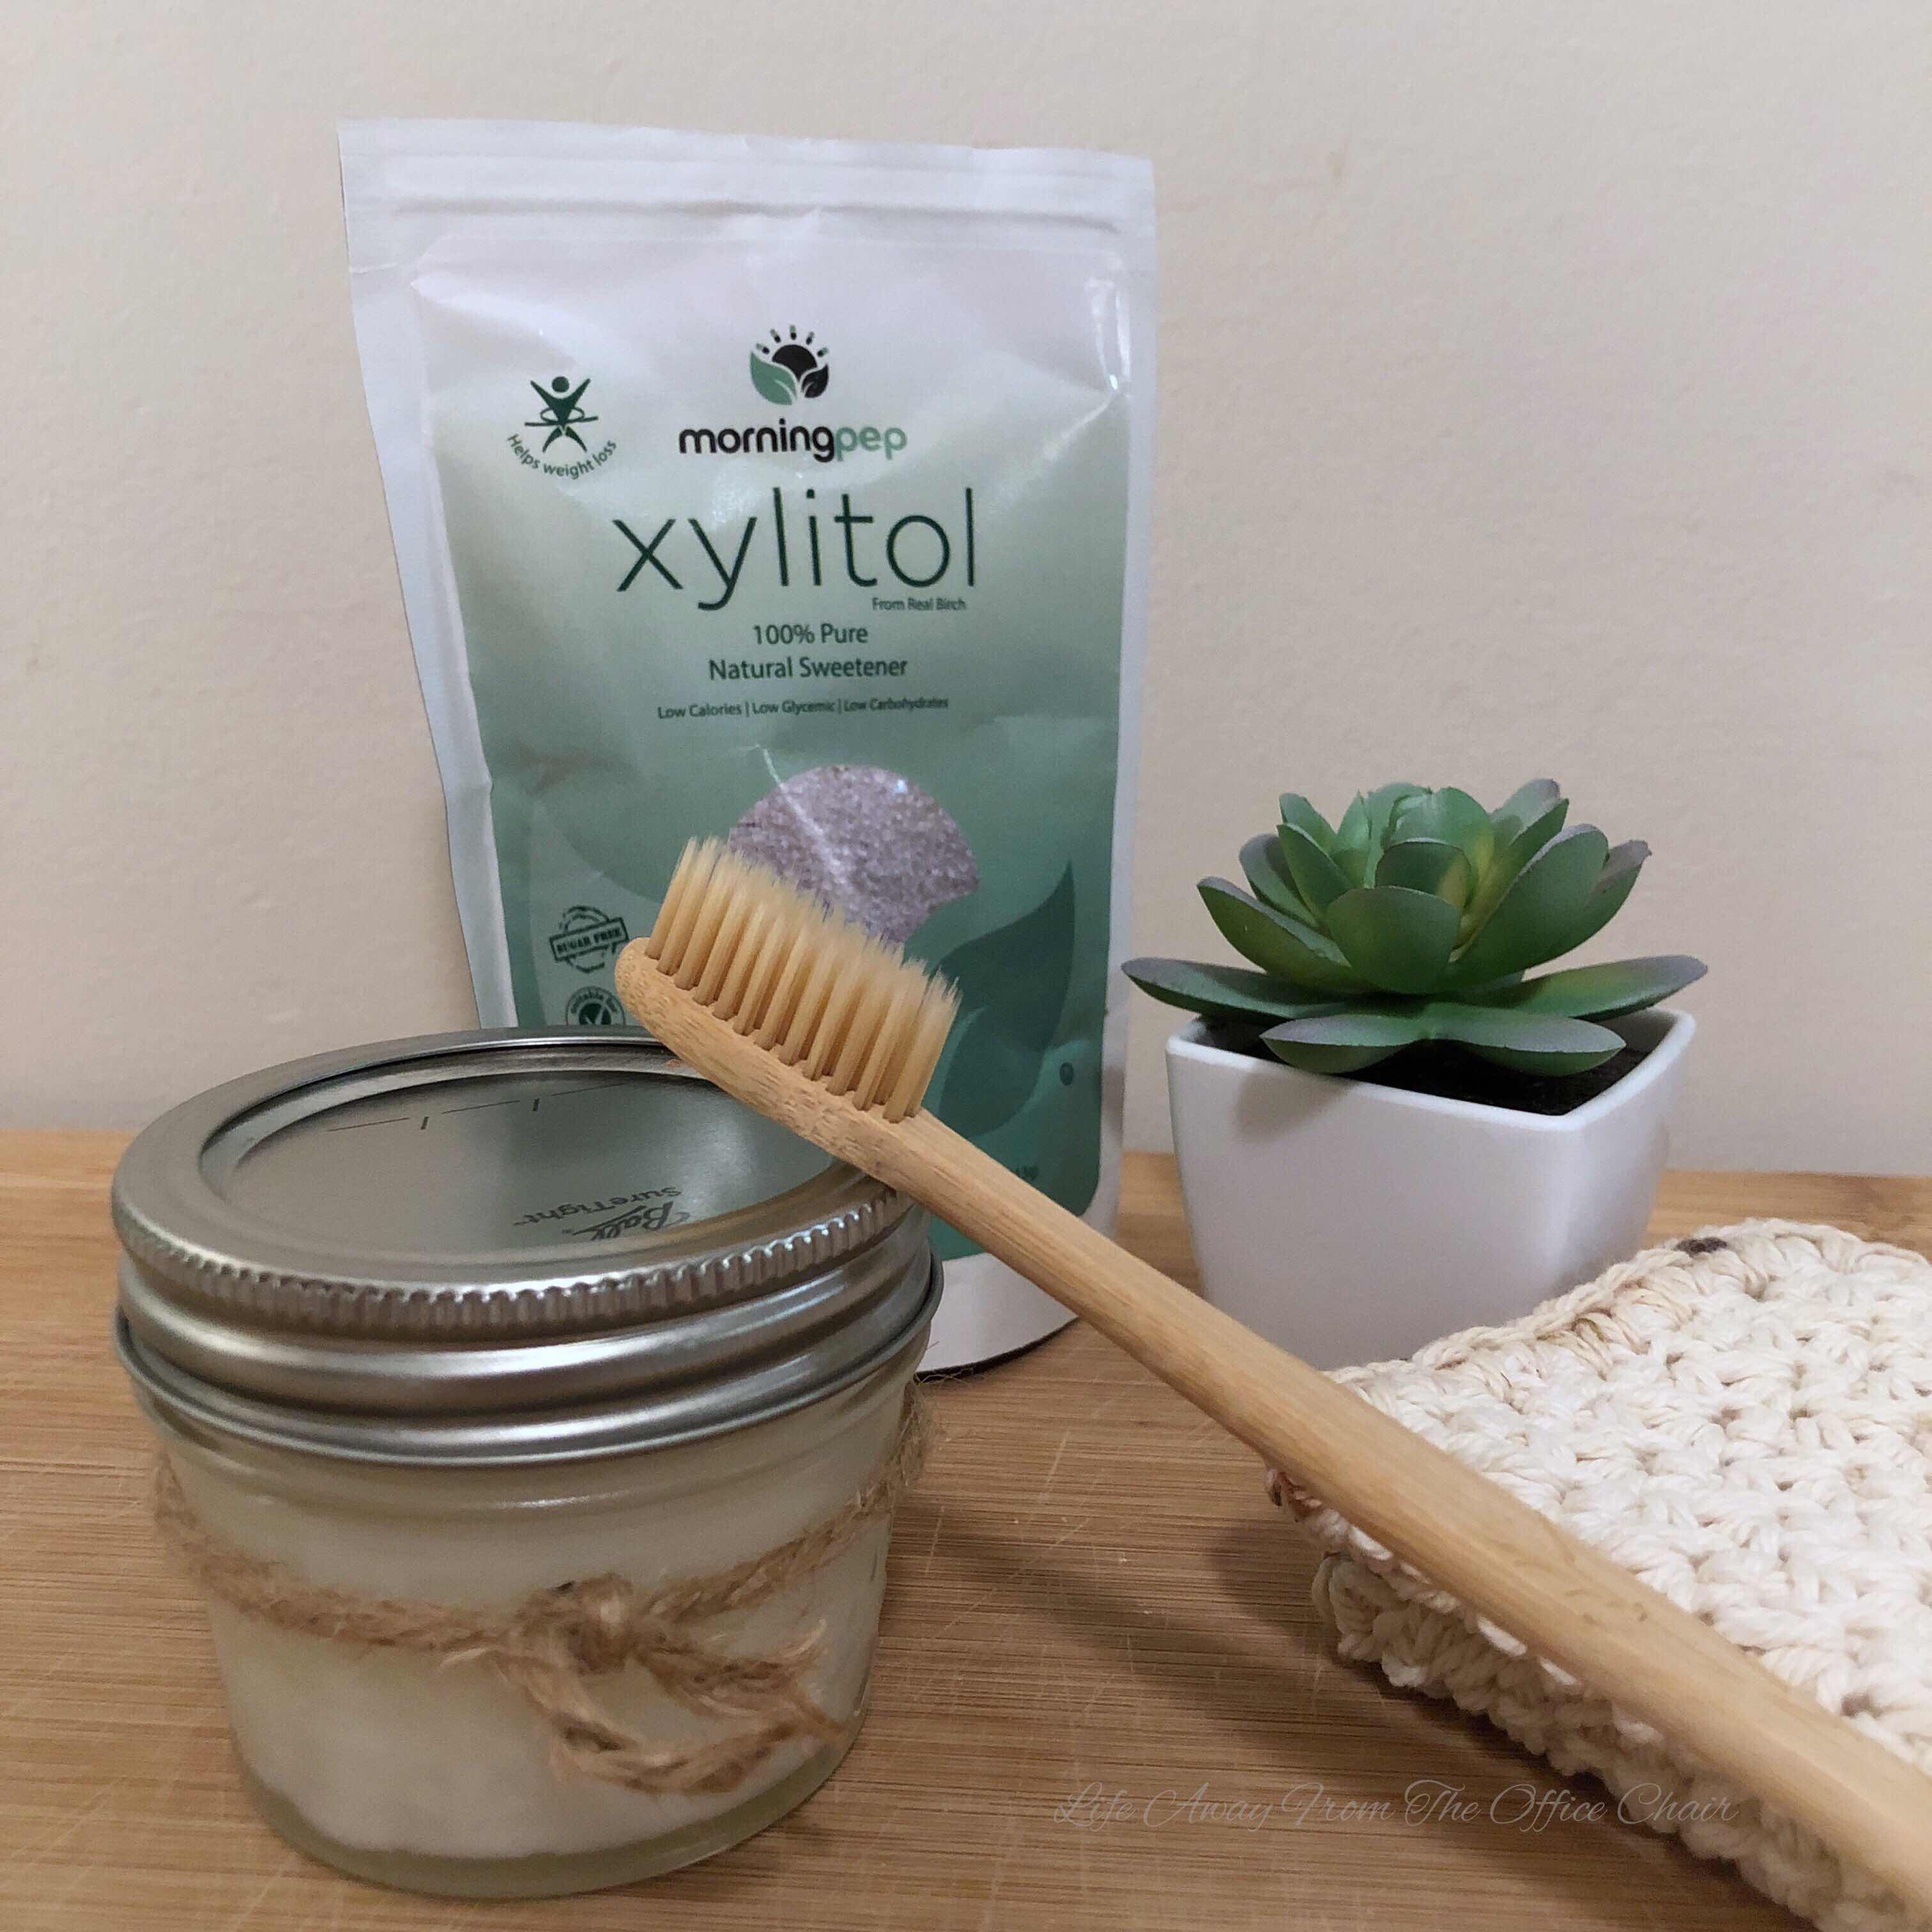
I first had to find a a silicon soap mold which I ordered off ebay. Then headed out to Hobby Lobby for some melt and pour soap. I chose the natural goat milk soap base. I have never made soap before. I could never accept the process of buying soap to make soap. It just doesn’t make since to me. 
But I did it anyway.


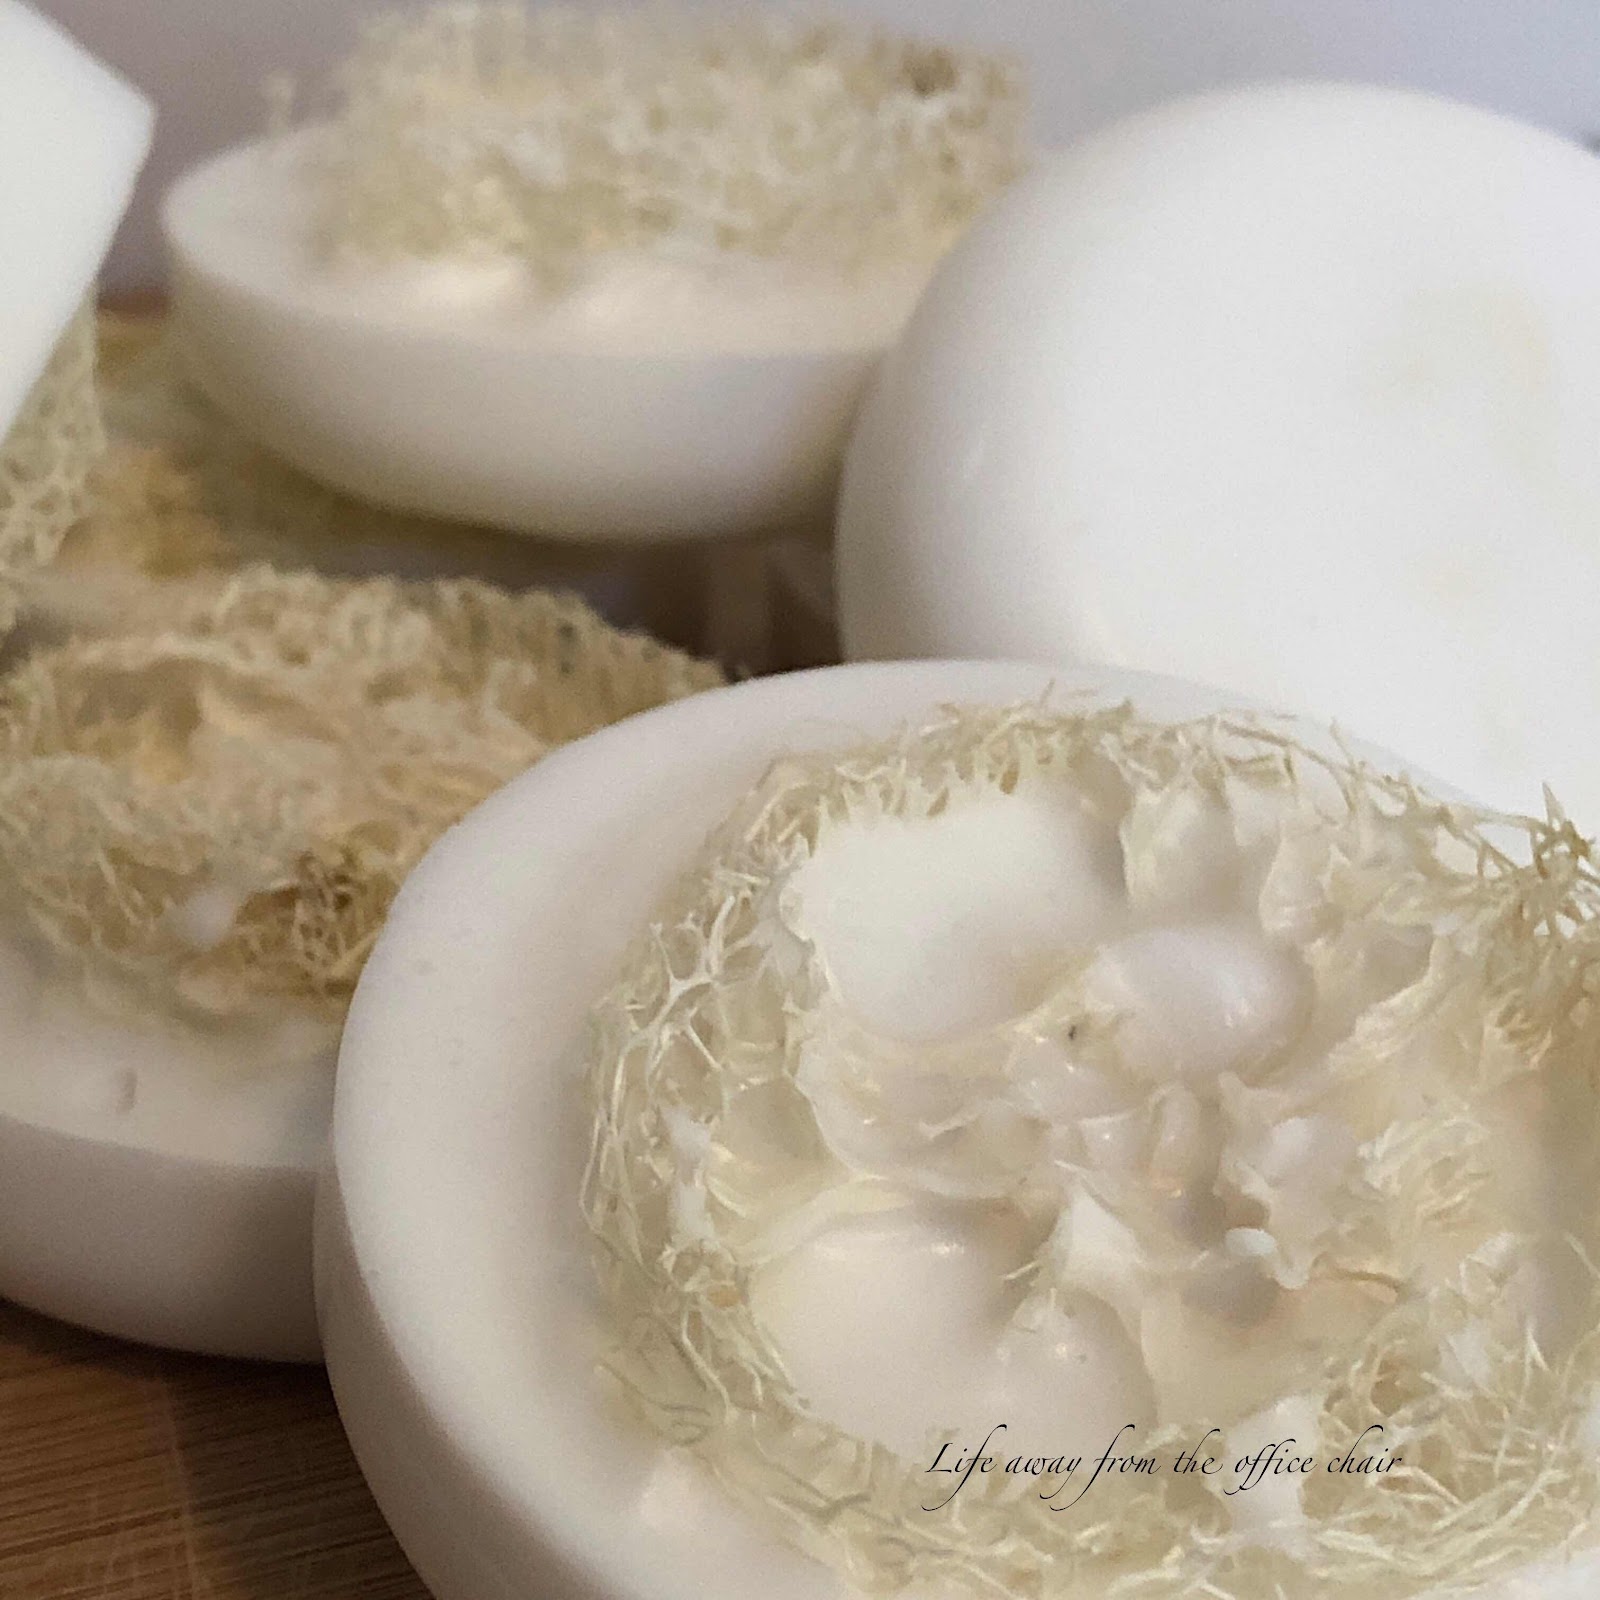
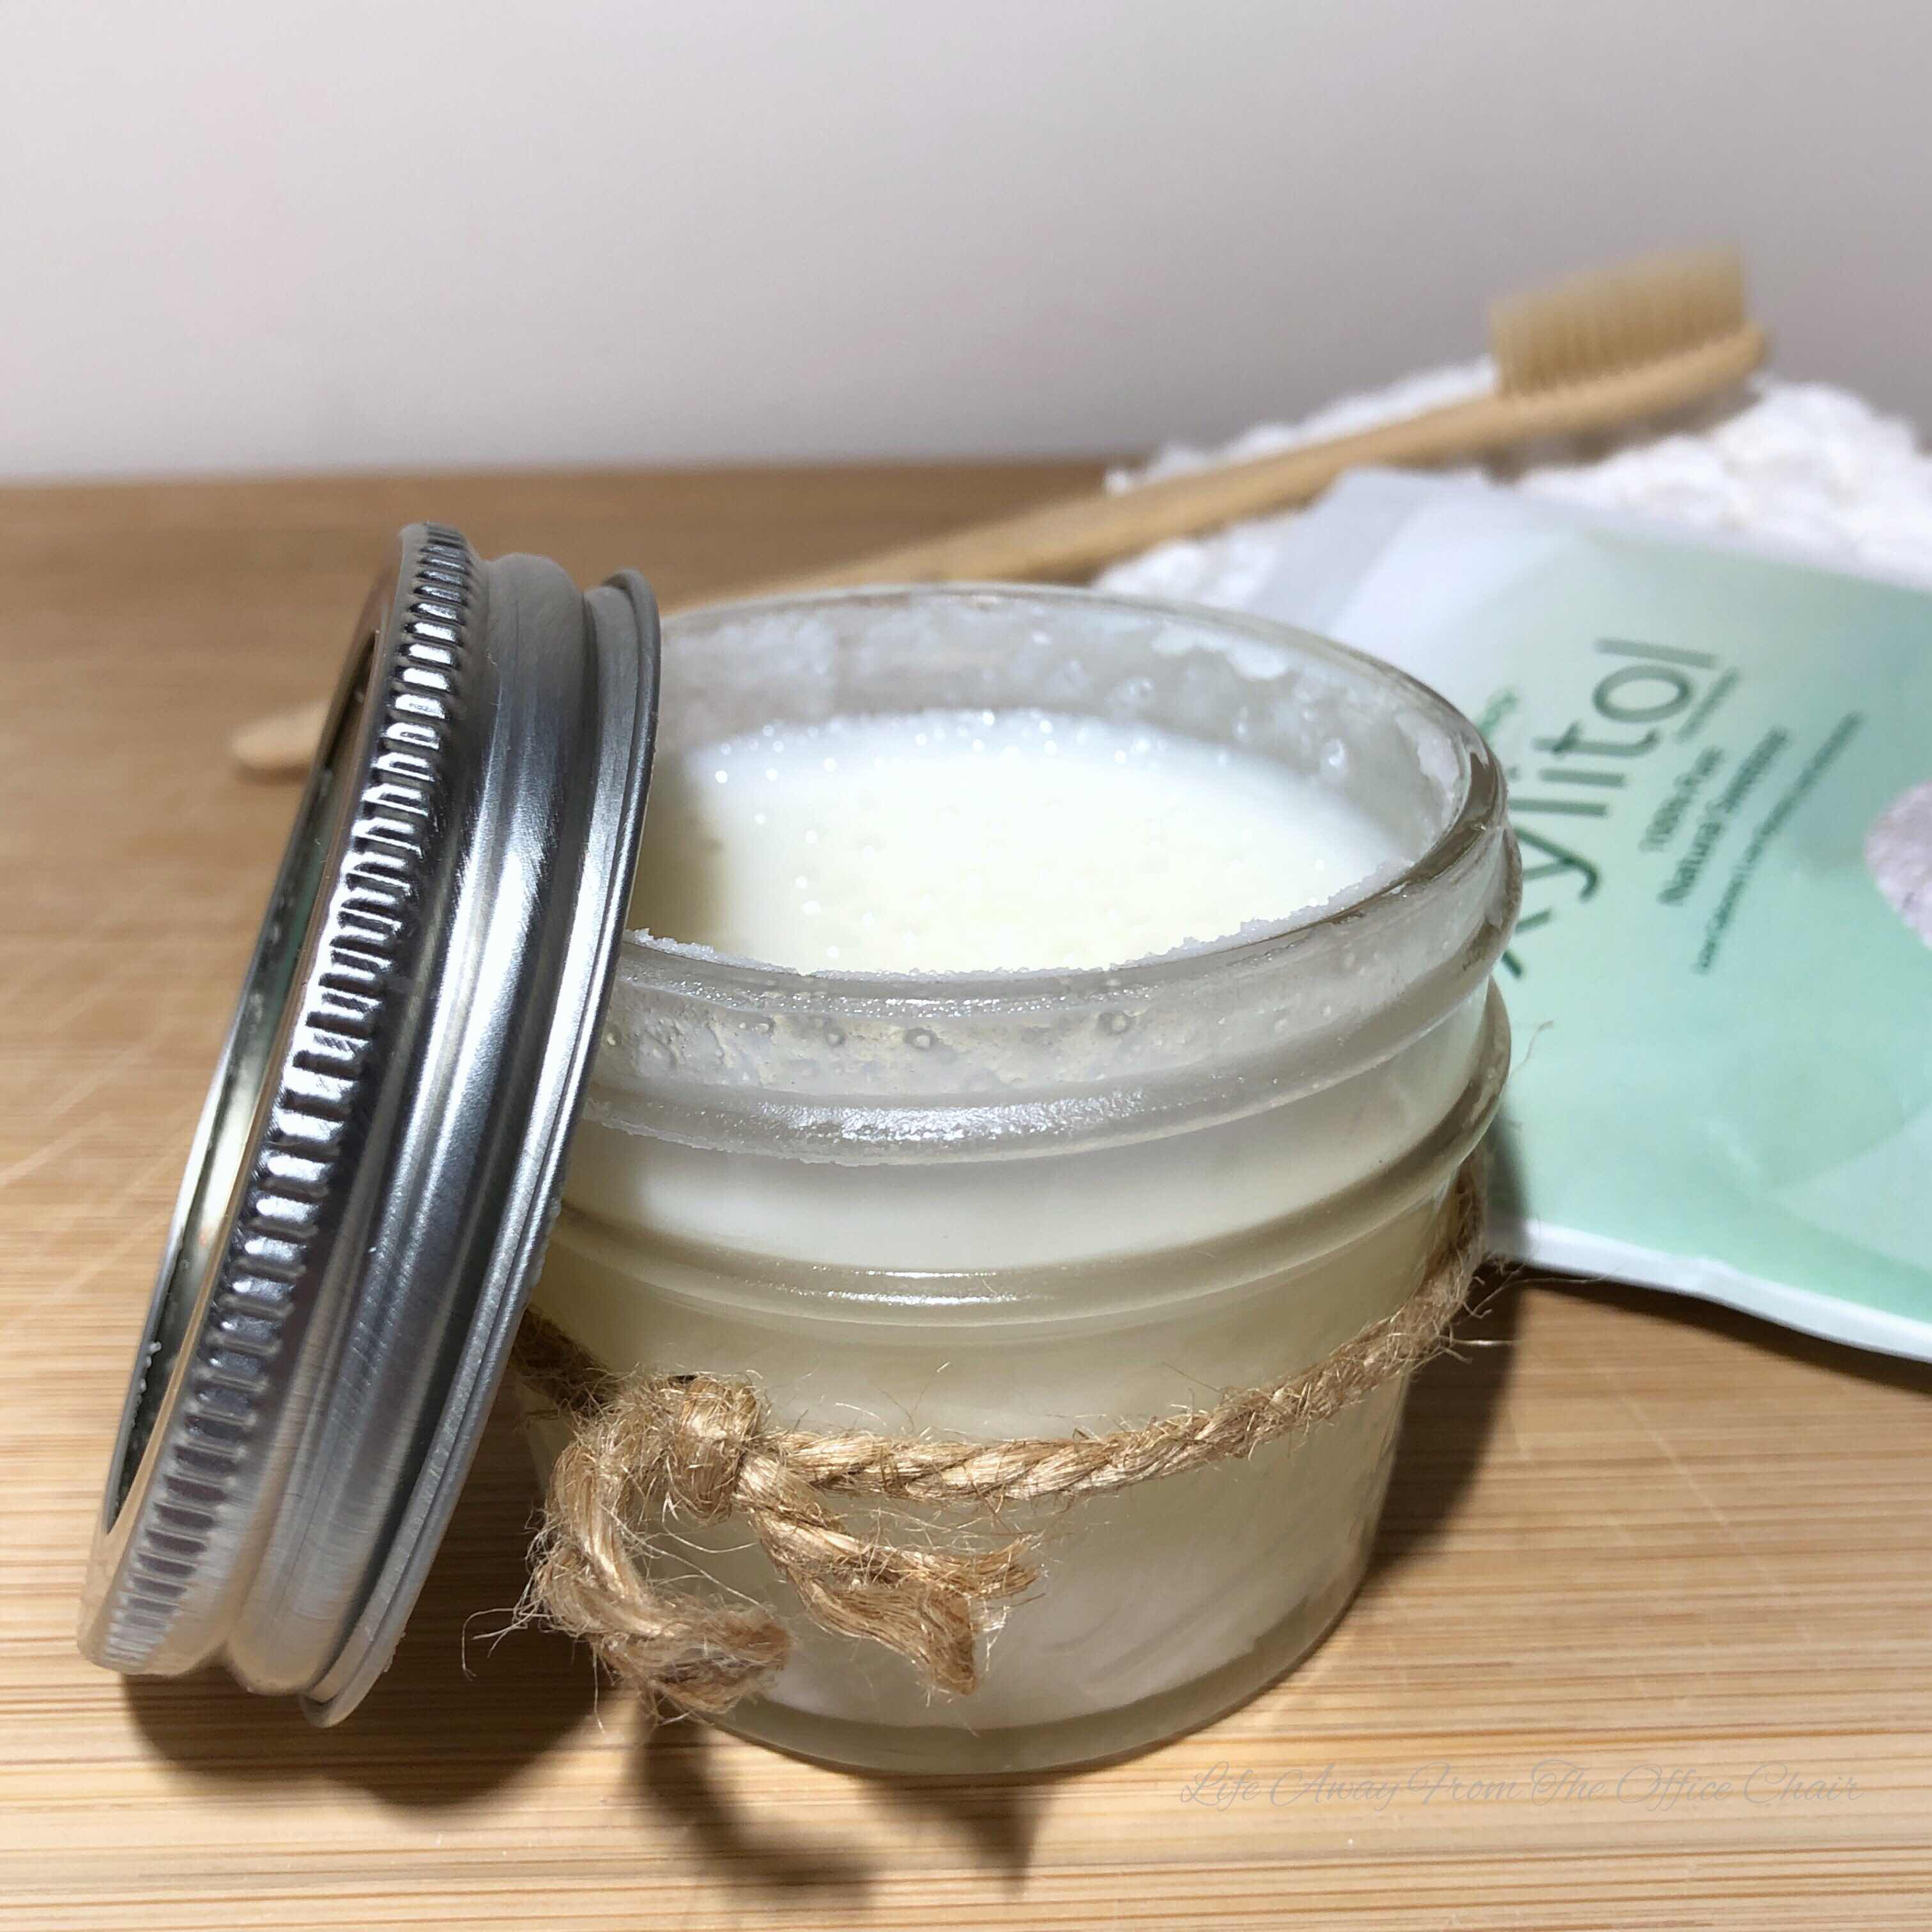
I placed a cut of loofah into the molds. Then I melted the soap and added a drop of fragrance. I used some soap fragrance but you can use essential oils just as well. I poured the melted soap over the loofah in the mold. I actually only filled the molds half way as I failed to get enough soap. I refused to buy anymore and made due with what I had. Once the soaps dried, I popped them out of the mold and they were ready for use.


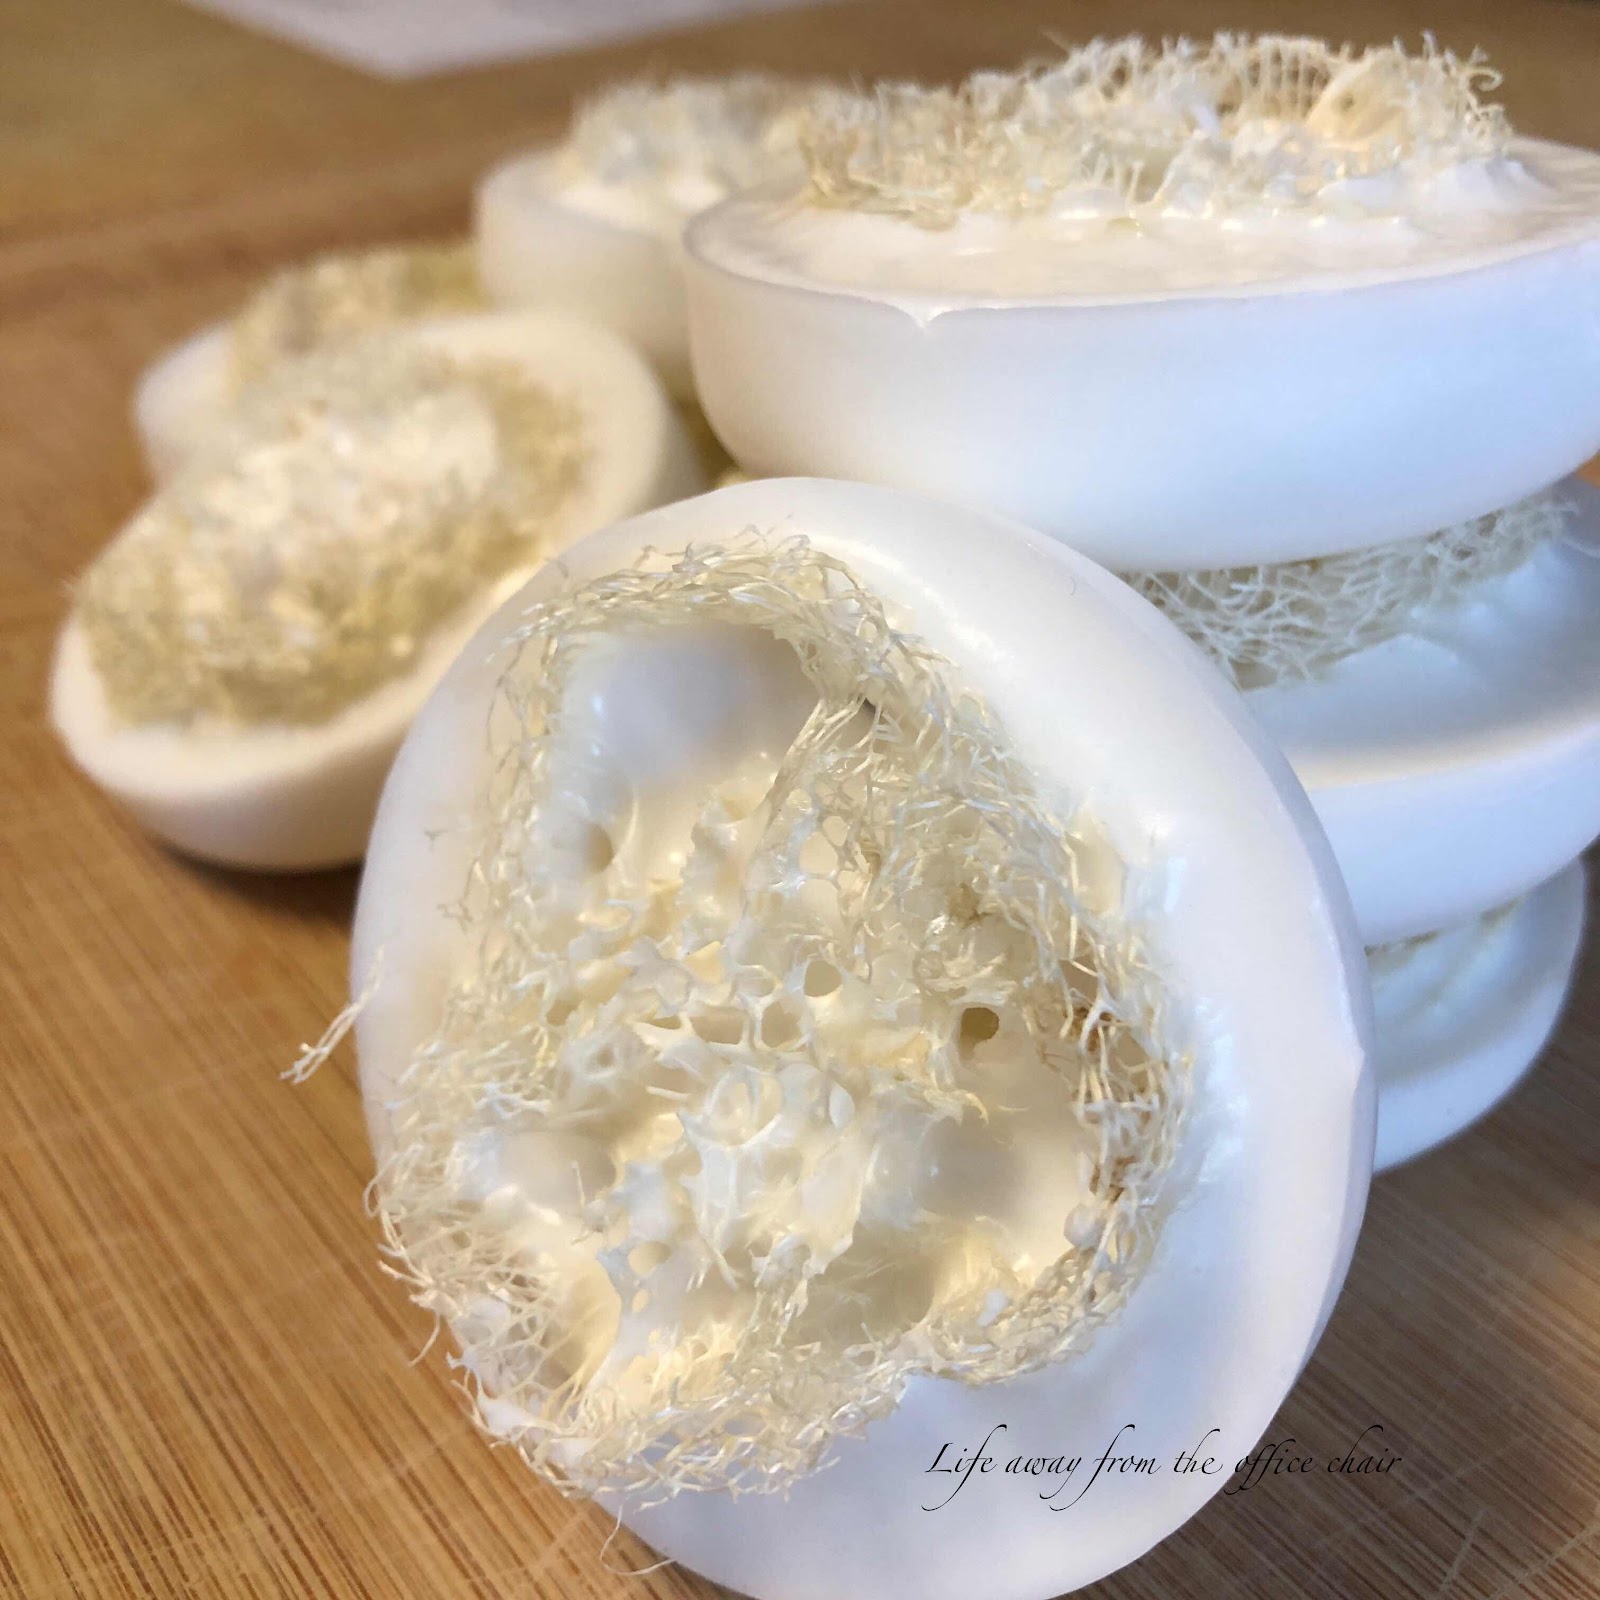
My husband was my guinea pig. He used one for a week in the shower. He said he liked how soft it made his skin and liked the scrubby texture of the loofah. 

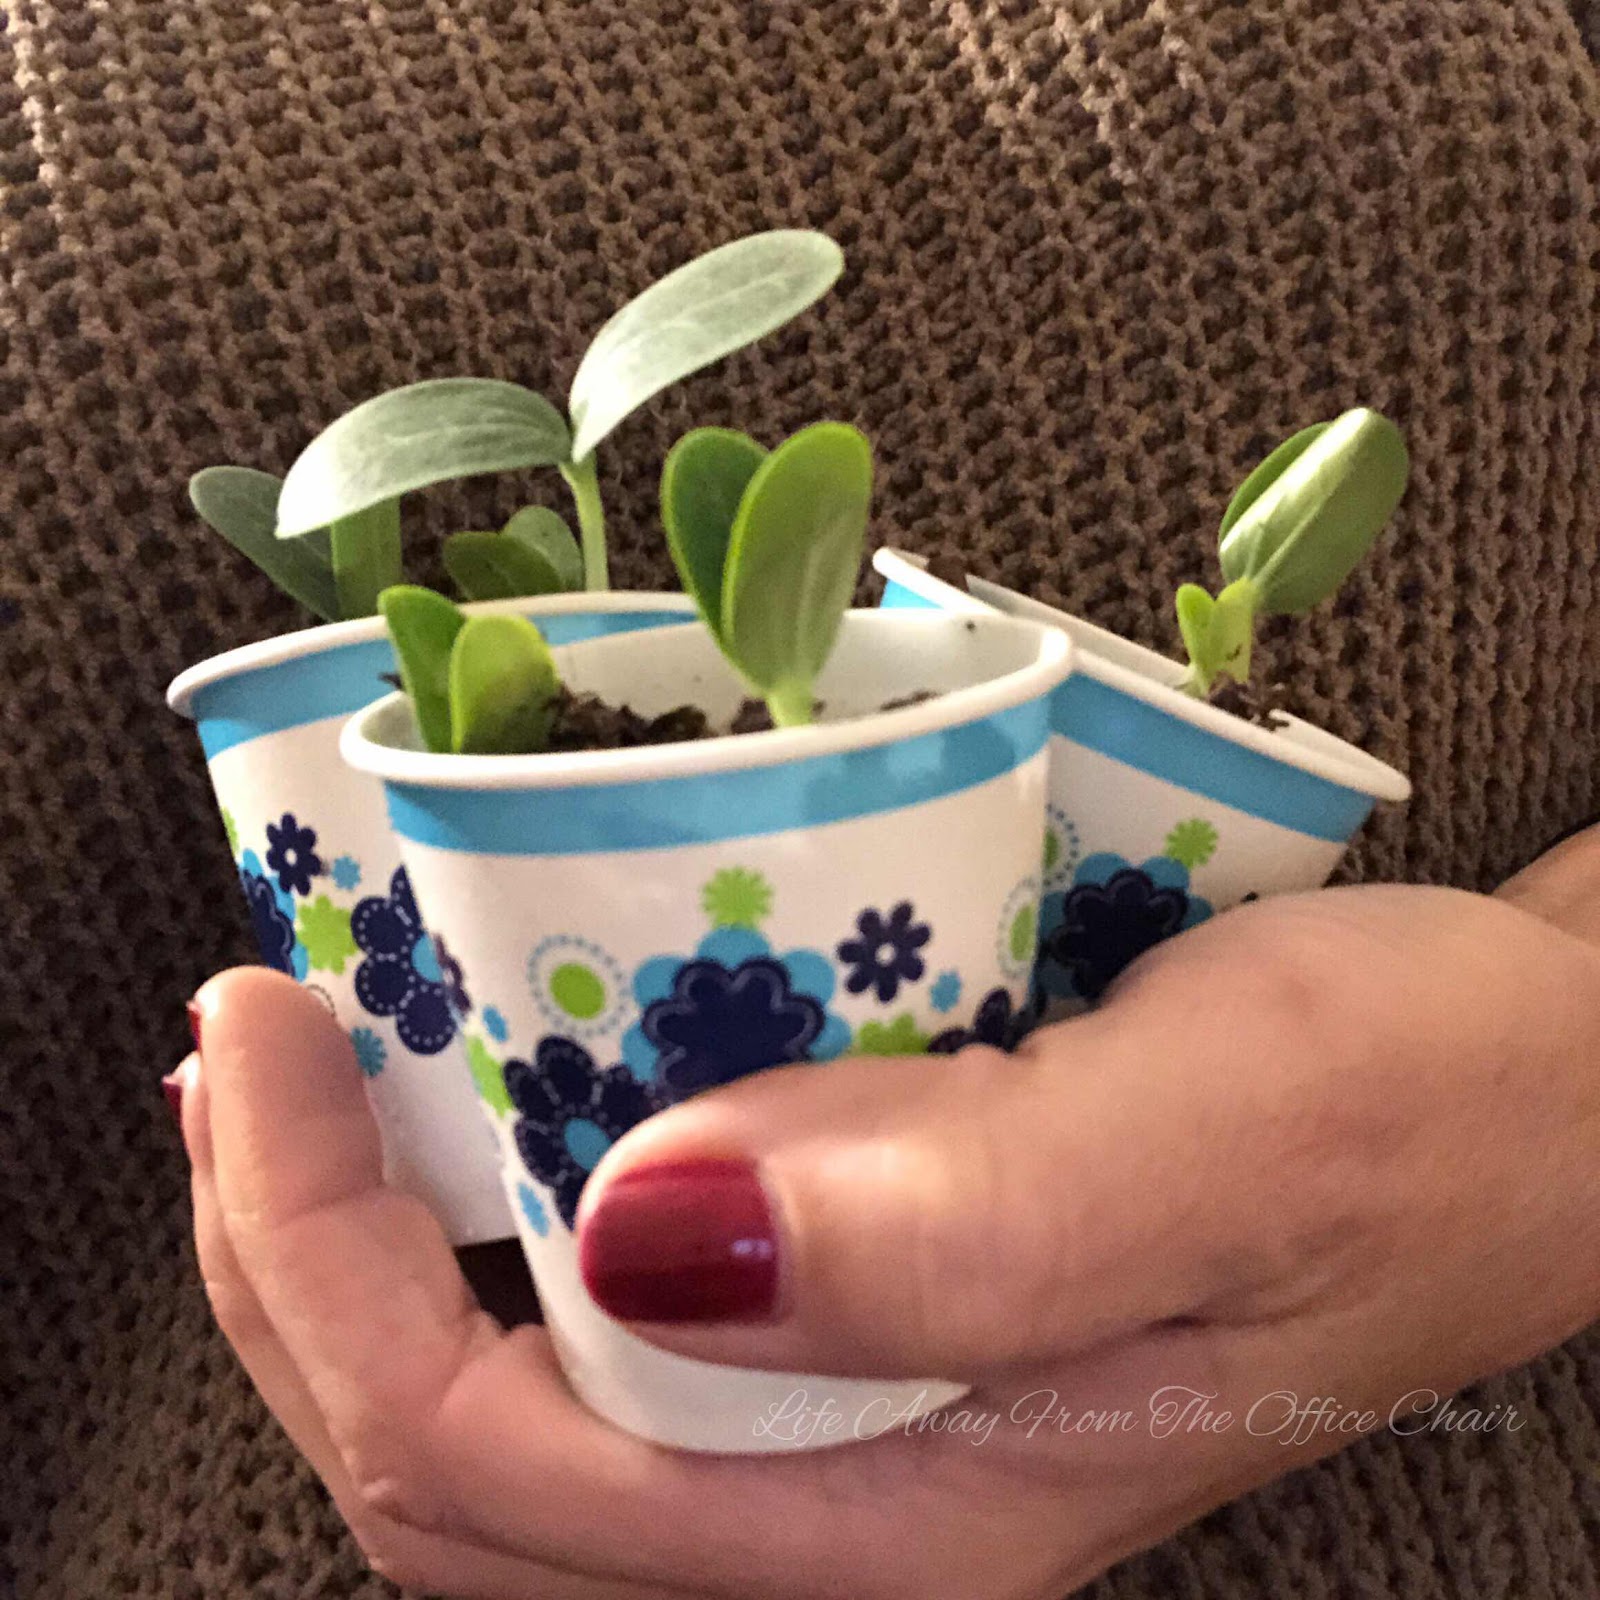
I want to grow more loofah this year on a bigger trellis. They were fun to watch grow and attracted lots of friendly bees. 

If you would like to grow loofah this summer, I have a few packs of loofah seeds for sale if you would like to purchase them from my  Etsy shop or contact me via email or contact form. 
The money made from these will go toward my garden fund.

Home Made Sherbet

It has been hot here in the Carolina's. This mean lots of cold treats. Like sherbet for example.
I admit I'm more of an Ice Cream eater over sherbet. My husband on the other hand, prefers sherbet.

My favorite sherbet flavor is Orange. I remember many years ago back in elementary school, they had an ice cream cart visit each room once a week. The kids would line up to purchase their favorite ice cream. I loved the Orange Push ups. I also like the Nutty Buddies, but there was just something refreshing about the sweet orange creamy sherbet.

Yesterday I thought I was going to have to have a tooth extraction and would want something cold to eat so I pulled out a bag of mixed berries and made my own sherbet to enjoy for my late night snack.
I ended up not needing an extraction but I still have a delicious snack.

It was so easy to make....

Just kidding, I had a mess with no end as I had berries everywhere. My blender was not strong enough to mix the frozen berries so I moved them to the food processor and that didn't work either. I then found a more powerful blender that I had stored away and it worked. Wheeew. I had a mess and three appliances to clean up.

So, if you have a powerful blender, this sherbet is easy to make.


Home Made Berry Sherbet

1 bag frozen of mixed berries (approx 2 1/2 cups).
2 tsp fresh lemon juice.
2 Tbs honey
3 Tbs warm water as needed to mix. 

Place all ingredients in high speed mixer.
Pulse until smooth and creamy.
ENJOY.

I enjoyed my sherbet in a waffle bowl. As it melted, it coated the bowl with sweetness. 


Bracelet Stand Updo

I'm a little behind on my blog post lately. I try to keep them flowing but sometimes I fall behind. When this happens, It's usually because of an unexpected happening or simply writers bloggers block. I know there are not rules but I still like to stay active for your reading pleasure. ha ha.

If you follow me, you know I am also a brand rep for PuraVida bracelets. With that comes a lot bracelets that are gifted for promotions or purchased myself. I needed a place to put them all. I was keeping them in a small drawer but they were not fun to get too. I was also finding them scattered throughout the house where I would take them off and lay them down.

I told my husband to be on the lookout for a bracelet stand. I have other bracelets too and it would be nice to have a place to keep them organized. We searched a few stores around here and the only one I could find was at a TJmaxx store and it was over priced and looked no more than a covered toilet paper roll on a stick.

Last week he found a bracelet stand at a local thrift store and picked it up for only five dollars. It was not the prettiest thing as it had a cardboard base with a missing drawer. He also grabbed a small cutting block for a dollar.


He replaced the base using the small cutting block and it looks much better to me. I was going to change the crystal knobs with more of a rustic look to match the base but I think I will just leave it as it is for now.


A few screws and six dollars later, I now can display my bracelets and easily choose what to wear with my outfit for the day.


Shop: Puravidabracelets.com
Use code: LISADIMEO20 to get 20% off.


Scrunchies

I was a teenager in the 80's and one of the big fashion statements of the time was hair scrunchies. I mean, the bigger the better. So was the hair but I'm not going back there.

I had all sizes and colors. They finally went out of style and you could not find them in the stores anymore. Now they have made a come back. [eye roll]. Does this mean the big hair and jelly shoes will come back too? Oh wait, It could get worst. They could bring back the banana clips.

I have been there and done that so I'm still not sure about the scrunchies.....Ok, yes, I admit I'm actually wearing one in my hair today. I sorta like it [again]. I refused to go out and buy a scrunchy when I knew I could make one myself. It was quiet simple. Just kidding.

I picked up some cute fabric at Walmart for .50 cent.
Then went by the DIY video HERE.

After almost tossing the machine out the window and saying a few cuss words, 4 scrunchies were born.


My sister wanted one and I took one. Then I gave the other two to my daughter. I might make more, but I might want to find me a new sewing machine first. I just want a small simple machine for crafts. Mom gave me her old one and it is really nice but I get in a fight with it every time I use it. I mean really, and I can't see myself making any clothes in the future anyway. 


It seems like this time around, with the scrunchies fad, I see more girls wearing them on their wrist as a fashion statement for an emergency hair tie. I guess it does look more cute than the rubber hair bands around their wrist. 


These little hair accessories are actually great for your hair and help prevent against breakage.

Can you think of other fashion that's making a come back?

Oui Pot Crochet Hangers

Often you will find me sitting in the center of the living room organizing my yarn basket. While most crochet addicts have a whole closet of yarn, I just have a little square storage cube type basket. It works perfect to hold the yarns I need and fits perfectly beside me chair.

I do not stock up on yarn. I buy as I go. It gives me an excuse to visit Hobby Lobby. Most of you can relate. However, I do wind up with a lot of smalls balls of yarn that are not big enough to make a full project. I will normally roll into what I call my scrap ball and will eventually use it to make a crazy multi colored scrap blanket.

I keep my acrylic yarn and cotton yarn separated. Cotton is my favorite fiber to crochet with. I like to keep scraps of cotton yarn to make small things like baby teethers, face wipes or coasters but I found something new to make with my scrap pieces.

Oui Pot Crochet Hangers


I am obsessed in these cute little crochet hangers. I'm thinking of adding some to my Etsy shop. They are just so darn cute. Can you imagine some cute little succulents in them? Oh my!


I have several Oui yogurt glass jars. Oui is a French yogurt by Yoplait and is delicious. You can find them at most grocery stores in the yogurt section and are usually only a dollar each and have several flavors to choose from. I always keep a few of these empty glass pots in the cabinet because they make great candle holders, and plant starters. You can actually purchase special lids from the Oui website if you want to use them to store things. They also have some other crafty ideas you can use these little pots for.


These crochet hangers are quick and easy. The original pattern can be found HERE.

Loofah Garden

I mentioned earlier in the year that I was wanting to start a loofah garden. 

A loofah is a natural sponge grown on a vine. They have the shape of a cucumber but are in the gourd family and grow really large. In order to grow these things, it requires a trellis for them to climb. In the Fall they will dry out and then you peel the skin to find a nice natural sponge inside. I'm pretty excited.

I ordered some seeds from a garden in the mountains of North Carolina. I had read where it takes a while for the seeds to sprout. I started them in February and they sprouted in just two weeks!


Afraid they would die before I could plant them, I started some more seeds in March. They have already started climbing the windows and are begging to be planted. I can hardly wait to get them outside.

I came home from work the other day and my sweet husband had built me a frame and trellis. He did a really good job. The next day he had me some fresh dirt. After our afternoon walk, I could not wait any longer so we put on our garden gloves, poured the dirt and planted the tiny plants. Now my loofahs are ready to grow. 


I contacted the nursery where I purchased the seeds and she said one plant will get big and will produce lots of loofahs. She said each plant will give me 10 to 12 loofahs, so only 3 or 4 plants is all I need. I hope this works. I have never had any luck growing things. I’m actually thinking about taking up two of them. I am just waiting to see if they thrive without being eaten by squirrels, bunnies and birds. 


I added some string to train them to grow up the trellis. They started grabbing hold within 15 minutes of planting them. 
Now we wait. I hope they do not get shocked from being transplanted outside.

Loofah plants will produce large yellow flowers before the loofah gourd begins. These flowers will attract lots of bumble bees, butterflies and humming birds. The plants will need them for pollination.
I will keep you updated on the progress. This is going to be fun.

DIY Wine Glass Charms

My daughter received a gift from a friend to host a wine tasting. She can invite up to ten guest. She only has to supply her home counter space, glasses and a few pick ups. Her boyfriend has a nice home and has allowed her to use his place for the wine tasting event.

I was invited but I will not be attending. I will leave it to her and her group of gals. Though I feel like I'm in my 20's, when I get around girls in their 20's, I feel I'm in my 40's again.

For the wine tasting, she will have some lite pick ups for snacking. She can sit back an enjoy the rest of the party as the wine demonstrator will be doing all the work.

She was looking for some wine markers for the wine glasses. These can be a little costly when you need to buy more than a couple. They usually will come in gift packs of four and can be as much as $10.00 a pack. I put on my thinking cap and came up with a simple and cheap solution. Wine tassels.


She liked the idea as most of her friends like the look of little trendy tassels on things they purchase.

I can hardly call this a DIY project as all I did was add a charm on an earring hoop.


Yes, that's all. I went to the local craft store and found a pack of earring hoops for 2.99. I was going to make the actual tassels but since I was running out of time, I decided to purchase some from a crafter on Etsy. I got twelve different colors for less than 8.00.


I chose more regal colors instead of the pops of bright circus colors.
We liked how they turned out and each person will have a choice of their own color as no two colors are the same.

I put this project together in less than ten minutes but now looking at them, It's driving me crazy that the ring hoop and the tassel loops are two different metals. Maybe no one will notice. ya think?

You can use the same technique and add other types of charms or beads to the earring hoops.


Homemade Toothpaste with MorningPep Xylitol

I am no tree hugger, but I do believe natural remedies are the best. They are healthier and will save me money in the long run. If it saves trees, then I'll take that as a bonus. With that being said, I've been introducing myself to more natural products lately. I want to be more natural and rid myself of as many toxins as possible.

It is hard to find items and ingredients that do not contain harmful junk in them such as toothpaste. I mean, have you ever looked at the warning label on your toothpaste? There is stuff in there that I cannot even pronounce. Do I really want to use that? It hasn't hurt me in all these years, but really, who knows?

I was just looking at the branded toothpaste the other day and there are warning labels containing statements such as, “If ingested contact poison control." I'm pretty sure we all have eaten toothpaste before. I also read " Do not use more than 4 weeks." So, what are you supposed to do after 4 weeks? Stop using toothpaste? I’ll admit, I do not have real good teeth, but I have brushed my teeth regularly all my life. I’m ready to try alternatives. I believe things are put on this Earth for the good. Therefore, natural is best.

I have been wanting to make my own toothpaste for a while so I began doing some research on natural options and found the perfect concoctions.


One ingredient I used is Morning Pep Xylitol 100% pure natural sweetener (made in the USA).
This sweetener is perfect for coffee and baking as it looks and tastes just like sugar (without the bitter after taste other sweeteners can leave behind). It contains 40% fewer calories than sugar, low carb and glycemic index, making it safe for diabetics. There are also no wheat, soy, dairy, corn, or gmo found in this product. It is also declared safe by FDA.


So why am I using this in my natural tooth paste recipe? Other than adding a pleasant sweetness to my tastes buds, Xylitol also has many dental health benefits. Here are just few just to mention:
  • Starves and kills bacteria for better oral health.
  • Protects tooth enamel as it has the ability of materialization deep in the layers of enamel. 
  • Great for bone health (so remember that when using it as a sweetener for ingestion). 
  • Fights yeast bacteria.
  • It even reduces inner ear health by killing bacteria in the mouth that can cause ear infections. 
Are you ready for the recipe to this remarkable tooth paste using only 4 ingredients? Well wait no longer. Start bettering yourself with this and other safe natural home remedies.

Natural Homemade Toothpaste


1/2 Cup -Coconut Oil (also kills harmful bacteria)
3 Tbls- Baking Soda (for whitening)
1 Tbls- Xylitol (sweetener with dental benefits )
1 Tsp *Mint Flavoring.
*I used pure mint flavoring but you can also use cinnamon or essential oils.

Melt the coconut oil in a glass bowl for about 30 seconds in microwave.
Once melted, add remaining ingredients and mix until smooth.
Place in a small glass jar with lid and let cool completely before using.
(The oil will separate, so I would just shake the jar a couple times during cooling to keep it mix up 
or you can simply mix it before using. 
Either way makes a nice paste)

To use: Dip toothbrush directly or use small spreader or spoon. 
You can also add the paste to a small silicon squeeze bottle then apply to toothbrush. I found my little bottle at the dollar store. It’s actually a salad dressing holder and it works perfect. 


I will be using this MorningPep Xylitol sweetener in a lot of my baking and as a necessity for my morning cup of Joe. 
So stay tuned for some healthy sugar free recipes coming soon. 


Where to shop:

I have been financially compensated for this post. 
The opinions are completely my own based on my honest experience. 


WARNING: Xylitol can be toxic for dogs.


Woven Slip Knot Bracelet

Holy cow! I just made this slip knot bracelet using a cracker box. Seriously! Just wait for it....


I have been seeing these cute weaved or braided slip knot bracelets online and in stores. During the 80's and 90's, we called them friendship bracelets. They are making a come back and the market is flooded with them.

I knew I could make my own if I could just figure out how to make the slip knot. I used to know how to make all kinds of knots when I was younger. It seems like every kid was taught this in school. Maybe it is some kind of survival technique we will need in the future. But now, I just want a cute little bracelet, so I freshened up on my knot course.

(excuse the blown out tattoo)

I didn't have any wax string needed to get the original look so I turned to some crochet thread instead.
The thread was too thin. I looked to see how I could crochet in some thickness. That's when I came across an idea of using a piece of cardboard cut in a circle with a hole in the center and 8 slots around. The way the string is moved around the board creates a weave that magically comes out of the hole in the center.

Ok, I had to try it, so I put down the crochet hook and ran into the kitchen where I knew there was an empty cracker box that Nick just finished off. I cut and slotted it then headed back to the instructions.


By golly it worked. It was sort of a long process, but it actually created a tight weave using 7 strings of thread. It was so easy a kid can do it. I just suggest thicker string for a quicker process.

After I had the length I needed, I tied if off. I made it adjustable by adding a slip knot and decorated it with a couple beads. I like how it turned out. I also like how it looks paired with my Alex and Ani string bracelet.


Instructions I used for the woven bracelet can be found HERE.
Alex and Ani Bracelet can be purchased HERE.

DIY- Desk Top Zen Garden

I have been wanting a Zen garden for a while now. AKA Japanese rock garden.


Zen gardens go way back to the sixth century when Monks created the first Zen gardens to aid in meditation. It was a place to go for peace and serenity. They would consist of a large area of sand in a setting that included rocks, small plants and rakes. Ripples in the sand represent the nature of water. Rocks are delicately placed to add energy.

Small Zen gardens are popular right now. Kits for these small gardens online can cost up to $100.00 depending on the quality of dish, sand and rock you choose. That's just crazy, so I decided to make my own for less than $9.00.


First I called my brother in law at the beach and asked him to bring some soft white sand when he comes to visit. When he arrived last week with a bucket of sand, I was excited. I mean, who else can have the beach delivered to them?


Next I ran out to the thrift store where I found a small shallow glass dish and an unwanted fake succulent to adopt.

I needed a rake so I visited an Etsy shop and purchased an authentic Art of Bali brand Zen rake. This was the most expensive part of my project costing a whopping $5.75.


I glued the plant to the bottom of the glass dish, poured in the sand and began to play. I think I spent a half hour playing with this thing once I got it all together. It's amazing how something so simple can add hours of soothing fun to your desktop or table.


Many people have resorted to small desk size Zen gardens as they reduce stress, improve focus and relaxation. Most Zen garden include a little buddha statue, but I prefer to stay away from that. Meditation? Na, My meditation is in prayer.
I just like the way it looks. It adds some tranquility decor to my office. I do think it is relaxing. After all, I am fidgety. This may even keep me from all the doodling on paper that I do.


Glass dish- Goodwill -.99 cent.
Plastic Succulent- Goodwill $1.49.
Desktop Zen garden Rake- TheZenGardner $5.75.
Sand- Myrtle Beach, SC-  FREE +1 cup of coffee.

No way to get real sand? 
Visit your local dollar store where you can purchase a small bag of craft sand for only a dollar.

Oversized Crochet Sweater

So far we have had a pretty mild Winter here in North Carolina. We had one snow fall back in December that slowed the city down for a day and that's it. Our average temperatures for January have been in the 50's. However, we have had a lot of rain. I think it has rained almost every day since August with only a few peeks of sunshine. The grounds here are saturated and cars are dirty. I’m beginning to feel like I live in a mud hole.

Though it has been rather warm around here for now, I believe Winter will finally hit us in February. Looking back, February is the month we have always had our biggest snows. I do not like being out in temperatures lower than my age. I also do not like wearing layers of clothes and I am not a fan of coats. I’d rather wear light sweaters. Speaking of sweaters, with a cold spell in mind, I’m sucking it up and decided to take a shot at making my own crochet sweater.


I limited my crocheting to only an hour a night since this project was for me and there was no rush. It was more enjoyable not having a deadline and just work on it a little each night while watching. Six skeins of yarn and a few nights later, I had made my very first sweater. Something I can actually wear. 


It was crocheted using a double crochet stitch in five sections with added crocheted ribbing to each; two front half panels, one back panel and two sleeves. 
Then sewn all together. There were times I thought I was creating a monster because it just seemed so big! I’m used to crocheting little things.

At first I thought it was too heavy and bulky, but after a regular cold wash in the washing machine and tumbled dry, It turned out soft and comfy. 
This sweater can be worn alone or as a pull over with a shirt underneath. I love the tunic length and the puffy sleeves. 


If there was anything I could go back and change (which actually I could but I’m too lazy) is to make the neck a little bigger so it would hang off the shoulders. This sweater will be perfect for the cold weather that could possibly arrive next month. 

There is no printed pattern for this sweater. I actually found a video tutorial online and wrote the instructions down. If you would like to make this sweater, you can find the tutorial video HERE

Yarn- Acrylic
Color- Silver Mist
Brand- I love this Yarn
Mug- Gift from Nutrisystem
Nail Color- Strawberry Latte (gel)

Crochet Chapstick Cozy

I took a break from big crochet projects to do some small things. I have been busy Christmas shopping, wrapping gifts and tidying up the house for Christmas.

Speaking of wrapping gifts, every year I wrap up some little gifts for the girls.
“The girls” are my daughters friends. One is her roommate and one is her best friend from college. The three are inseparable. Every year they pick a night during Christmas to set out a little tree , pull out the Christmas movies and bake cookies. I make sure they have some little gifts under their tree to have fun opening. They are addressed "from Santa". 

This year I got each one of them a planner, some beauty accessories then added a chapstick to top it off. My daughter is always looking for her lost chapstick, so an idea hit me. I decide to crochet each of their chapsticks a little chapstick cozy (aka holder). 

I told Nick my plan and he gave me a funny look. “You just watch me” I said as I flipped open my iPad and searched for a pattern.

Bingo! I found several different patterns, so I had to decide which worked best for me.
After fiddling around with my yarn and crochet needle, three tiny chapstick cozies were born. 


I showed them to Nick and he was surprised. He thought they were rather cool.
I finished the cozies off by adding a key ring to the top and packed them neatly with each gift. 


My daughter texted me once they opened their gifts. They giggled and thought the crochet cozies were the best. 

It was just a little something fun to add to the mix. Now maybe my daughter can keep up with her chapstick and leave mine alone. 


Crochet Chapstick Cozy (free) pattern can be found HERE.

Crochet Holes

I enjoy wearing my holey distressed jeans. If you follow my blog, you may have read how I distressed my own jeans. I will go shopping for new jeans and can’t hardly find any that are not full of holes and look like they have been in a bull rink. I just refuse to pay high prices for ripped jeans. But then, again, they are my favorite. Go figure.

Last night as I was itching for something to crochet. I seen my jeans laying in the stack of clean clothes that my husband had just folded. Yes I have a wonderful husband that does the laundry a lot. He also washes dishes. We are good at sharing chores.

As I was looking at my worn out jeans, A thought crossed my mind of crocheting a patch on one of the bigger holes. When I get a thought, I have to attempt the process or it will drive me crazy. I found some instructions online then pulled out my yarn and hook and crocheted a hole. 
[Husband rolls eyes]. 


I like how they turned out and it gives them some unique character. Distressed and holey jeans are fun to wear when the weather is too warm for pants but too cool for shorts. 


I remember back in the day we would wear holes in the knees of our jeans and mom would sew patches on them. We did not go anywhere with holes in our pants. We also used to wear our jeans until they were too short, then mom cut them off to make shorts. The cut off part would go into the scrap barrel and used for more patches in the future. 
Clothes were not thrown out and wasted like they are today. 


Crochet pattern can be found HERE.


Wave Ring

I have been wanting a “wave” ring. So I went online and started shopping.


The more I looked at them, the more the do-it-yourself-er in me said, “Hey I can just make one of these!” So I jumped online to find some directions and within two clicks, I found an instructional video. Seriously, you can find anything on Google or Pinterest now days.

I jumped from my recliner and told my my husband I would be in my craft closet if he needs me. Yes, I have a craft closet not a craft room, but that's a good thing. I would have a mess if I had a whole room. This is where I store my paints, ribbons, buttons and other crafty stuff. I really do not do that many crafts, well, unless an idea strikes, like this ring idea

After about 30 minutes of finding my roll of wire and the tools I needed, I started on the ring. I bent and twisted a two inch wire until I had what appeared to be a wave, or in my mind looked like a shark fin. At this point I knew I needed to stick to crochet and leave the jewelry making to someone else. 


While It looks ok in the picture, I did not have the right kind of wire. What I used was too thin. I wore it to work the next day but did not like how it felt. It was too flimsy and as fidgety I am, I had it bent all out of shape. I got the general idea of how to make one but I refused to keep trying. My patience are only about 30 minutes long. 

The next evening I went online and ended up ordering one from a shop in California. I chose not to pay a lot for it and I did not care what it was made of really. However, It will be a 925 piece (which means it 92.5% silver) and I’m sure I will enjoy it longer than what I can make myself.

Now I have to wait for it to get through the California fires and should be here sometime during the first week of December.

Instructional video I used for my DIY Wave Ring- found HERE.
Ring Purchased- found at The Vault Silver.


Cactus Rocks

Well what do ya know? I found a plant that I can’t kill. That's right. I do not need to water it or feed it. It’s cactus rocks!

I saw this cute little idea of painting rocks on Pinterest the other day and since I like to paint and do crafty stuff, I thought I’d give it shot.

Francilina stole three rocks from the Wendy’s parking lot and the fun began. 
(Name has been changed to protect the guilty).


I took these rocks outside one 98 degree day and painted away. I never even broke a sweat. (I ran a 5k a few weeks ago and didn’t break a sweat then either, but that's beside the point). Our large dogwood now hangs over the patio enough to give it a nice afternoon shade. I enjoyed my time alone painting rocks. However, it was not easy! 


The base color was easy but trying to paint the tiny prickly hairs that cactus have was ridiculously hard. Oh and by the way, don’t use paint brushes from the dollar store. The bristles kept coming off in my paint making them look hairyeeeee....Wait, I just had an idea. I should have just glued the tiny brush bristles onto the rock to really give a prickly look. Oh well, it’s too late now.
.

I know, I know, they look terrible, but from a distance I think they are ok. Sort of adorable actually. I think I will take them to work and put them up on a shelf in my office.


This would be a great idea for moms, teachers or babysitters. You can create many cactus rocks of different sizes and shapes. Purchase some small planters or cups along with some pebbles from the dollar store. The kids can have fun creating their own little cactus gardens over and over. I mean, it’s not like they will break. They are rocks! Just make sure little Johnny doesn’t stuff the pebbles up his nose. 


Red Tassels

I hope everyone had a wonderful Fourth of July.

I’m just glad I got the day off! However, my day did not start off as planned. I woke up with a terrible eye infection. It was itching and burning so bad, I was ready to gouge it out! It was red, filled with green puss and swollen. I literally looked like I had been in a fight. The doctors office was closed so my husband skipped his morning walk to take me to the nearest “minute clinic” so I could get started on some medicine. I was diagnosed with pink eye. I was pretty miserable all day.

Later we attended a cookout at my brother in laws. I really hated that I could not pick up my little nephew and get sweet hugs from him. I did not want to chance spreading my eye infection. I was told I would be contagious for 24 hours after I start the medicine. It did not keep me from over eating on banana pudding and fruit cobbler though! 

Before we left the house, I wanted a pair of red earrings to match my outfit. I wore khaki shorts, white eyelet top, a red bandanna in my hair and of course, my new red sandals (mentioned in previous post). I thought for a minute on how I can accomplish making a pair of earrings. That's when it donged on me that I have some red embroidery thread and some earring pieces in my craft closet.


I wrapped the red thread around three fingers twenty times. Then cut the loop to make straight strands. Then I added a little hoop to the earring hooks and put the clump of thread through the hoop then folded and tied it closed. I added an extra little hoop around the tassels to add some glam and also help hold it all together. 
It took me all of fifteen minutes to complete and I was ready to go. 


I took a goofy side view to hide my monster eye on the right side. I’m pretty excited how the earrings turned out. No beads or fancy stuff were added to them. I just wanted some accessories and you can’t go wrong with tassels. 

We never went to see fireworks. Our neighbors were texting for us to hurry home so we could all meet up and watch them shoot some off. They said they had enough to make the cops come! I was all in because who doesn't want to be a rebel sometimes, right? We got home as soon as we could but unfortunately we missed the fun so we sat in the yard and watched over the trees at other fireworks from around the block. It ended up being a nice evening and no laws were broken.