Daughter Day

Last week there was a day set aside as “National Daughters Day”. This special day is new to me because, well, I thought every day was daughters day. 

For Christmas last year, my daughter had gotten me a gift certificate to Paddy Wax Candle Bar located in Charlotte. Due to covid restrictions, it was not until now that we were able to go. This was a cute little place nestled in the South End and located near restaurants and too close to the new Krispy Kreme tasting room which will be in my next post. 

Before we went to make our candles, we stopped at a little Asian food place called Hawkers. We ordered a noodle bowl from the small plate menu and shared some Summer rolls and Tofu. 

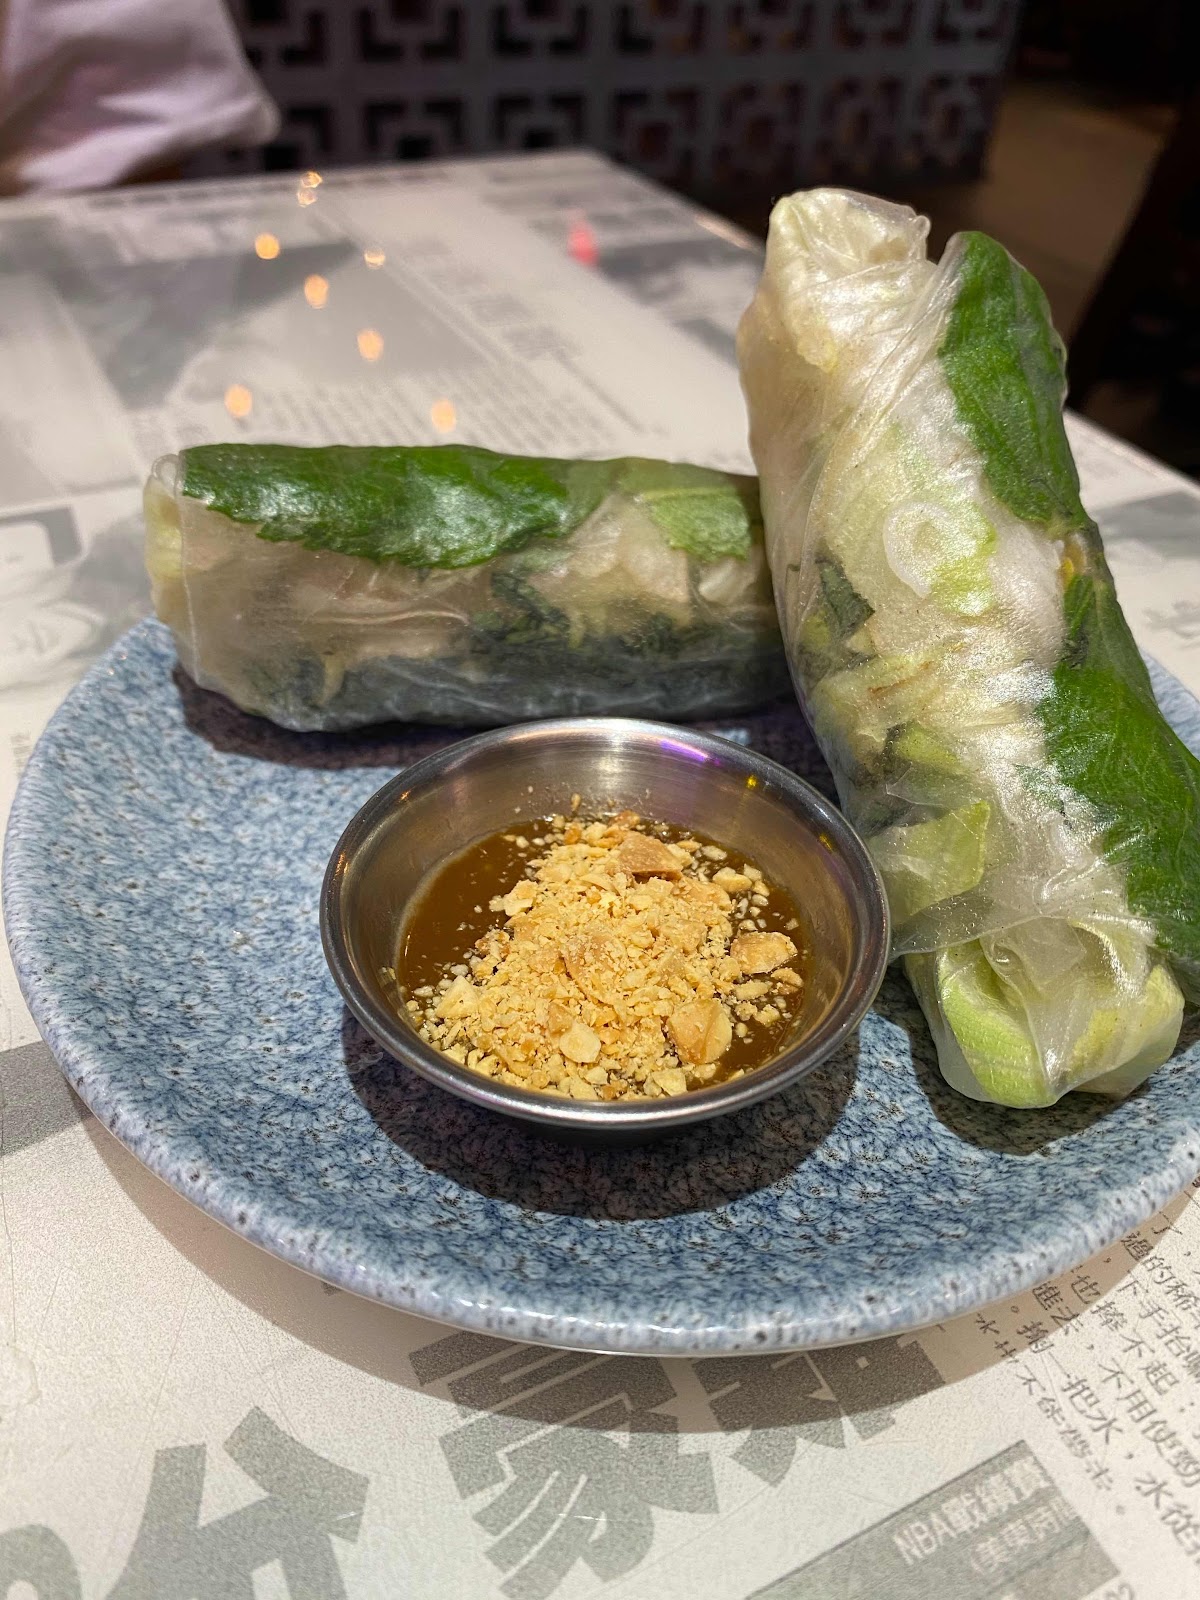
Summer Rolls- Rice noodles, lettuce, basil and mint.

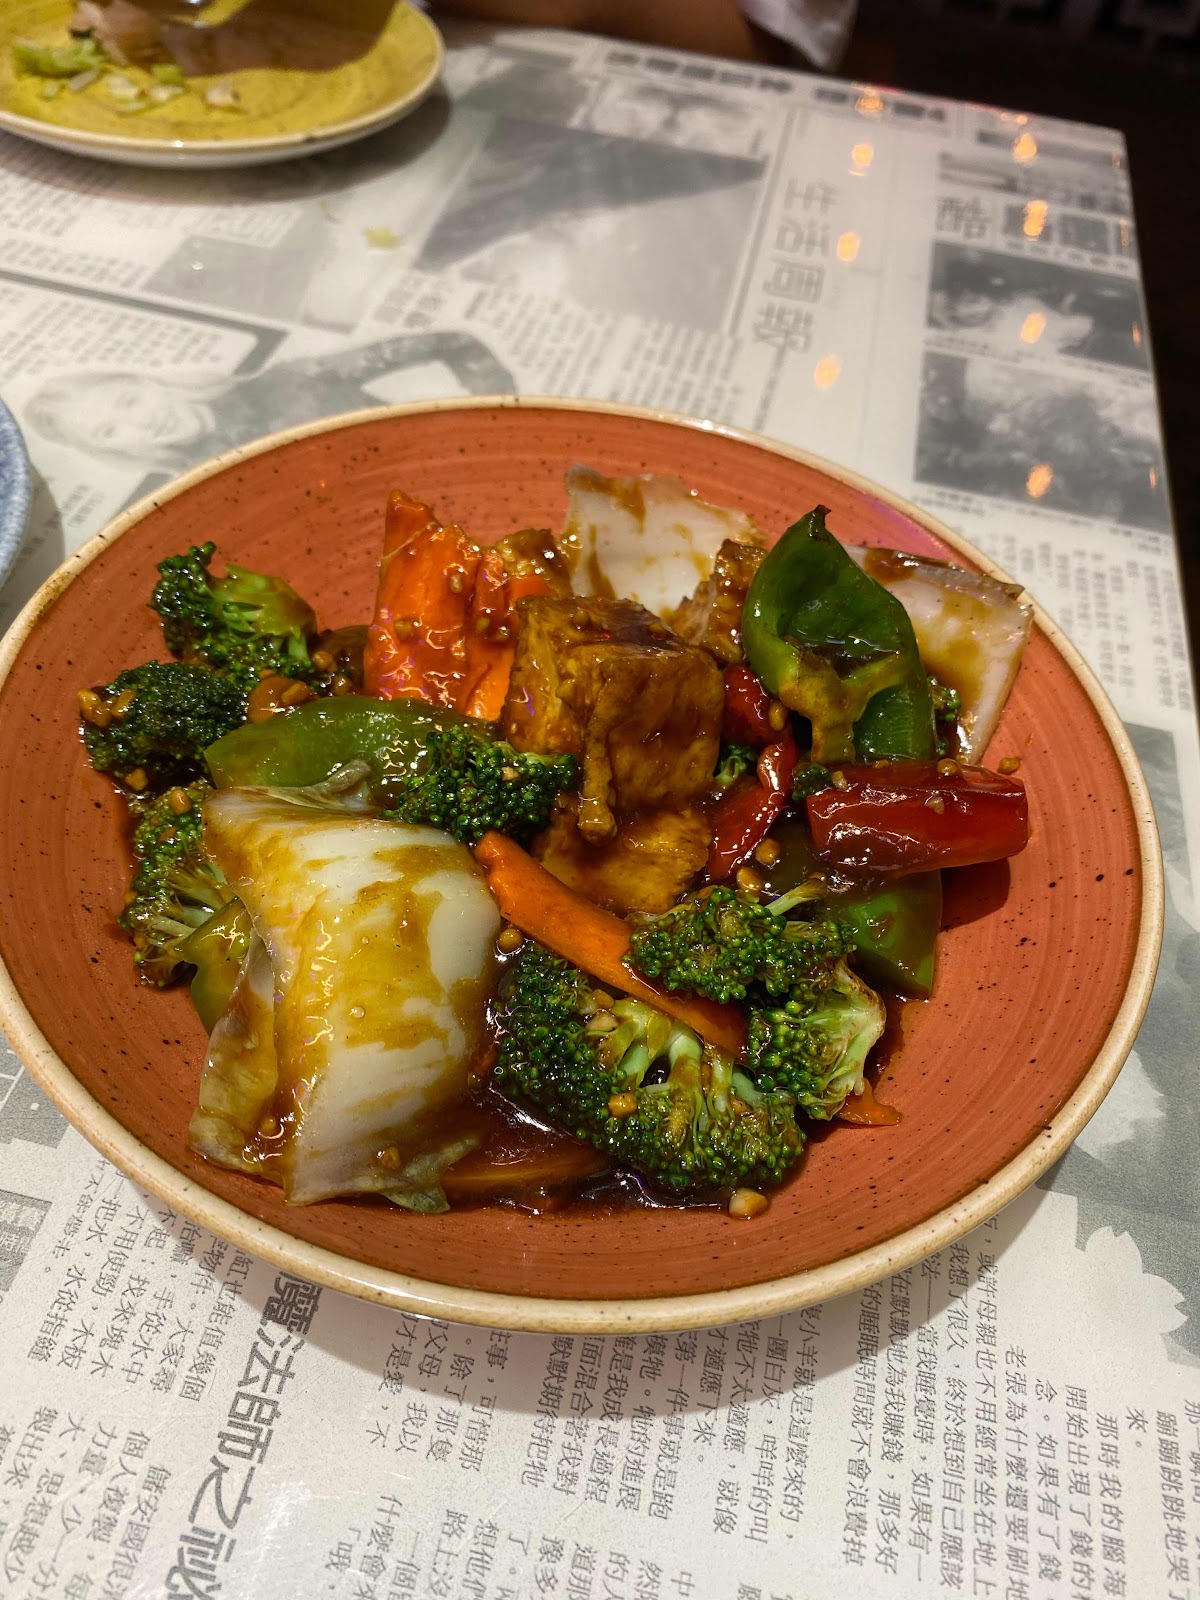
Fried Tofu with peppers, onions and broccoli in a brown sauce.

After a nice little mother/daughter lunch, we made our way to the candle bar as the rain danced on our head. 

I love candles and could not wait to get started. There were eleven of us in the class.
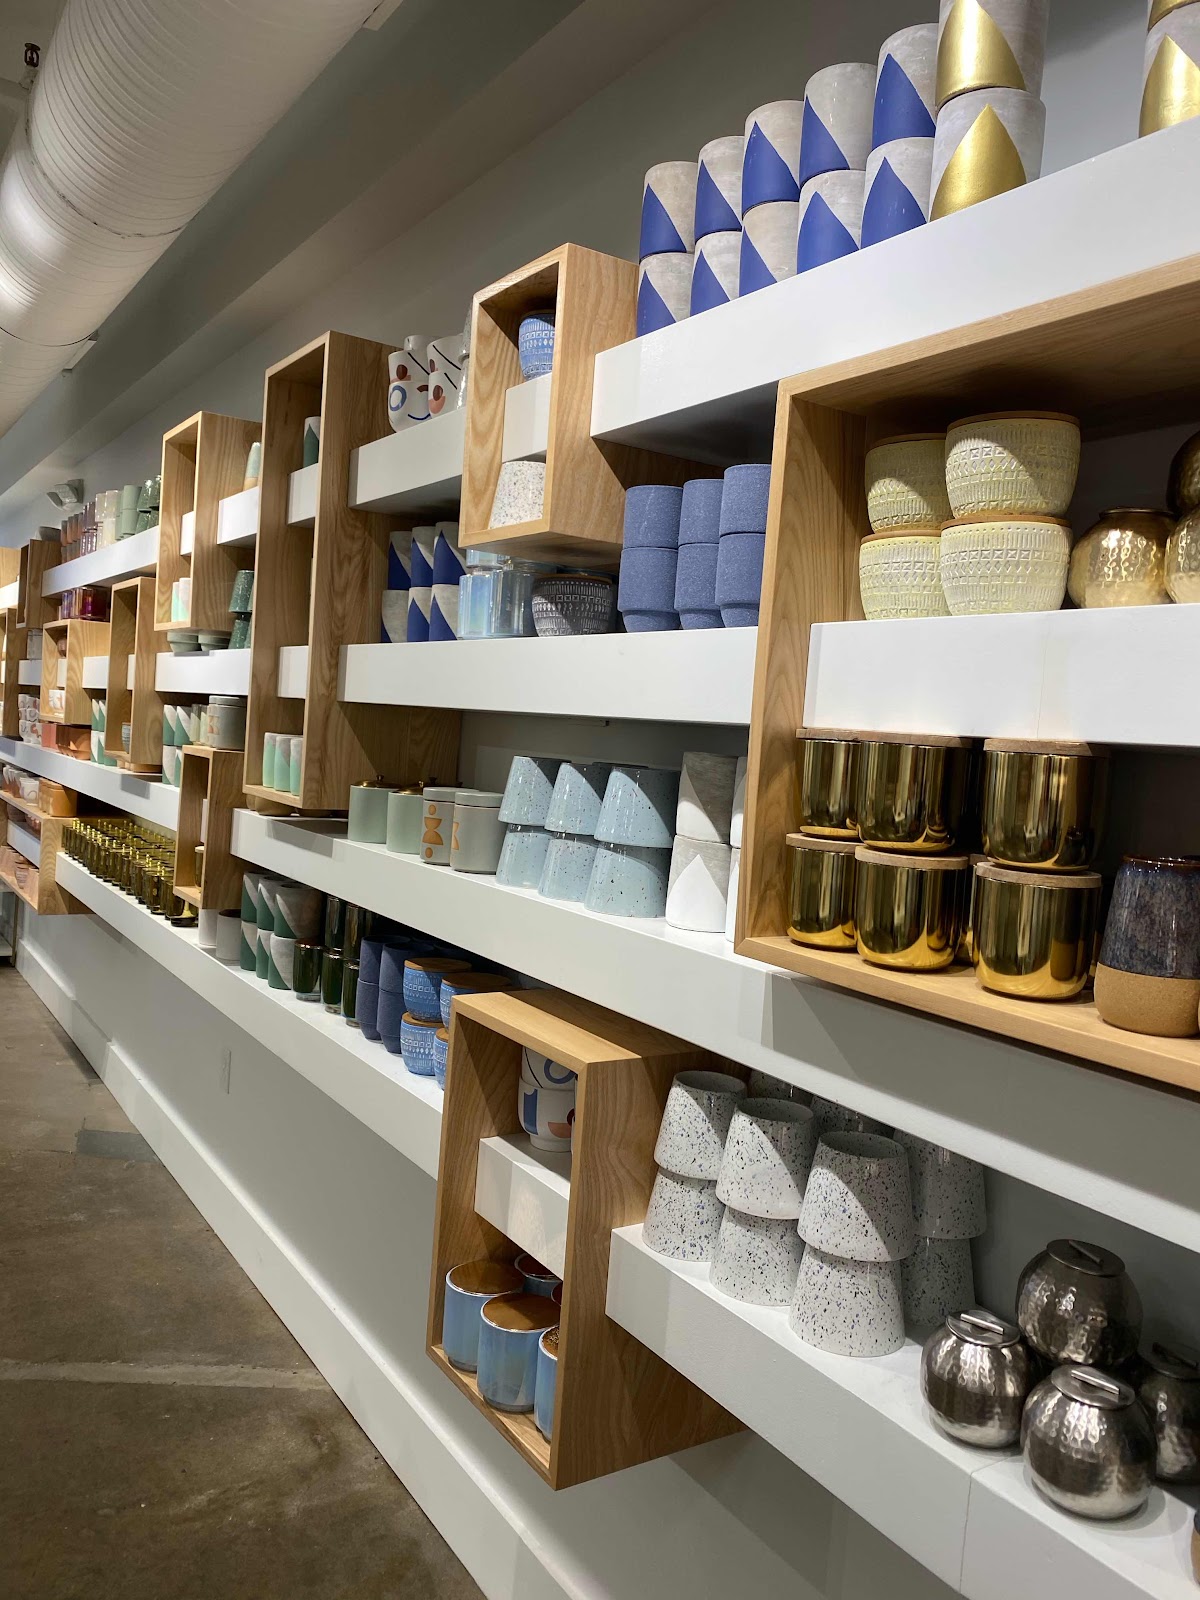
First we listened to the instructor explain what we will be doing and the examples of different types of vessels we could choose from. Then we all made our way to the huge wall of different shapes and colors and picked out our desired style. 


Next we went to another wall full of fragrances to choose for our candle. This is where I am weak. I can never decide on a candle smell. Everything smells so good. I finally decided on “Bamboo Green Tea”. It had a fresh clean scent. My daughter picked more of a Fall scent that made you feel like your sitting around a campfire. 


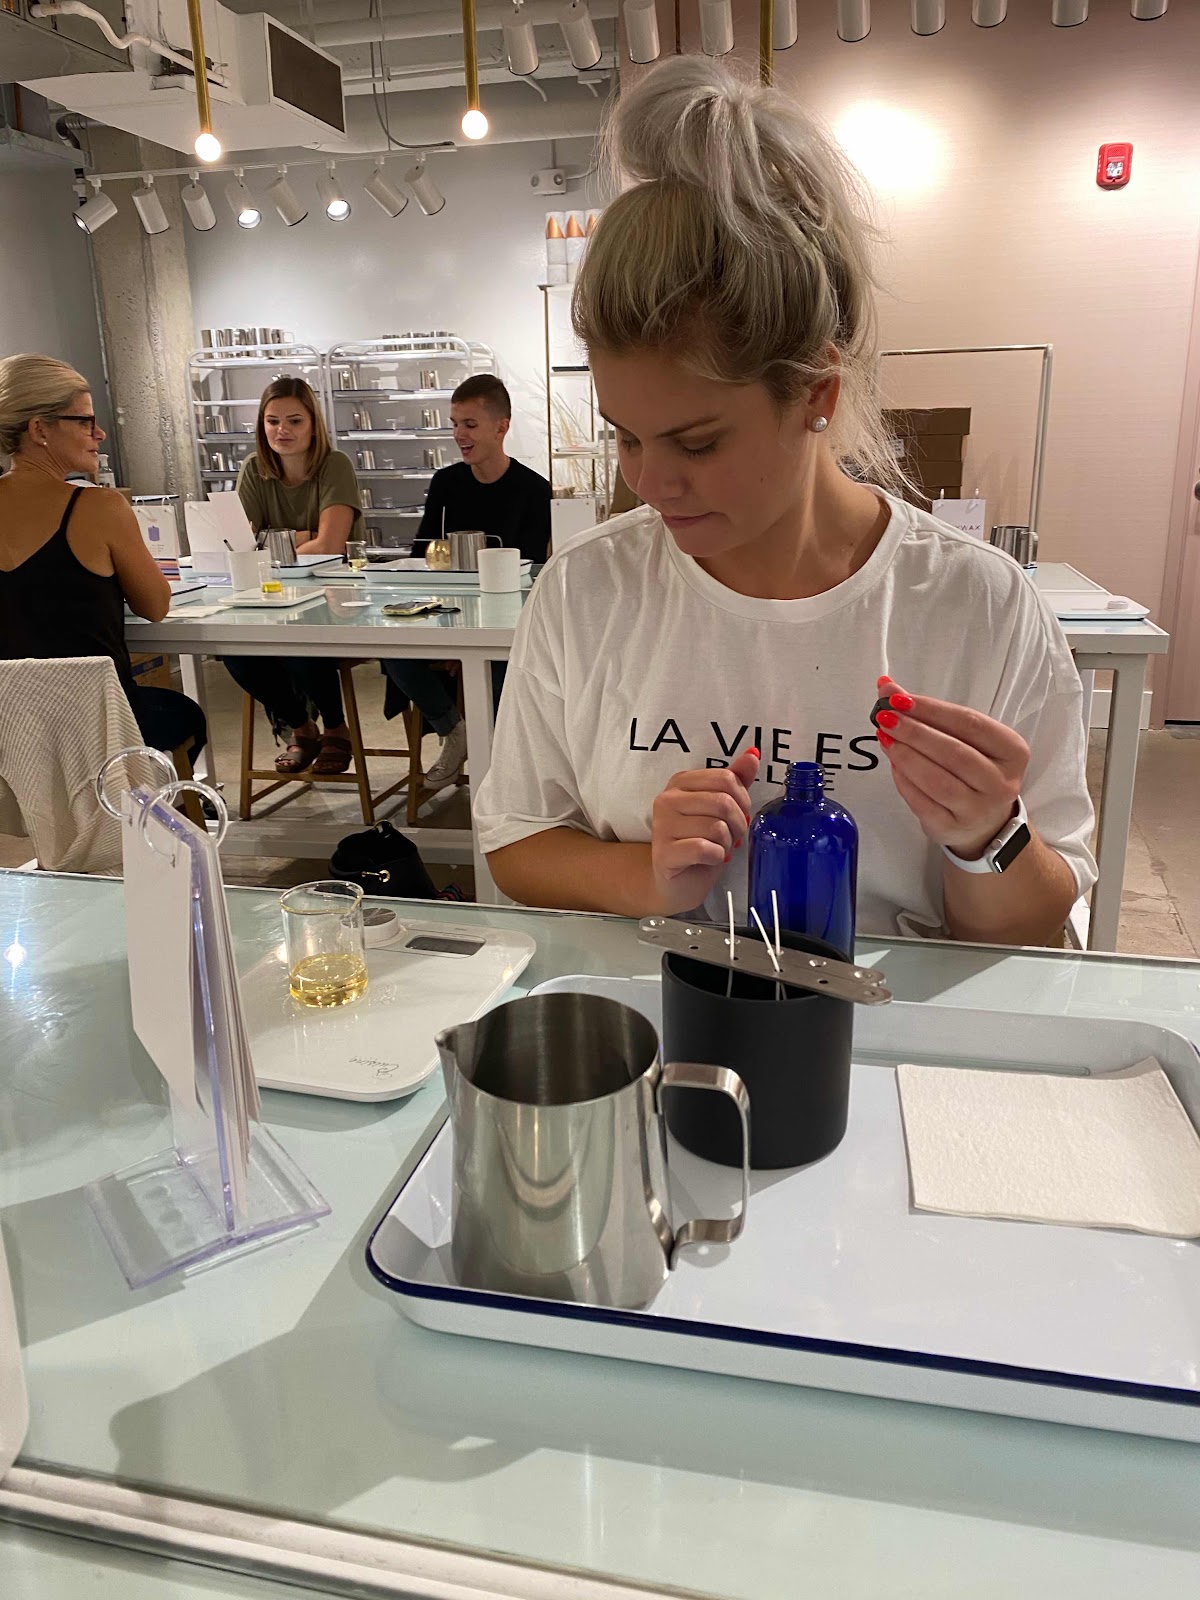
Once our choices were made, we began to make our candles with the help from the instructor and que cards that told exactly how much fragrance and hot wax to apply according to the size of candle vessel we chose. 


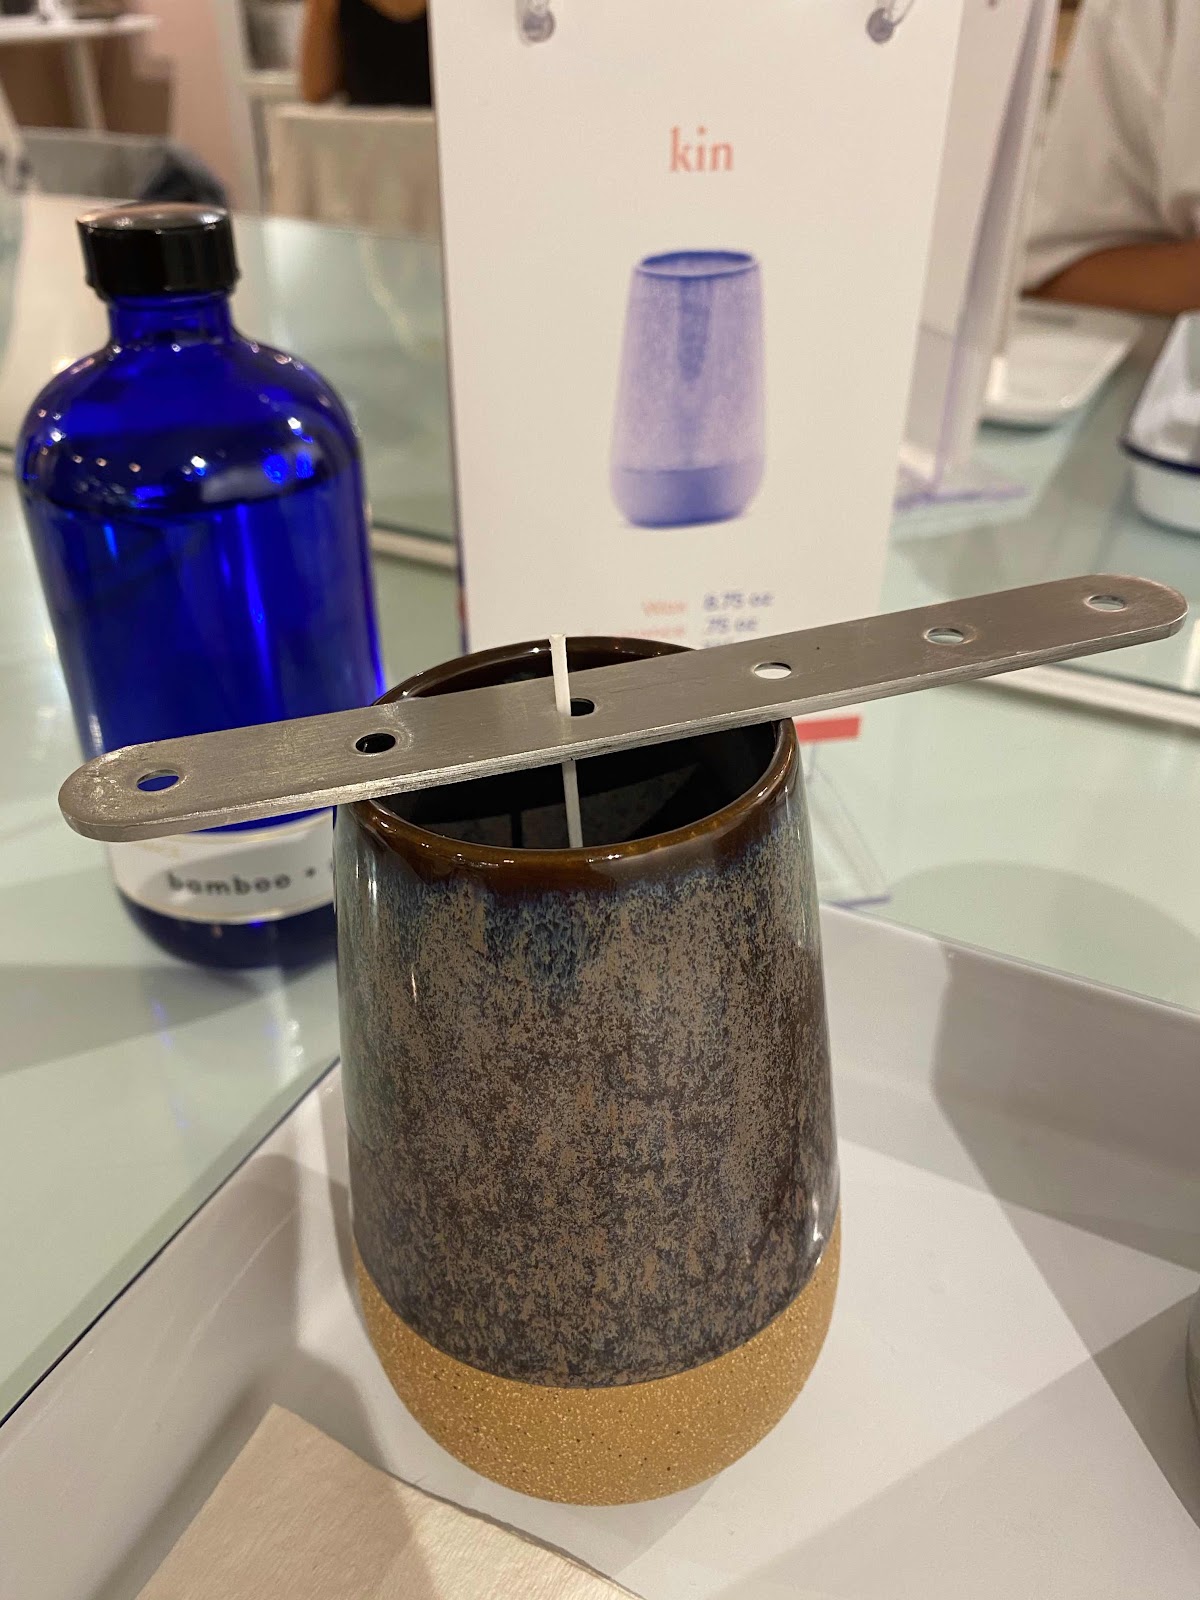
Our candles were not ready for a few hours and we have 30 days to pick them up. You can see what mine will look like from the photo above. My daughter will go back and pick them up and bring it to me later. I can’t wait. 

We had a great day, but it is never enough time together. 

Skin Check

After Covid halted non emergency doctor visits and a few reschedules later, I was finally able to go to my dermatologist appointment. This was the first time I received a full body skin check. 

At the first of the year, I visited the dermatologist with a concern. I had a tiny red spot on my forehead that would not go away. It turned out to be a minor type of skin cancer called “basal cell Carcinoma”. I had it removed then it was stressed to me to come back and have a full body scan. So I did.


The visit was pleasant and painless but not what I expected. I thought the check would be more thorough. There were no bright lights or magnifying glasses. I had to undress to my under clothes and wait. The dermatologist entered the room and quickly looked through my scalp and worked her way down to my toes. It took no more than 3 minutes for the complete skin check. I’m guessing if she saw some concerns she would have taken a closer look. 

I am happy to announce that I had no questionable spots. She said I only had sun freckles and lectured me on my sun exposure and the need for sun screen to protect my skin from sun damage.


Speaking of sun damage. The dermatologist introduced me to a highly recommended supplement called “Heliocare”. It’s made to reduce the signs of aging and protect the skin from damages caused by the sun. It’s a sun protector that works from the inside out. 

“Where was this stuff 30 years ago?” 


Heliocare is a natural supplement with no side effects and is safe enough for anyone to take. It can be found over the counter in the vitamin section. I think it is costly at a price around 25.00. I was advised to take two capsules a day during the summer with one being taken within an hour to going out into the sunshine. During the Winter I will only need to take one a day. 

We spend a lot of time at the beach and love spending the days relaxing outdoors. These will come in handy for sun lovers like us. Yes, us. My husband plans to take this supplement as well. 

Maybe we can now stop aging? Ha, I wish!

As an Amazon Affiliate, this post includes a Marketing Link, 
which means I make a small percentage on the sales 
but it in no way affects the price a buyer may pay.
 Opinions are my own honest reviews


Buffalo Cauliflower Caesar Wraps

I have been trying to eat healthy for years now. Well, I don’t just try, I have actually done pretty good at it. There are days I will eat a meal that is not on my diet and some would say it unhealthy but in reality, no food is “unhealthy” unless your body reacts in an unhealthy way. I have just chosen to try to eat more, let’s say, “natural” foods. Due to health reasons, I had to go on a low sodium diet and have to stay away from processed foods which includes can foods too. So far it’s working for me and I feel great! 

I have also given up caffeine (unless I eat a piece of chocolate). I have limited my bread and sweets and have been trying to eat more vegetables. For the record, I am not a vegetarian. I love meat. I have just been trying to find ways to incorporate more veggies into my diet because, frankly, I am not a fan of vegetables unless its in a salad or a tomato sandwich. 

But lately, I have been addicted to buffalo cauliflower caesar wraps. It’s a great alternative to buffalo chicken. I’m absolutely hooked on this stuff. 
I bought a fresh head of cauliflower and broke it into small pieces. I will put a handful into a ziplock baggie and toss it around with some buffalo sauce. I use the “Sweet Baby Rays’ brand because they are a favorite in bbq sauce as well. 


After I toss the cauliflower, I dump it into my air fryer and cook it for 15 minutes at 390 degrees. It comes out crispy and delicious.

Then I place in on a flour tortilla on top of a bed of lettuce and add a dash of creamy Caesar dressing. I use “Kens” dressing. It’s the best. 


I can’t say it is any more healthy than a Caesar chicken wrap but it’s a good way to to skip the meat and eat some veggies.

Go ahead and try it! But beware, it can be spicy. 

Air Fryer Popover

I have been wanting to make home made popovers. A popover is a light roll made from an egg batter similar to Yorkshire pudding. While they seem large and fluffy, the insides come out somewhat hollow in the middle. 
I found several recipes that are super easy but there is one problem. To make real popovers, I would have to purchase a special popover pan. It looks similar to a muffin pan but are specially made with chambers that air can flow around them causing the dough to puff and, well, “pop over” the pan. 


I was determined to try making popovers but I knew I did not have a special pan nor did I need a dozen of them in my diet. So....
I made my own recipe to create just one popover by using my air fryer. I did not want to heat the oven up for a single serving and besides, I love my air fryer. 


I think it turned out great and made a delicious portion controlled breakfast that kept me full until lunch time. It did not include any sugar until I decided to sprinkle powdered sugar on top. This one reminded me more of a dutch baby pancake but I’m just happy that it tasted so good, and let’s face it, It did “pop over” in it’s own little way. 


I plan to get one of those popover pans soon. Well, soon as I can find one I can afford. 

Air Fryer Popover (single serve)
1/4 Cup- all purpose flour
Pinch of salt
1/4 Cup- milk (I used almond milk)
1 Large egg

Mix flour and salt together.
Whisk milk and egg together.
Pour egg mixture into the flour mixture.
Mix until blended but do not over mix.
Pour into a buttered ramekin or mug.
Add a few berries for some sweetness (optional)
Bake in air fryer at 350 for 15 minutes. 

Top with powered sugar or syrup for a sweet treat.

Crochet Mask

My Sister has been asking me to crochet her a mask. She works in a department store that requires her to wear a mask at all times. She probably has a dozen or more of the homemade cloth mask. I think she collects them as she has one to match every thing she wears. 
Not me, I have three that I rotate when I have to wear one.

A crochet mask? Well, you can’t be a crocheter and not try your hand with the latest trends. Now we all know these crochet mask will not hold to protective standards but she plans to wear them over a paper mask. So basically you can call these “mask covers”  

I looked around at different mask patterns until I found a couple I wanted to try. I took a break from crocheting a blanket that I’ve been working on for a few days now. I think it will take me weeks or months to complete. 

I found some yarn remnants that worked perfect to make this cotton granny square mask. While it looks a little large, It will shrink significantly when it is washed. 


Then I found a pattern to create this cute little basic mask. 


I am pleased at how these turned out and were fun and easy to make. They should arrive in my sisters mailbox by surprise sometime today. 
She has no idea I made them. 


Now I will get back to working on the blanket I’m making and hope to be able to share it with you soon.
Well, not actually “share the blanket“, but share the completed results. Haha.  


Mask Patterns can be found at :

Granny Square Mask Joann.com (free)
Basic mask Lovecrafts.com (almost free)


Pear Pickin

Pears are not one of my favorite fruits but I could not turn down the offer to do some pear pickin. 

One of my former neighbors sent me a message asking if I would like to have some pears. I said “sure”. 
He said, “Great, there is a pear tree behind my shop that is full of pears and they are going to go bad if no one picks them”. So me and Nick grabbed a box and headed to Bessemer City. 


In no time, we had a box of fresh pears. This was a sign business tucked away in an industrial park and we also got a nice tour of the place. It was interesting and we learned a few things.


As soon as I got home I washed them and began looking for recipes. These pears were a little hard and tart but I thought they were good. I have eaten a few for snack and even made some pear preserves which turned out wonderful. Pear preserves are easy to make and great on toast or yogurt.


These preserves also have added cinnamon and vanilla. 


While I was outside the other day, I noticed a few butterflies so I shared some pear with them. Then my daughter came home to visit and I ended up giving her a few pears to take home. I think I have had my feel of pears for the year. 

Now I’ll share with you how I made the pear preserves.

PEAR PRESERVES
•4 cups chopped pears.
•2 cups sugar.
•1\2 Tbls cinnamon.
•1/2 Tbls lemon juice.
•1/2 tsp Vanilla.
~Add  pears and sugar to pot and cook until the pears are soft. Then smash to consistency. 
~Add cinnamon, vanilla and lemon juice and continue cooking until thickens.
Makes one pint (one large jar).
Double recipe for more.

Clothespins

Who has never been to Disney world? This girl!!! That’s who! I will probably never go during the rest of my life. My husband has no intensions of us ever going and I’m not driving eight hours away without him. So thats that. But honestly, I really don’t care about going. Disney has never really been my thing though I used to love Mickey Mouse as a teenager. I grew out of that phase. 

I speak of Disney World because my daughter will be going again for her 3rd time. This time will be different for her. She is a glamor girl and likes the fancy hotels but this time she has decided to rent a camper on a campground at the Disney park. I guess we put the camping life in her blood somehow through the years. I think she will enjoy it. 

I decided to give her a couple little things she can use on her Disney Camping trip. One thing I think she can use will be some clothespins. There is a little story about hanging clothes on the line that Nick enjoys telling people. When he took me on my first ever camping trip to the beach, I was not so sure about it. As we drove through the campground to our destination, I was looking at campsites and said “There is no way I’m hanging my clothes on the lines like these other people are doing”.  Before the day was over, I was hanging towels on the line. I fit in and adapted just fine and love the camping life now. 

Ok let me get back to the clothespins. I purchased a pack of the short bamboo clothespins and got a little crafty. You know I had to add a little Mom touch. I painted her a few sets of Disney themed clothespins. 


These clothespins can be used for hanging clothes or used as chip clips. They really do make the best bag clips. I have several in my kitchen.

Each one is hand painted with acrylic paint and then sprayed with varnish for the final finish. The varnish will keep them from fading or staining. I had a lot of fun painting these and she seemed excited about taking them with her. A little part of me goes with her everywhere.

This would be a great project you can do with your kids. If you do not have varnish, you can use modpodge. A bag of clothespins in most stores are no more than a dollar and the paint is only 50 cent each at walmart. It’s the love and time put into painting them that makes them priceless. 

If you would like to purchase a set you can also visit my Etsy shop.