Showing posts with label DIY. Show all posts

Camper Coin Purse

I can do a lot of things but sewing (with a machine) is not one them. I can do a simple stitch by hand to fix a hole in a piece of clothing, or sew on a button, but it doesn’t go much further than that. I have a sewing machine my mom gave me years ago. It sits in my craft closet looking pretty and makes a great resting spot for my other crafty things.

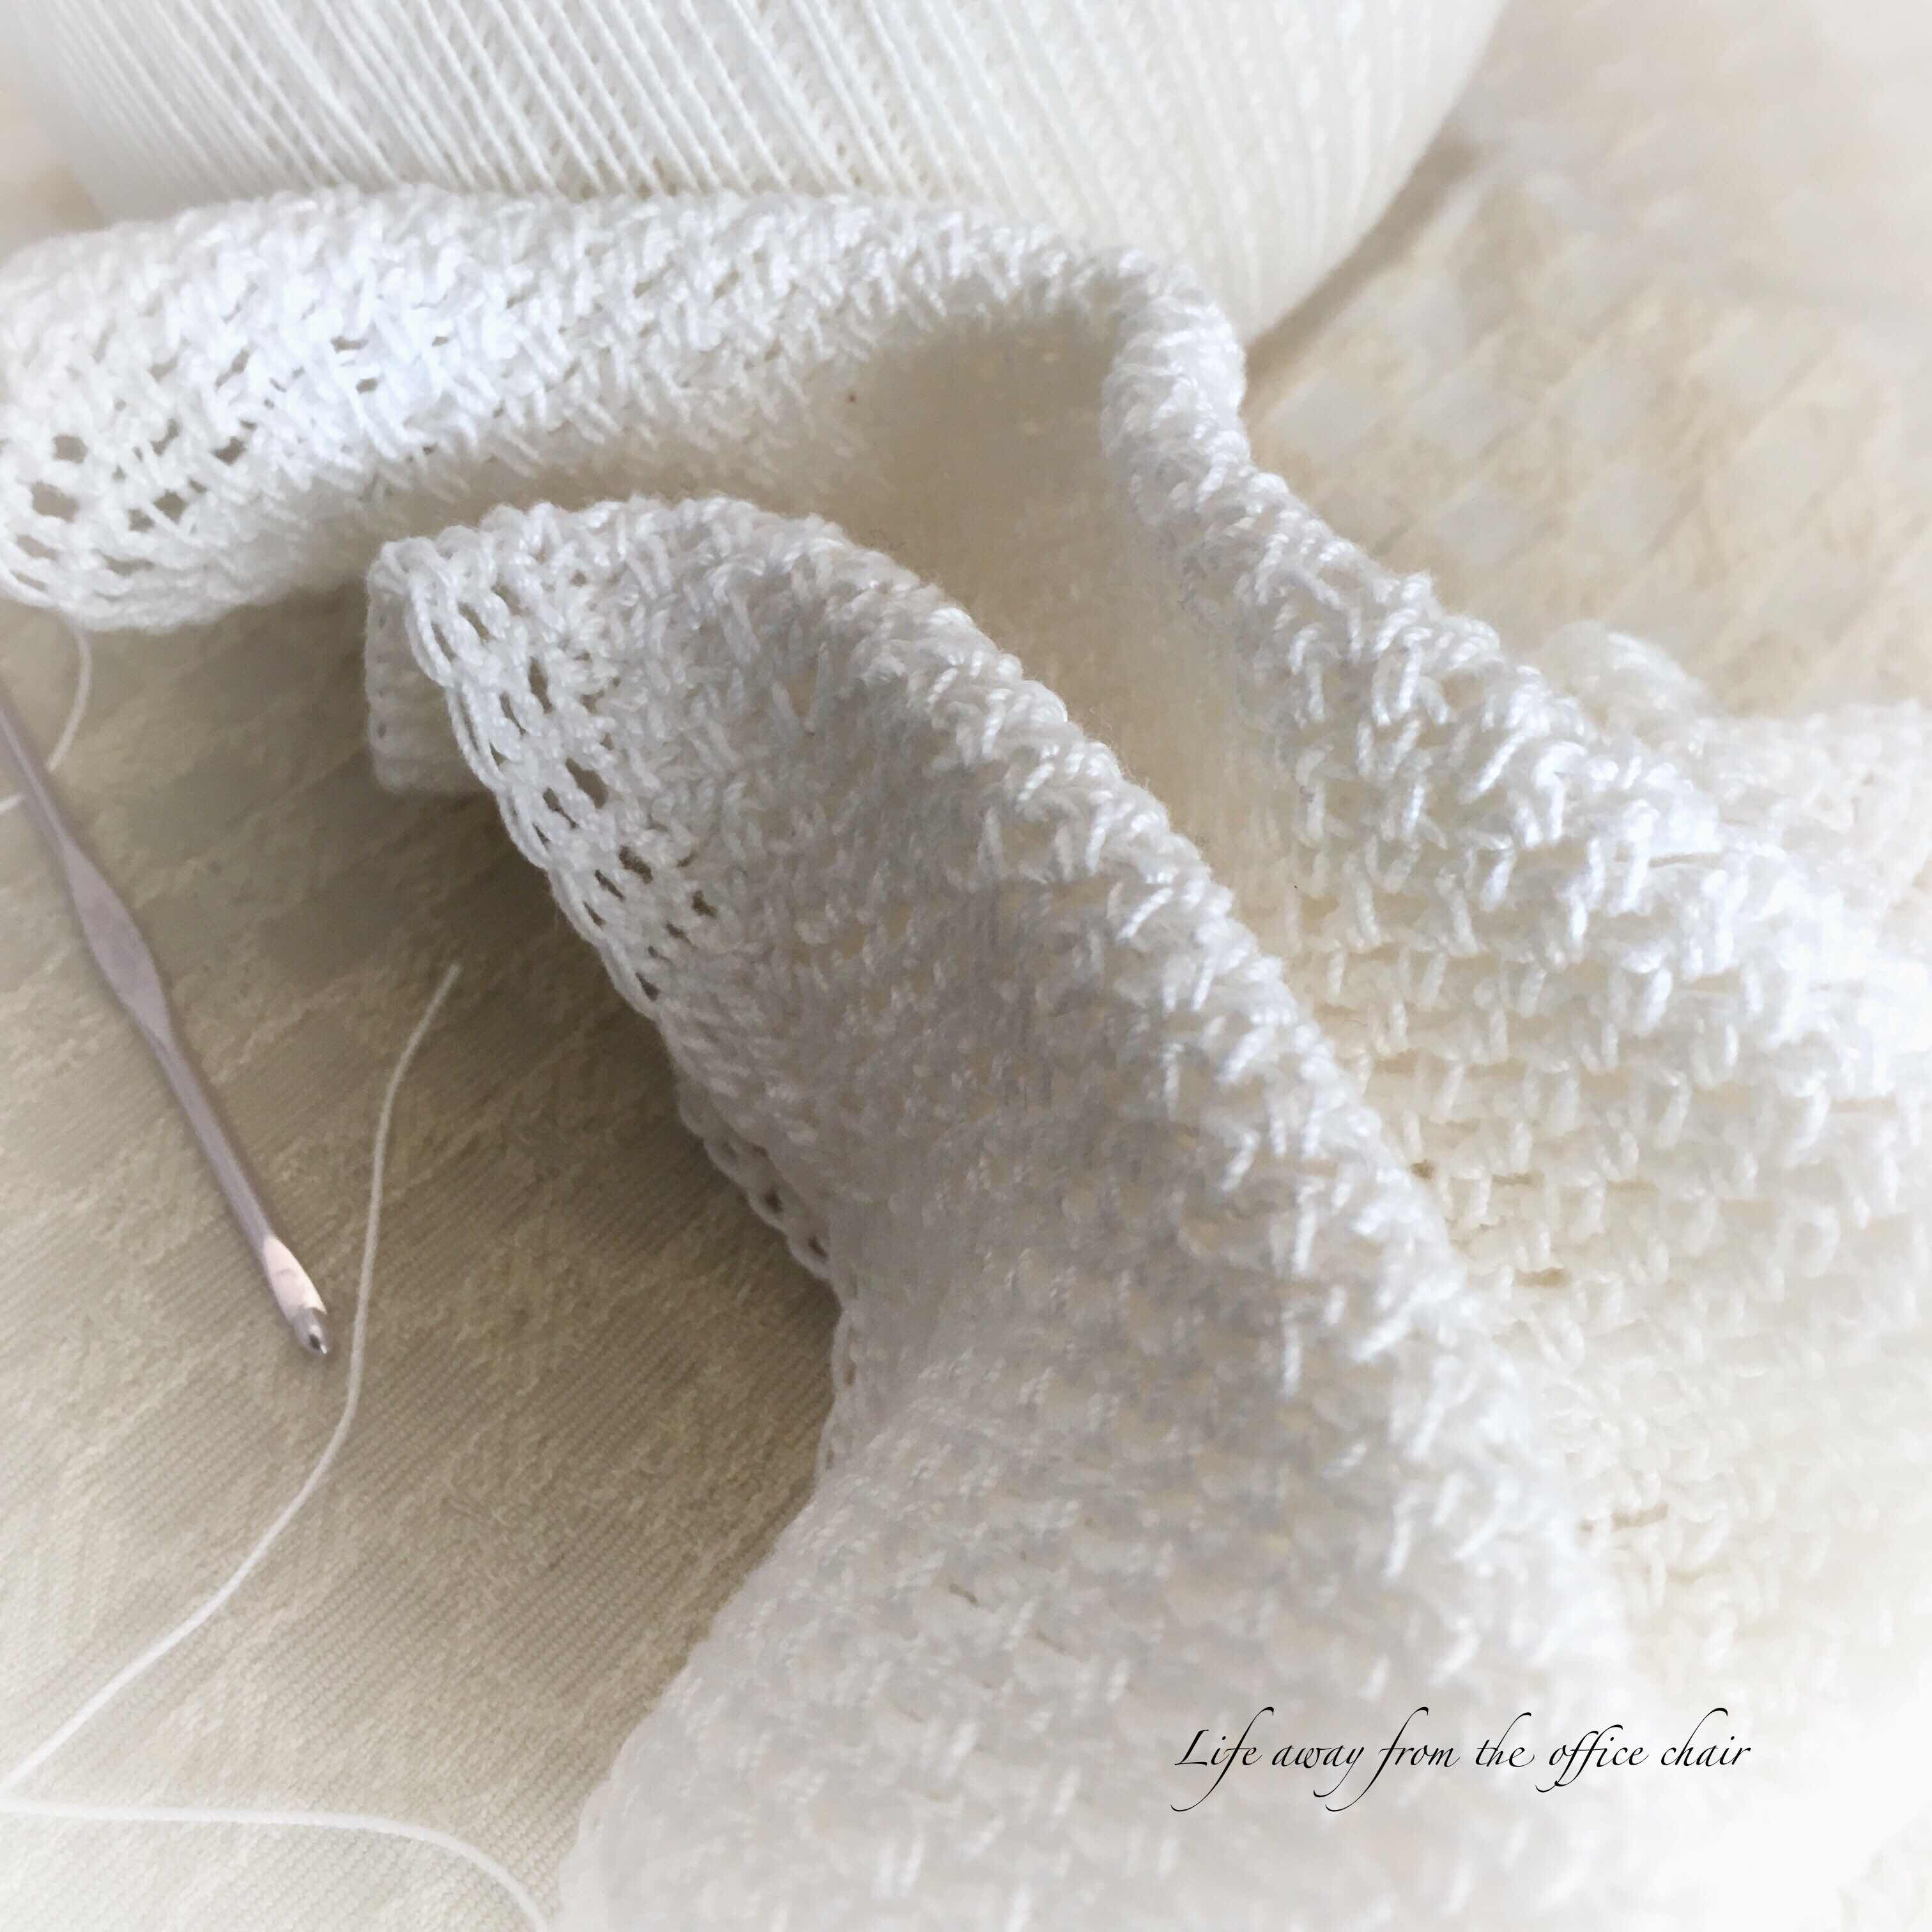
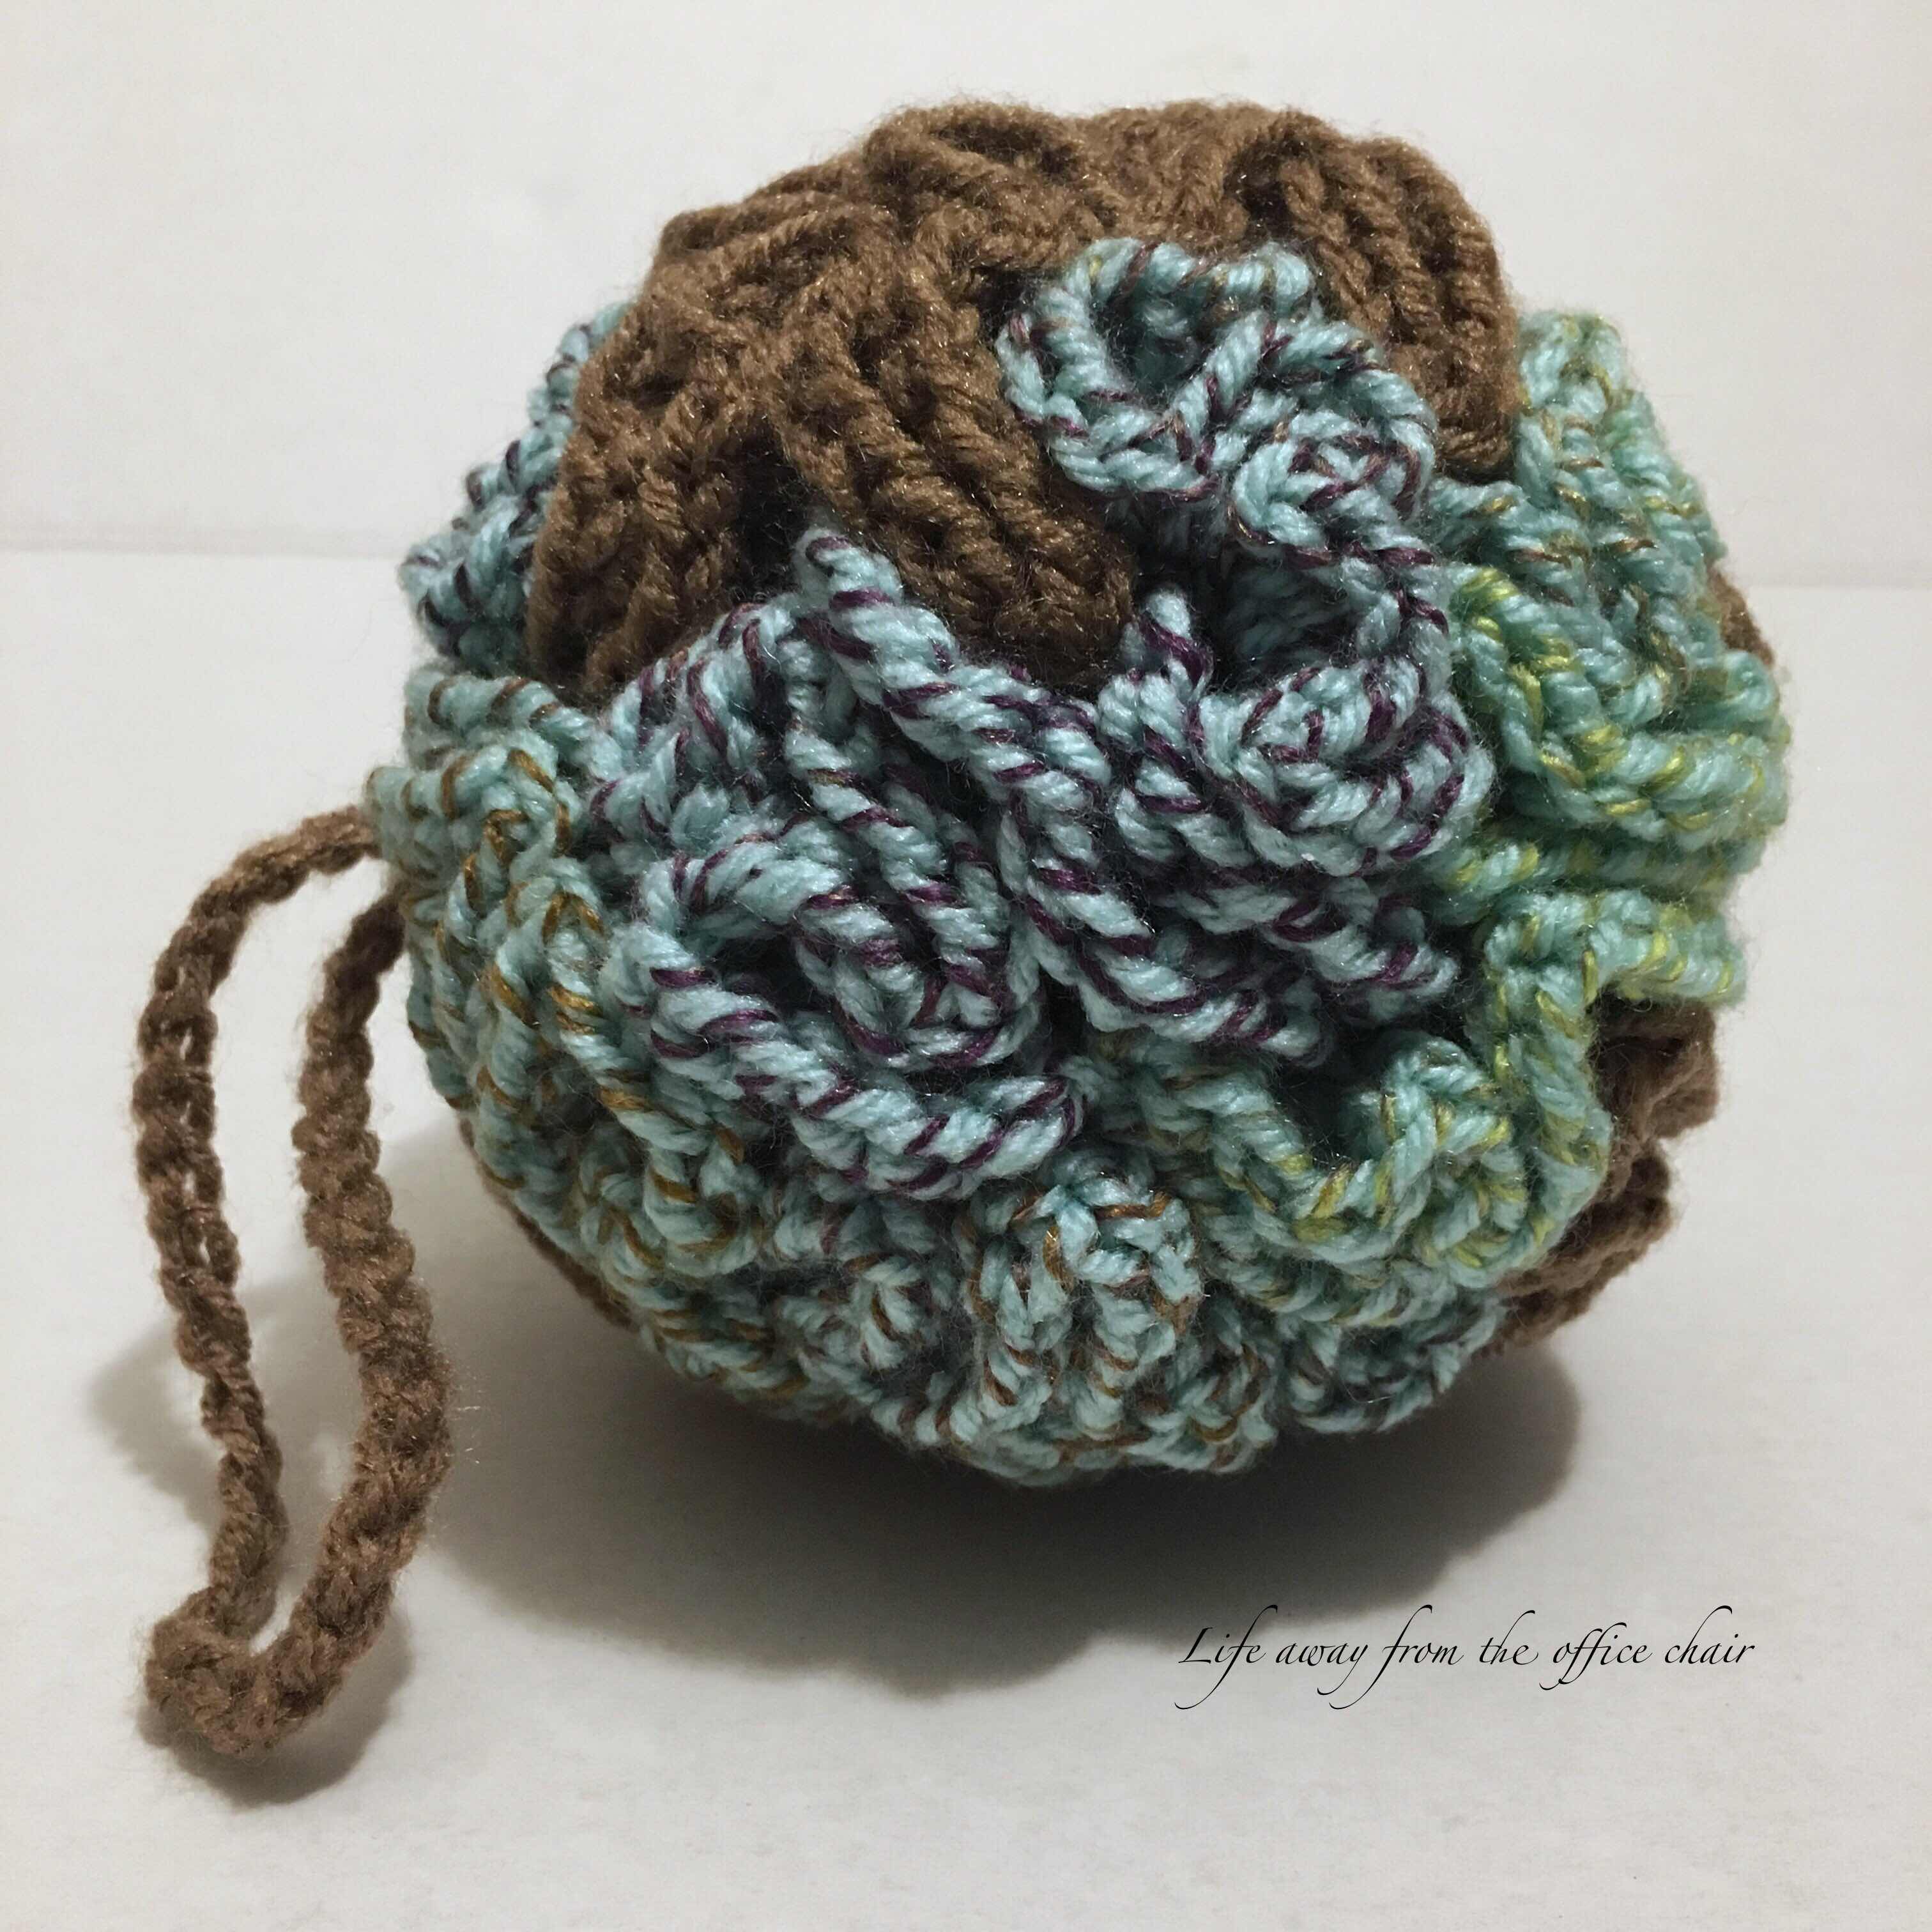
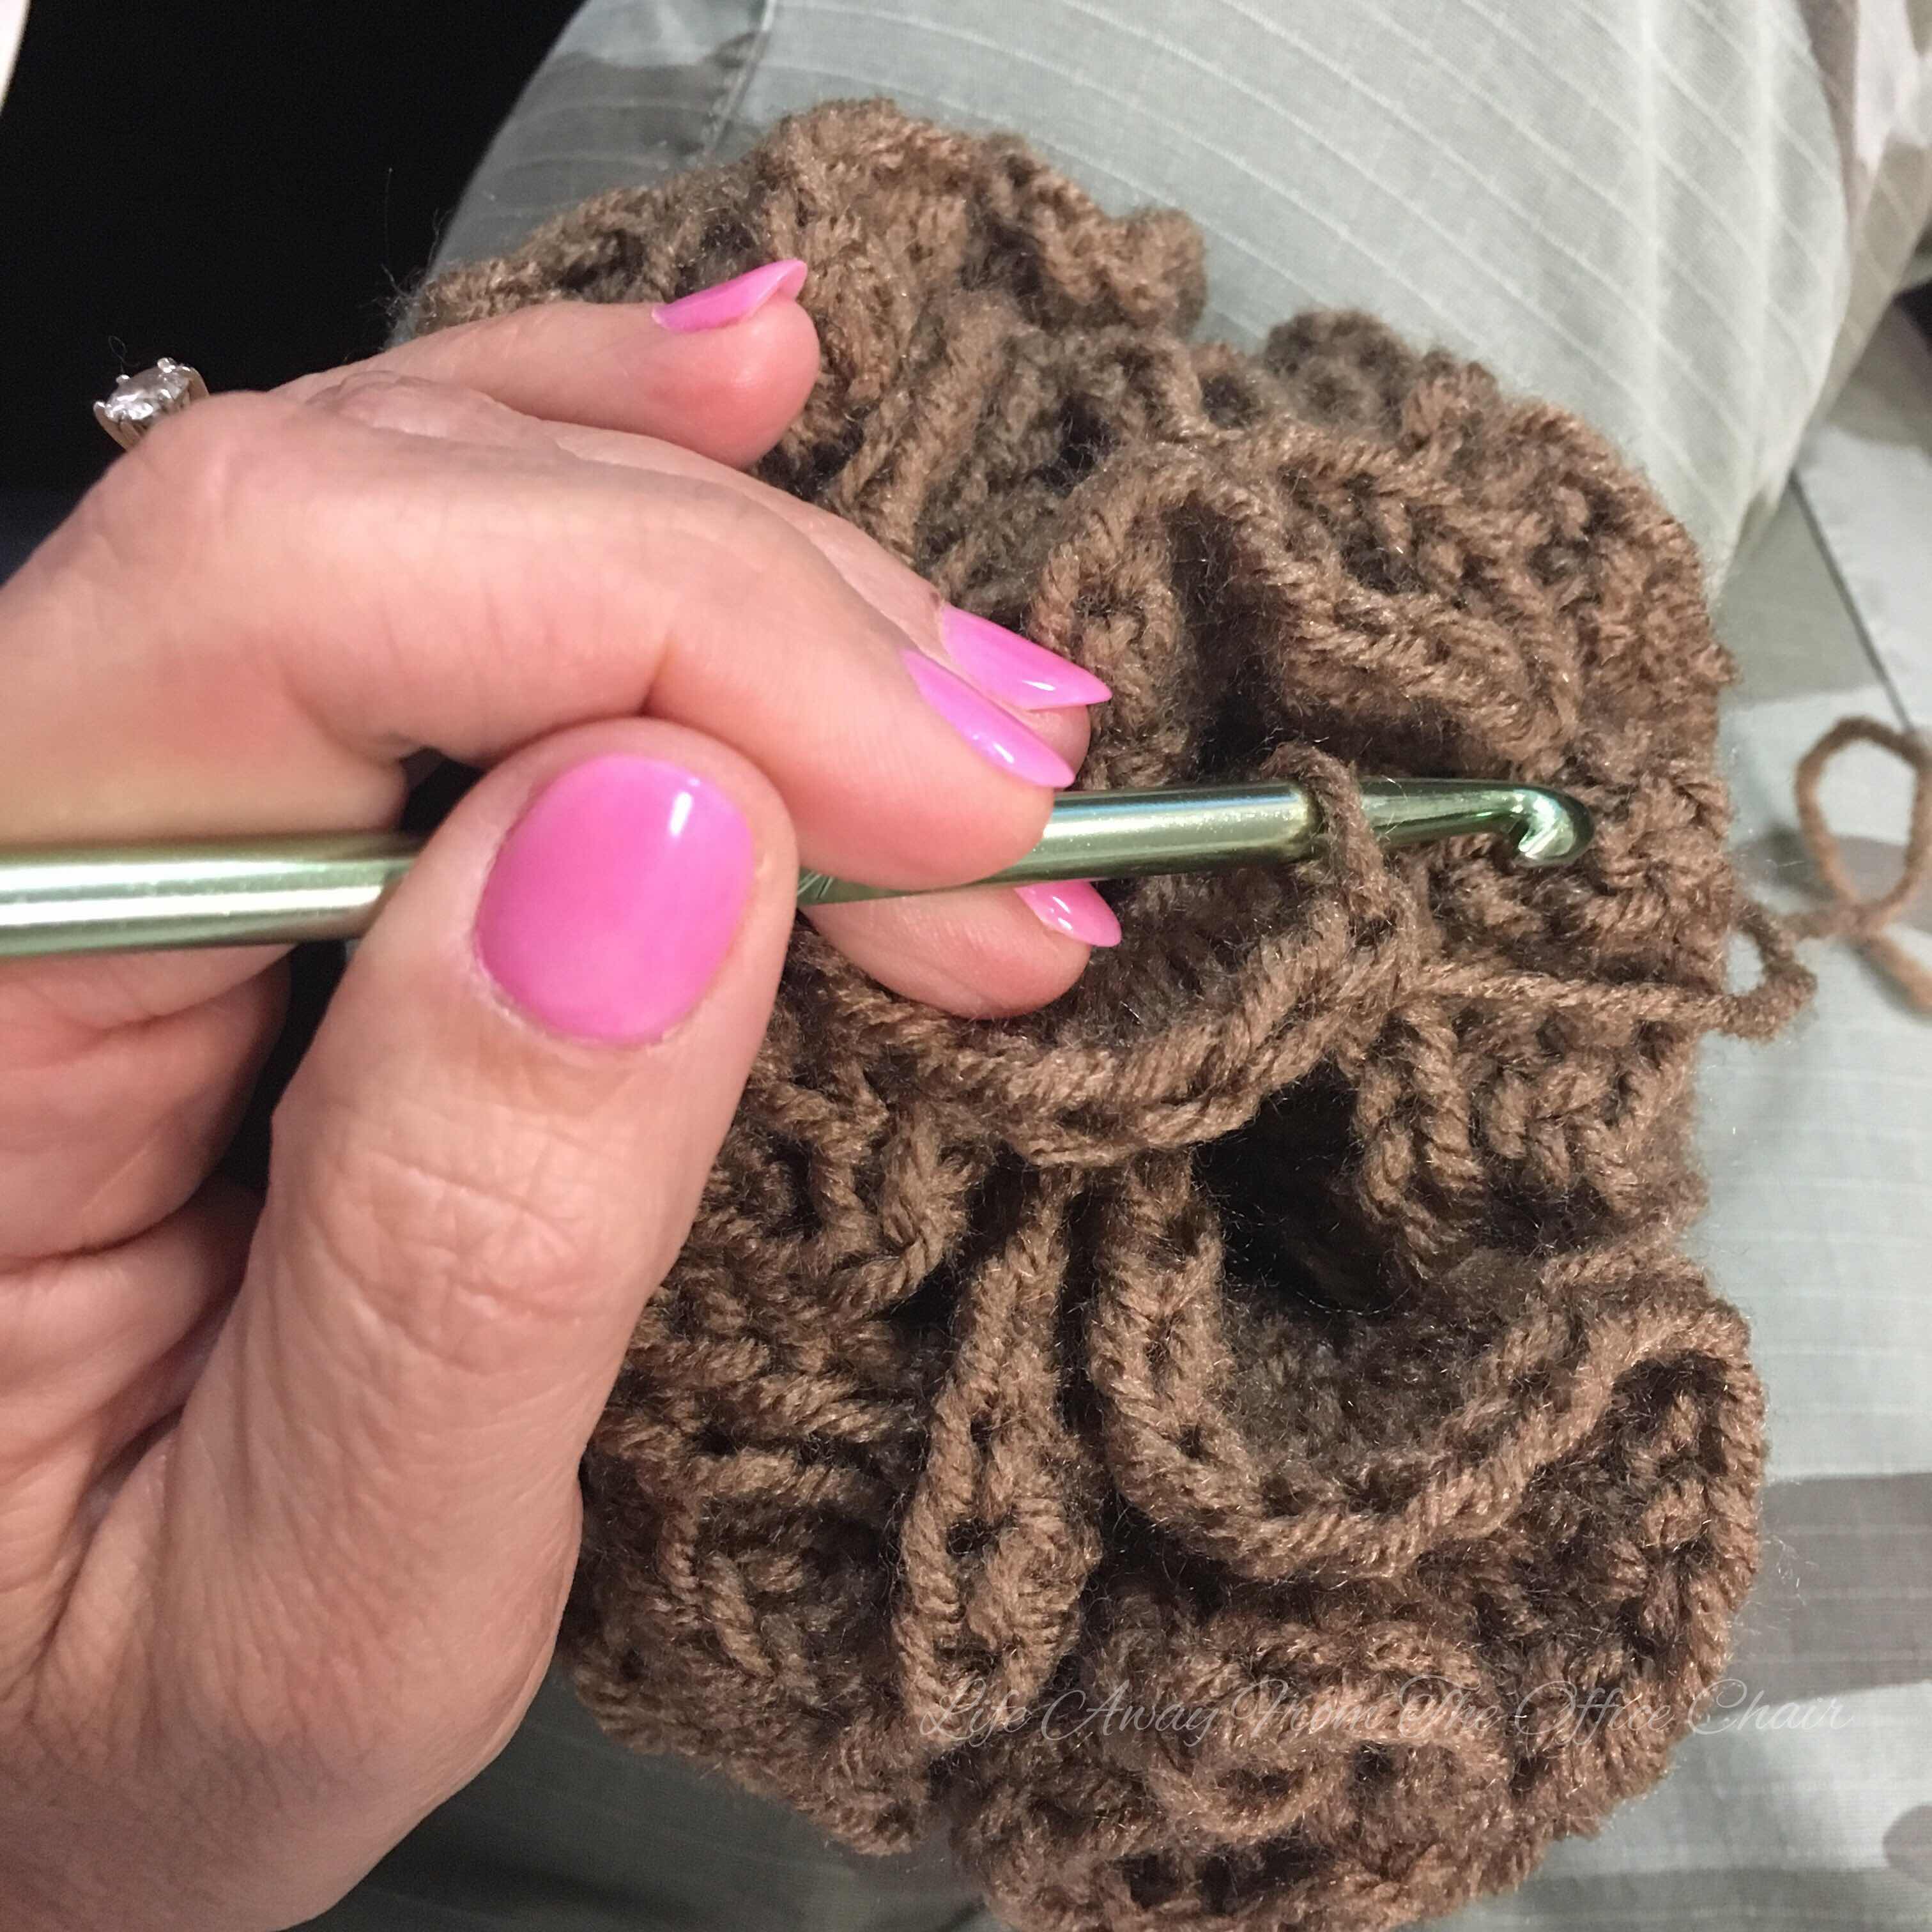
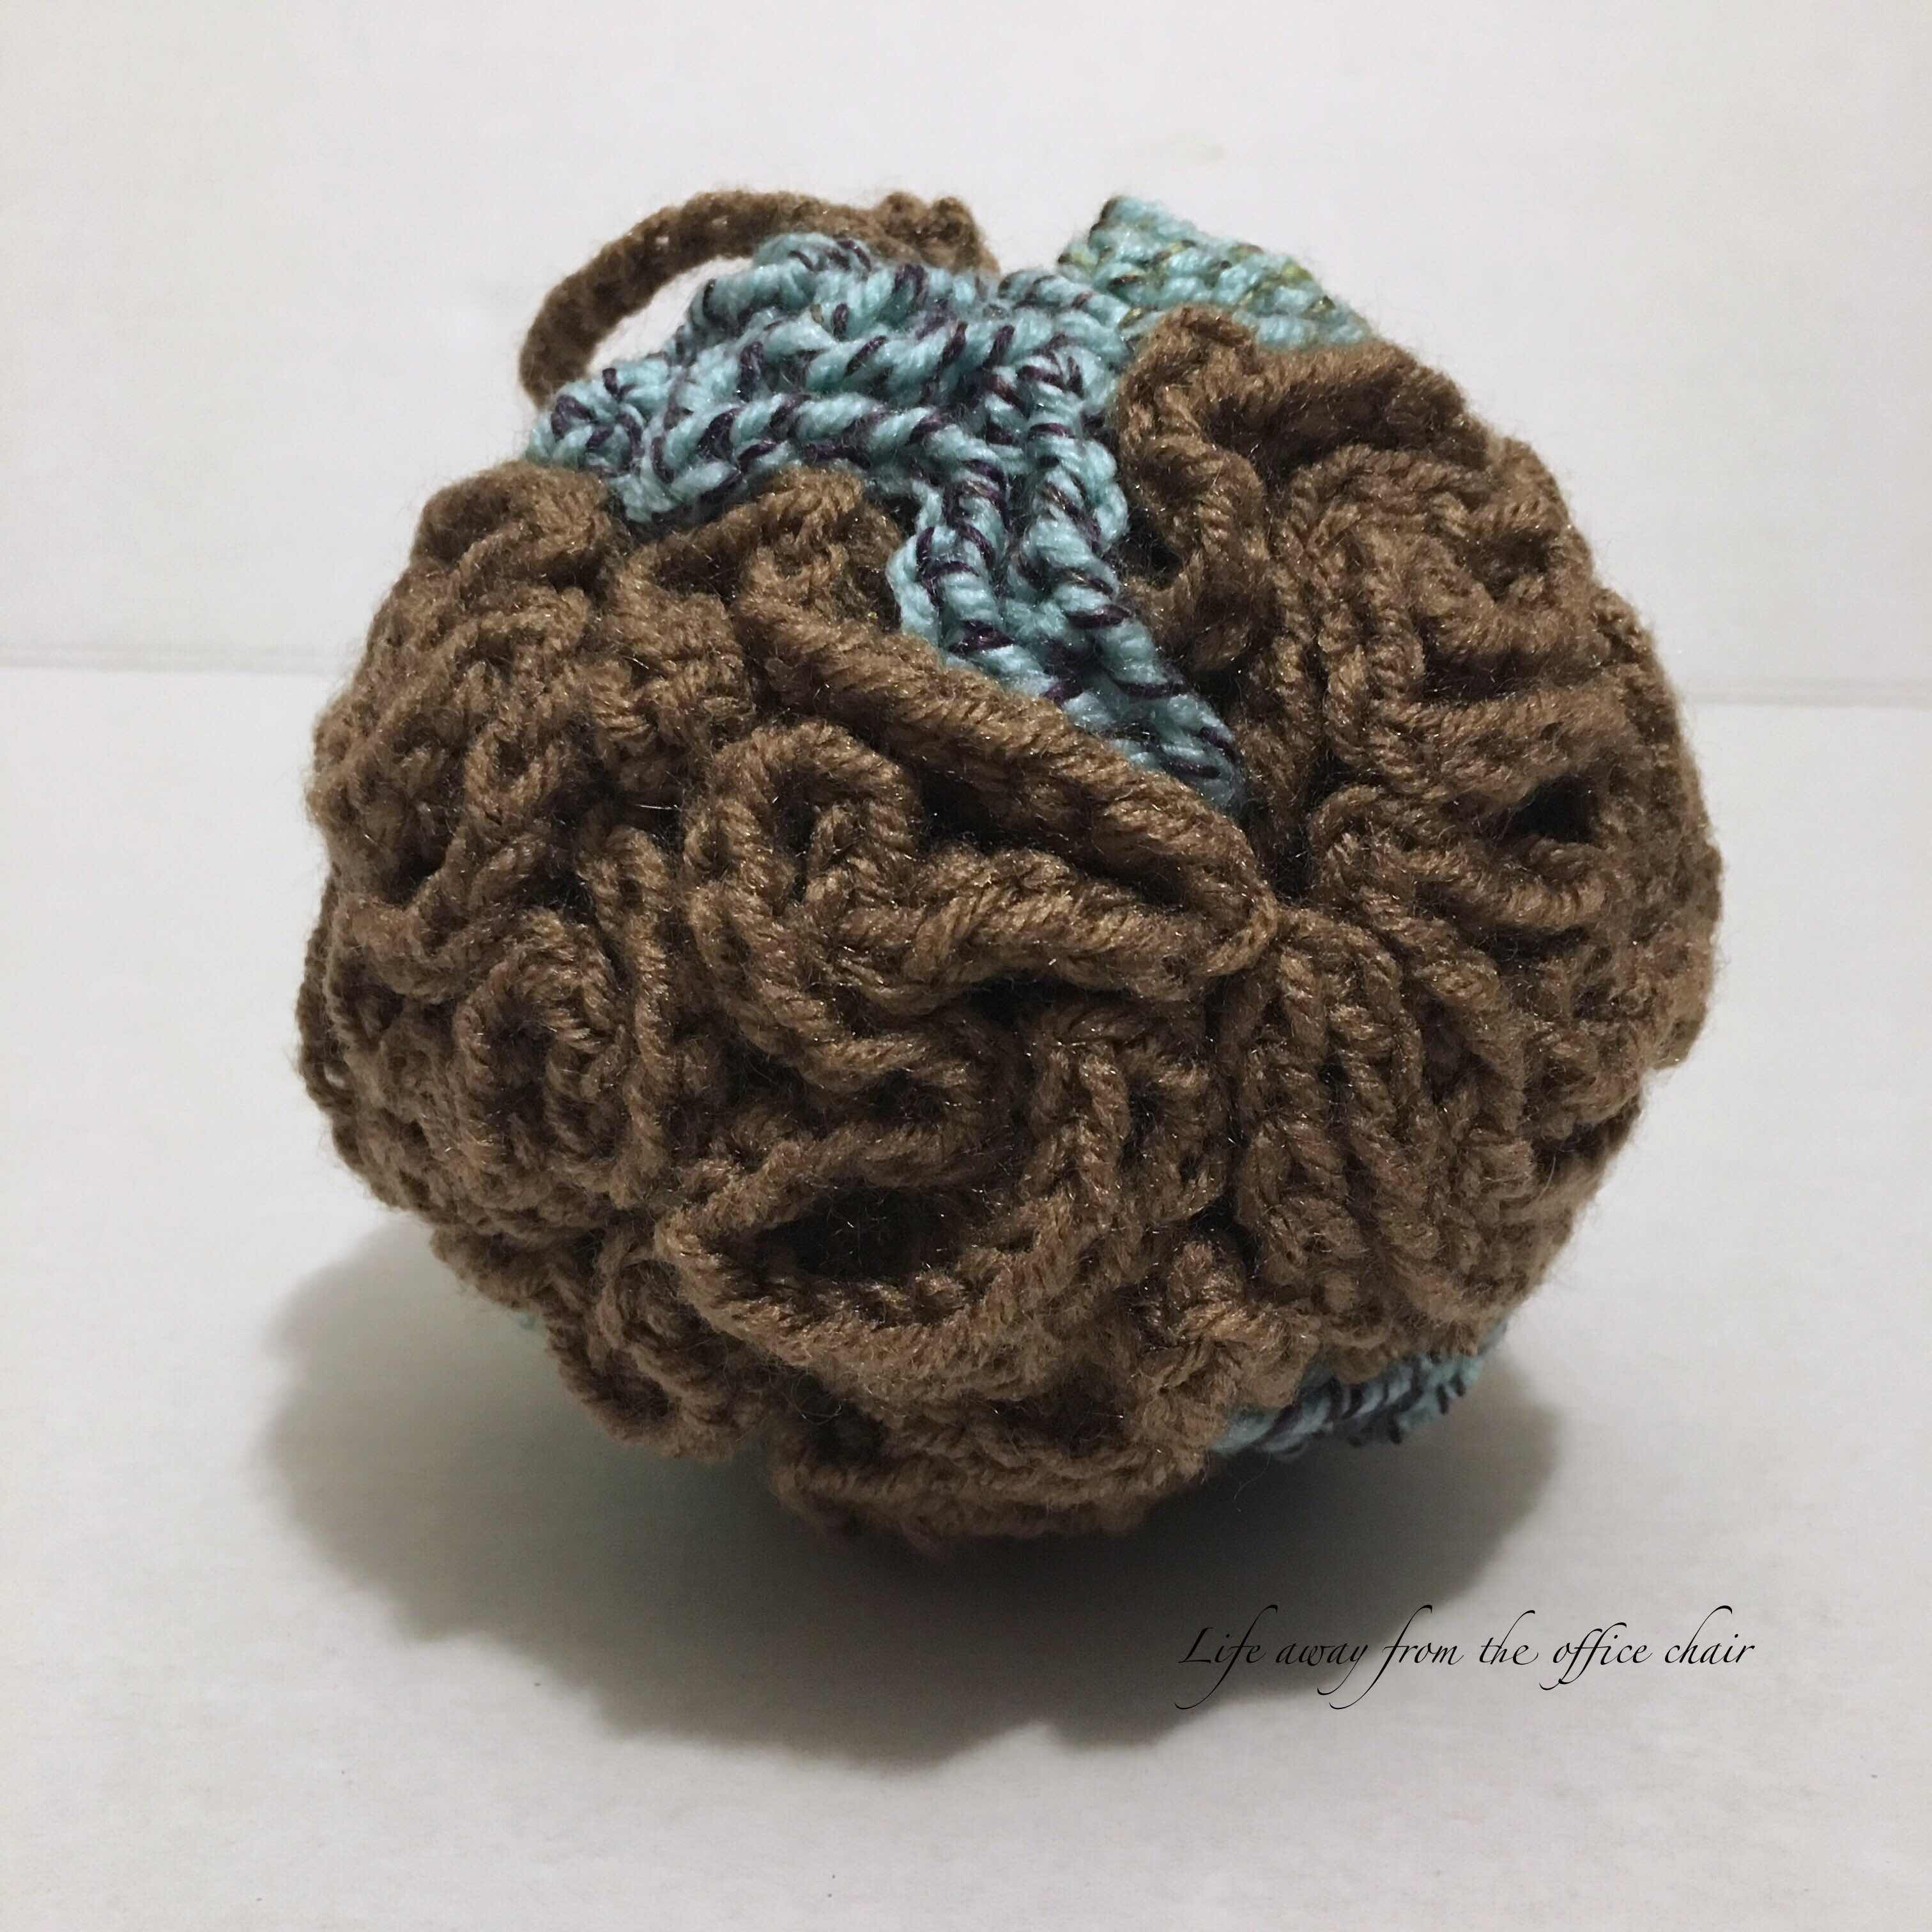
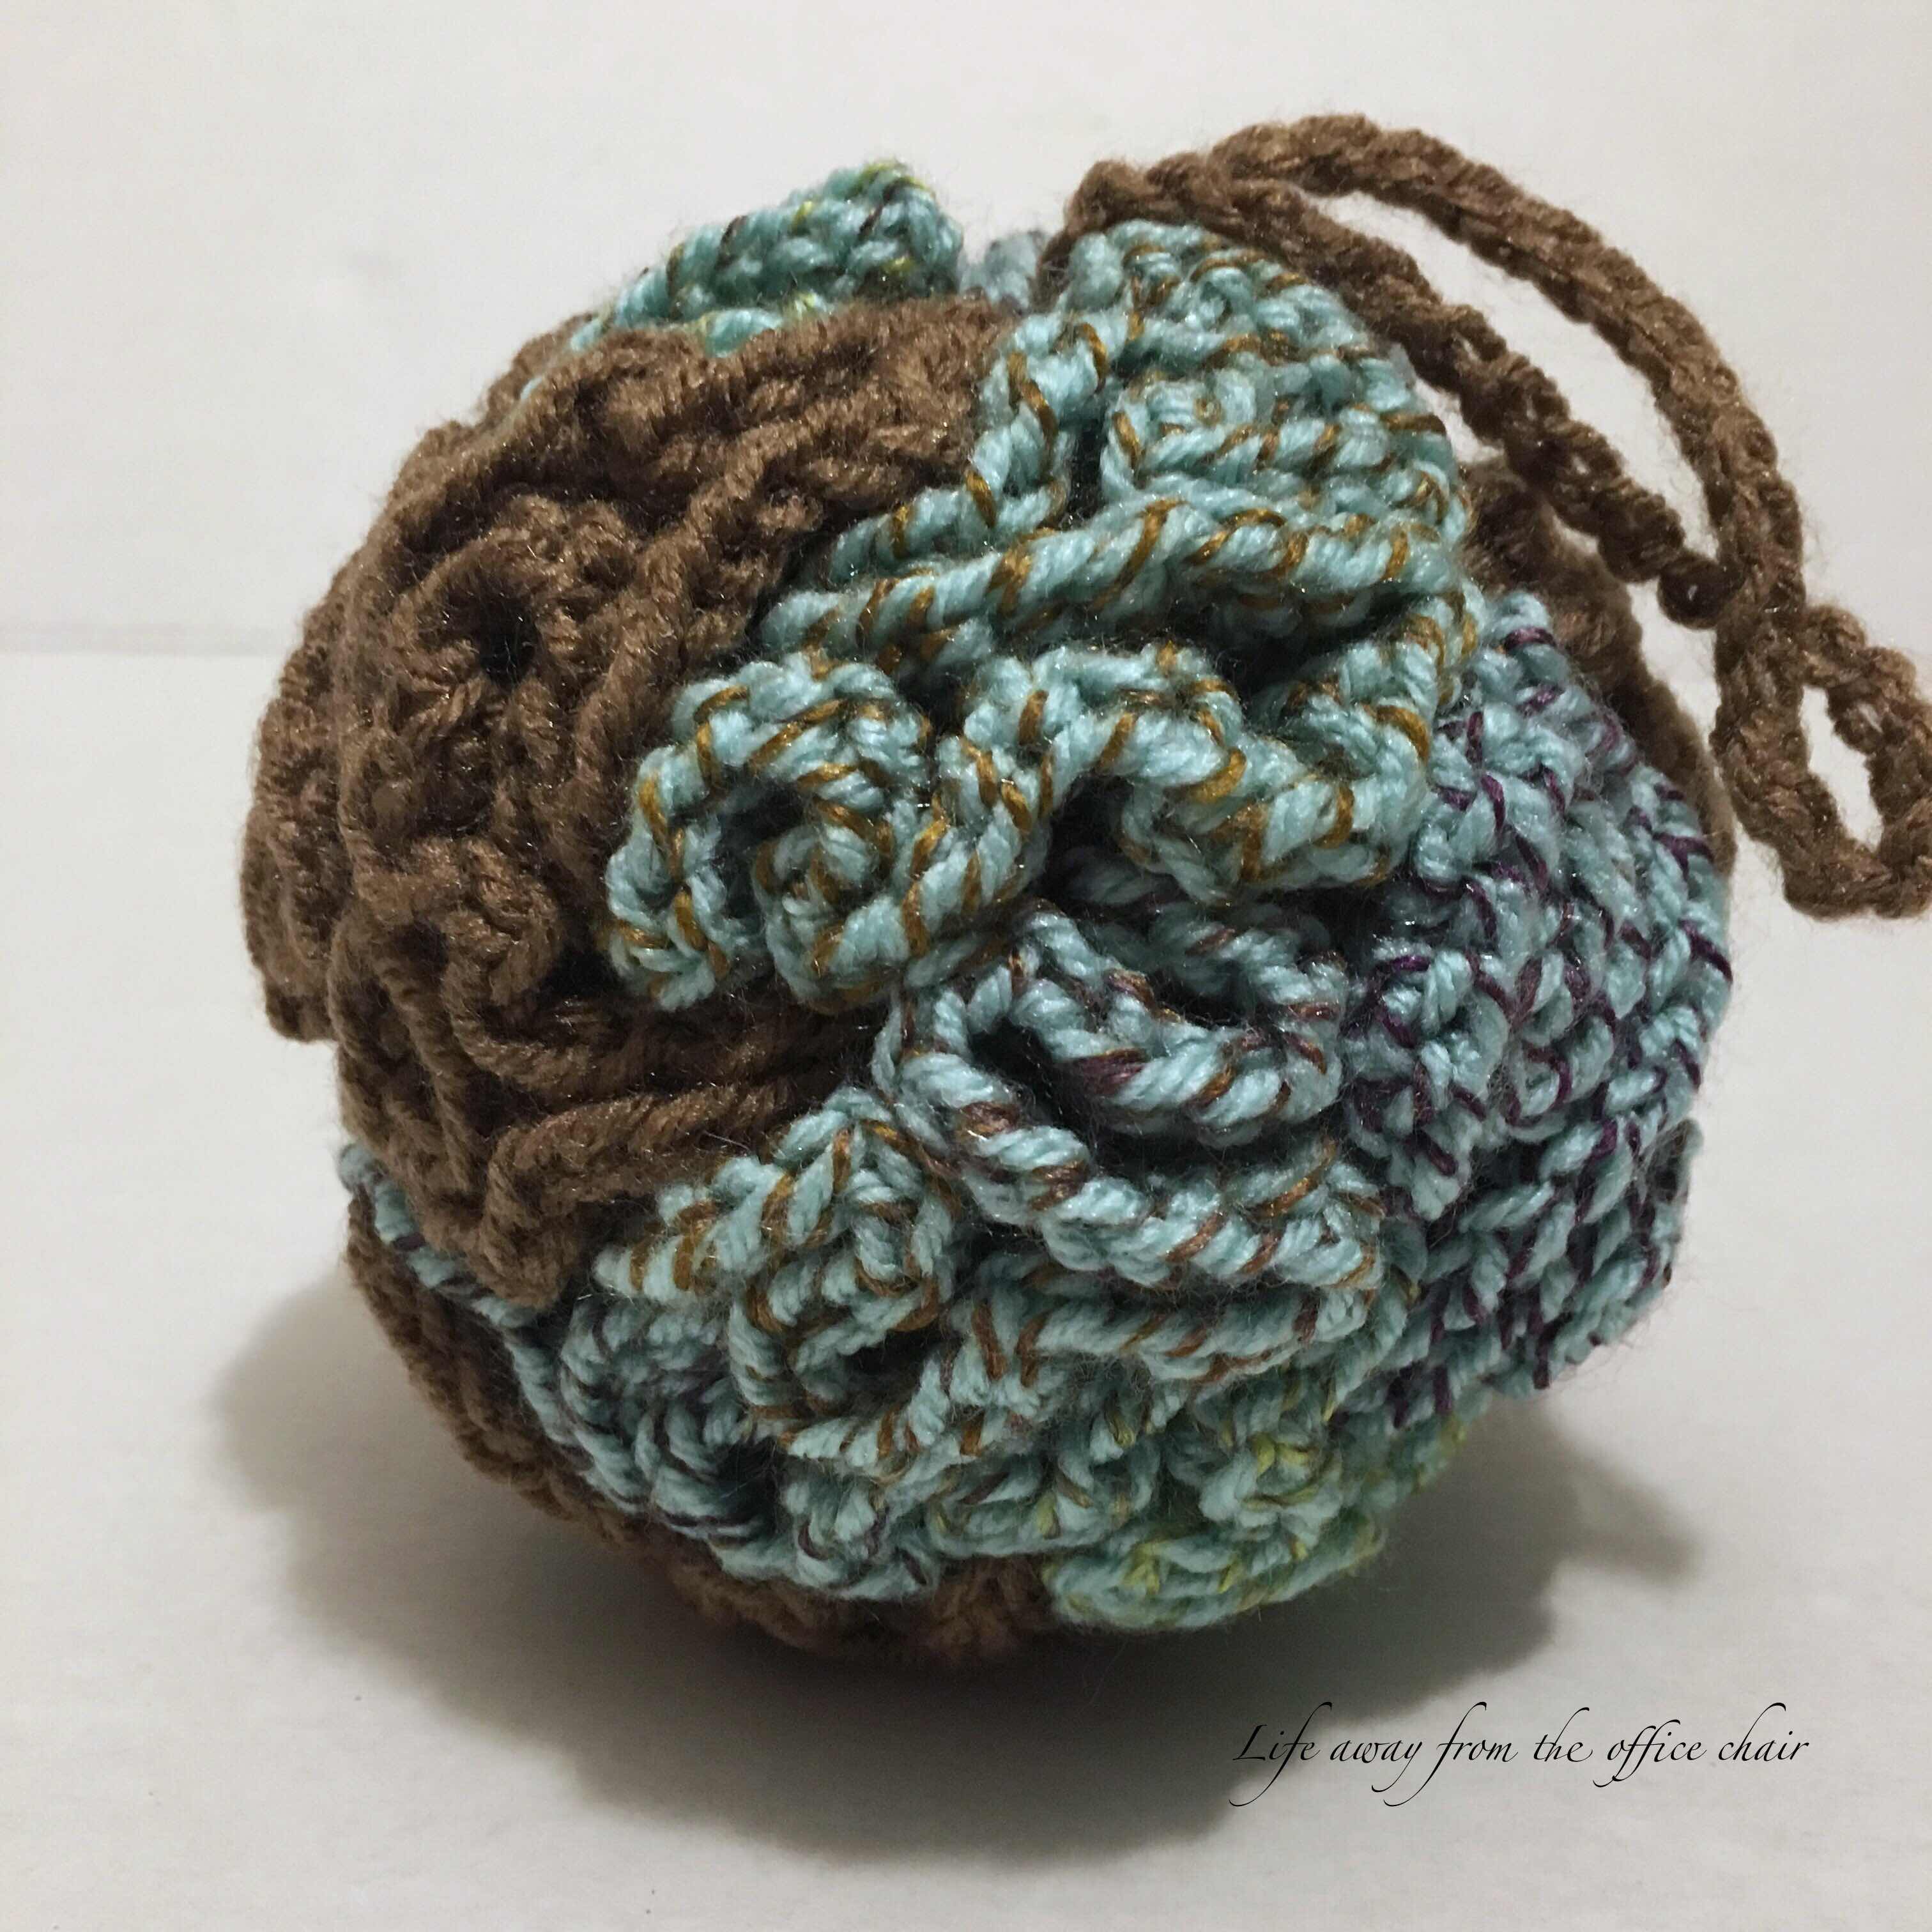
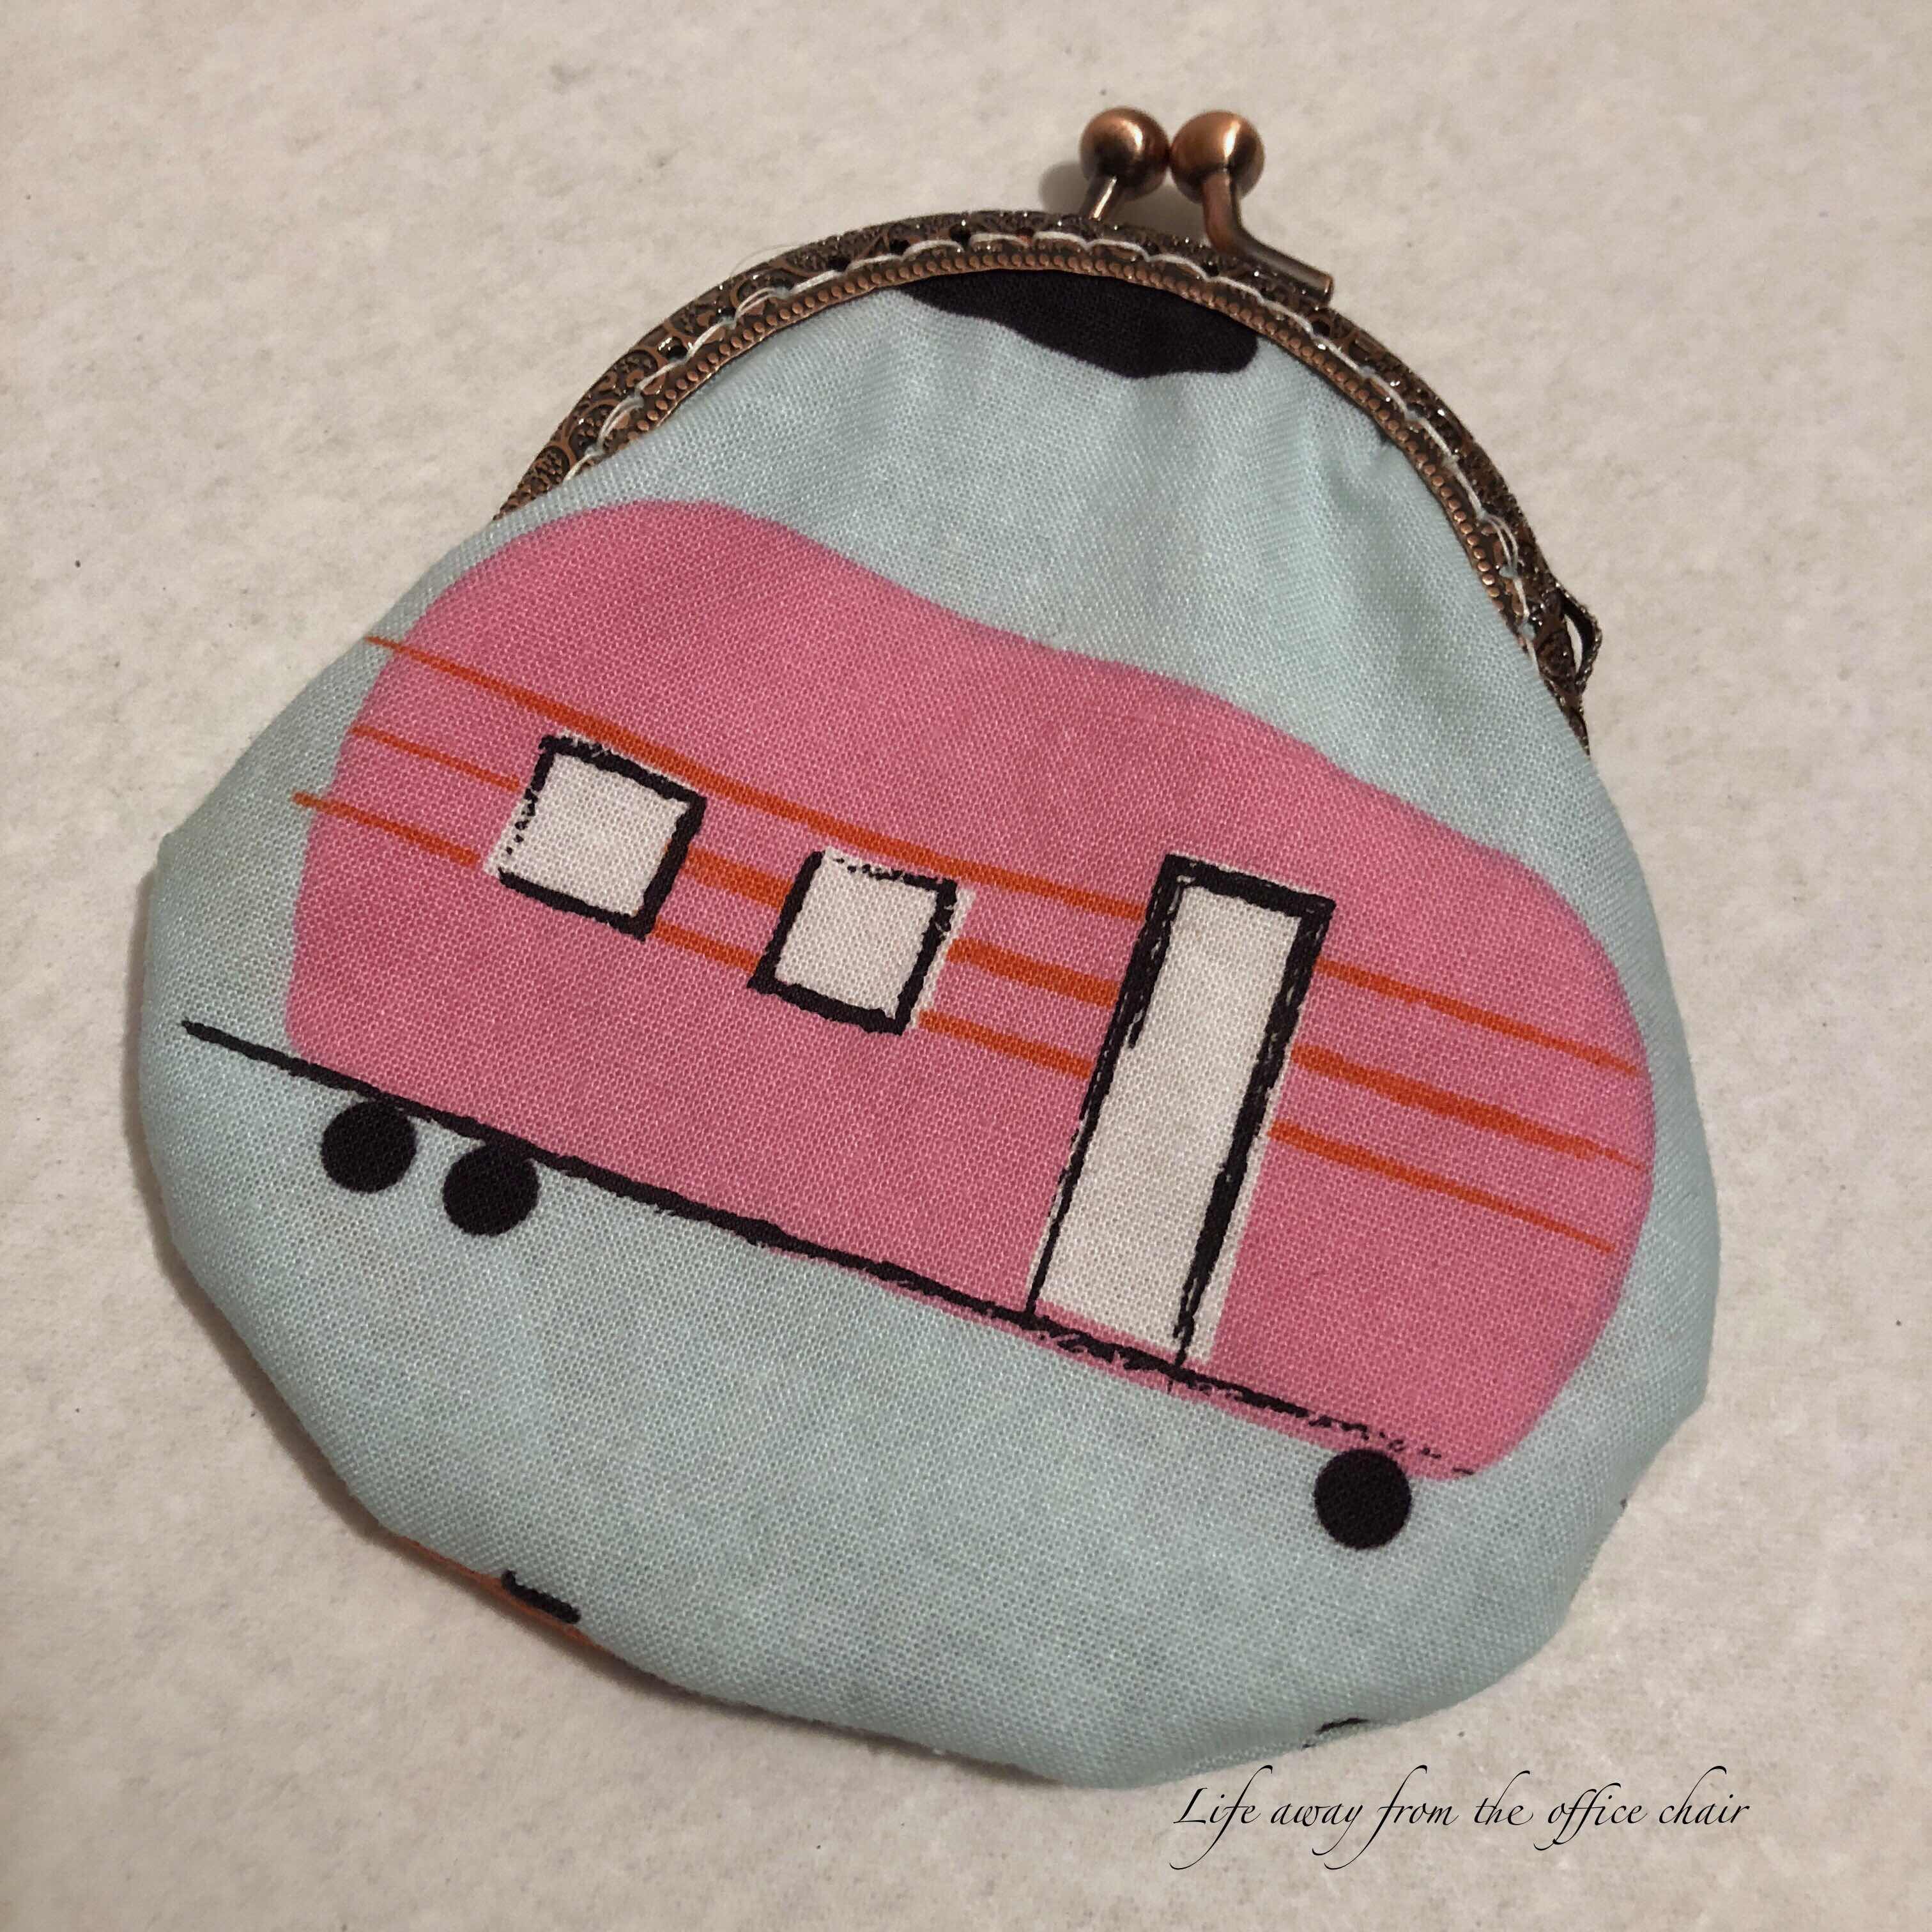
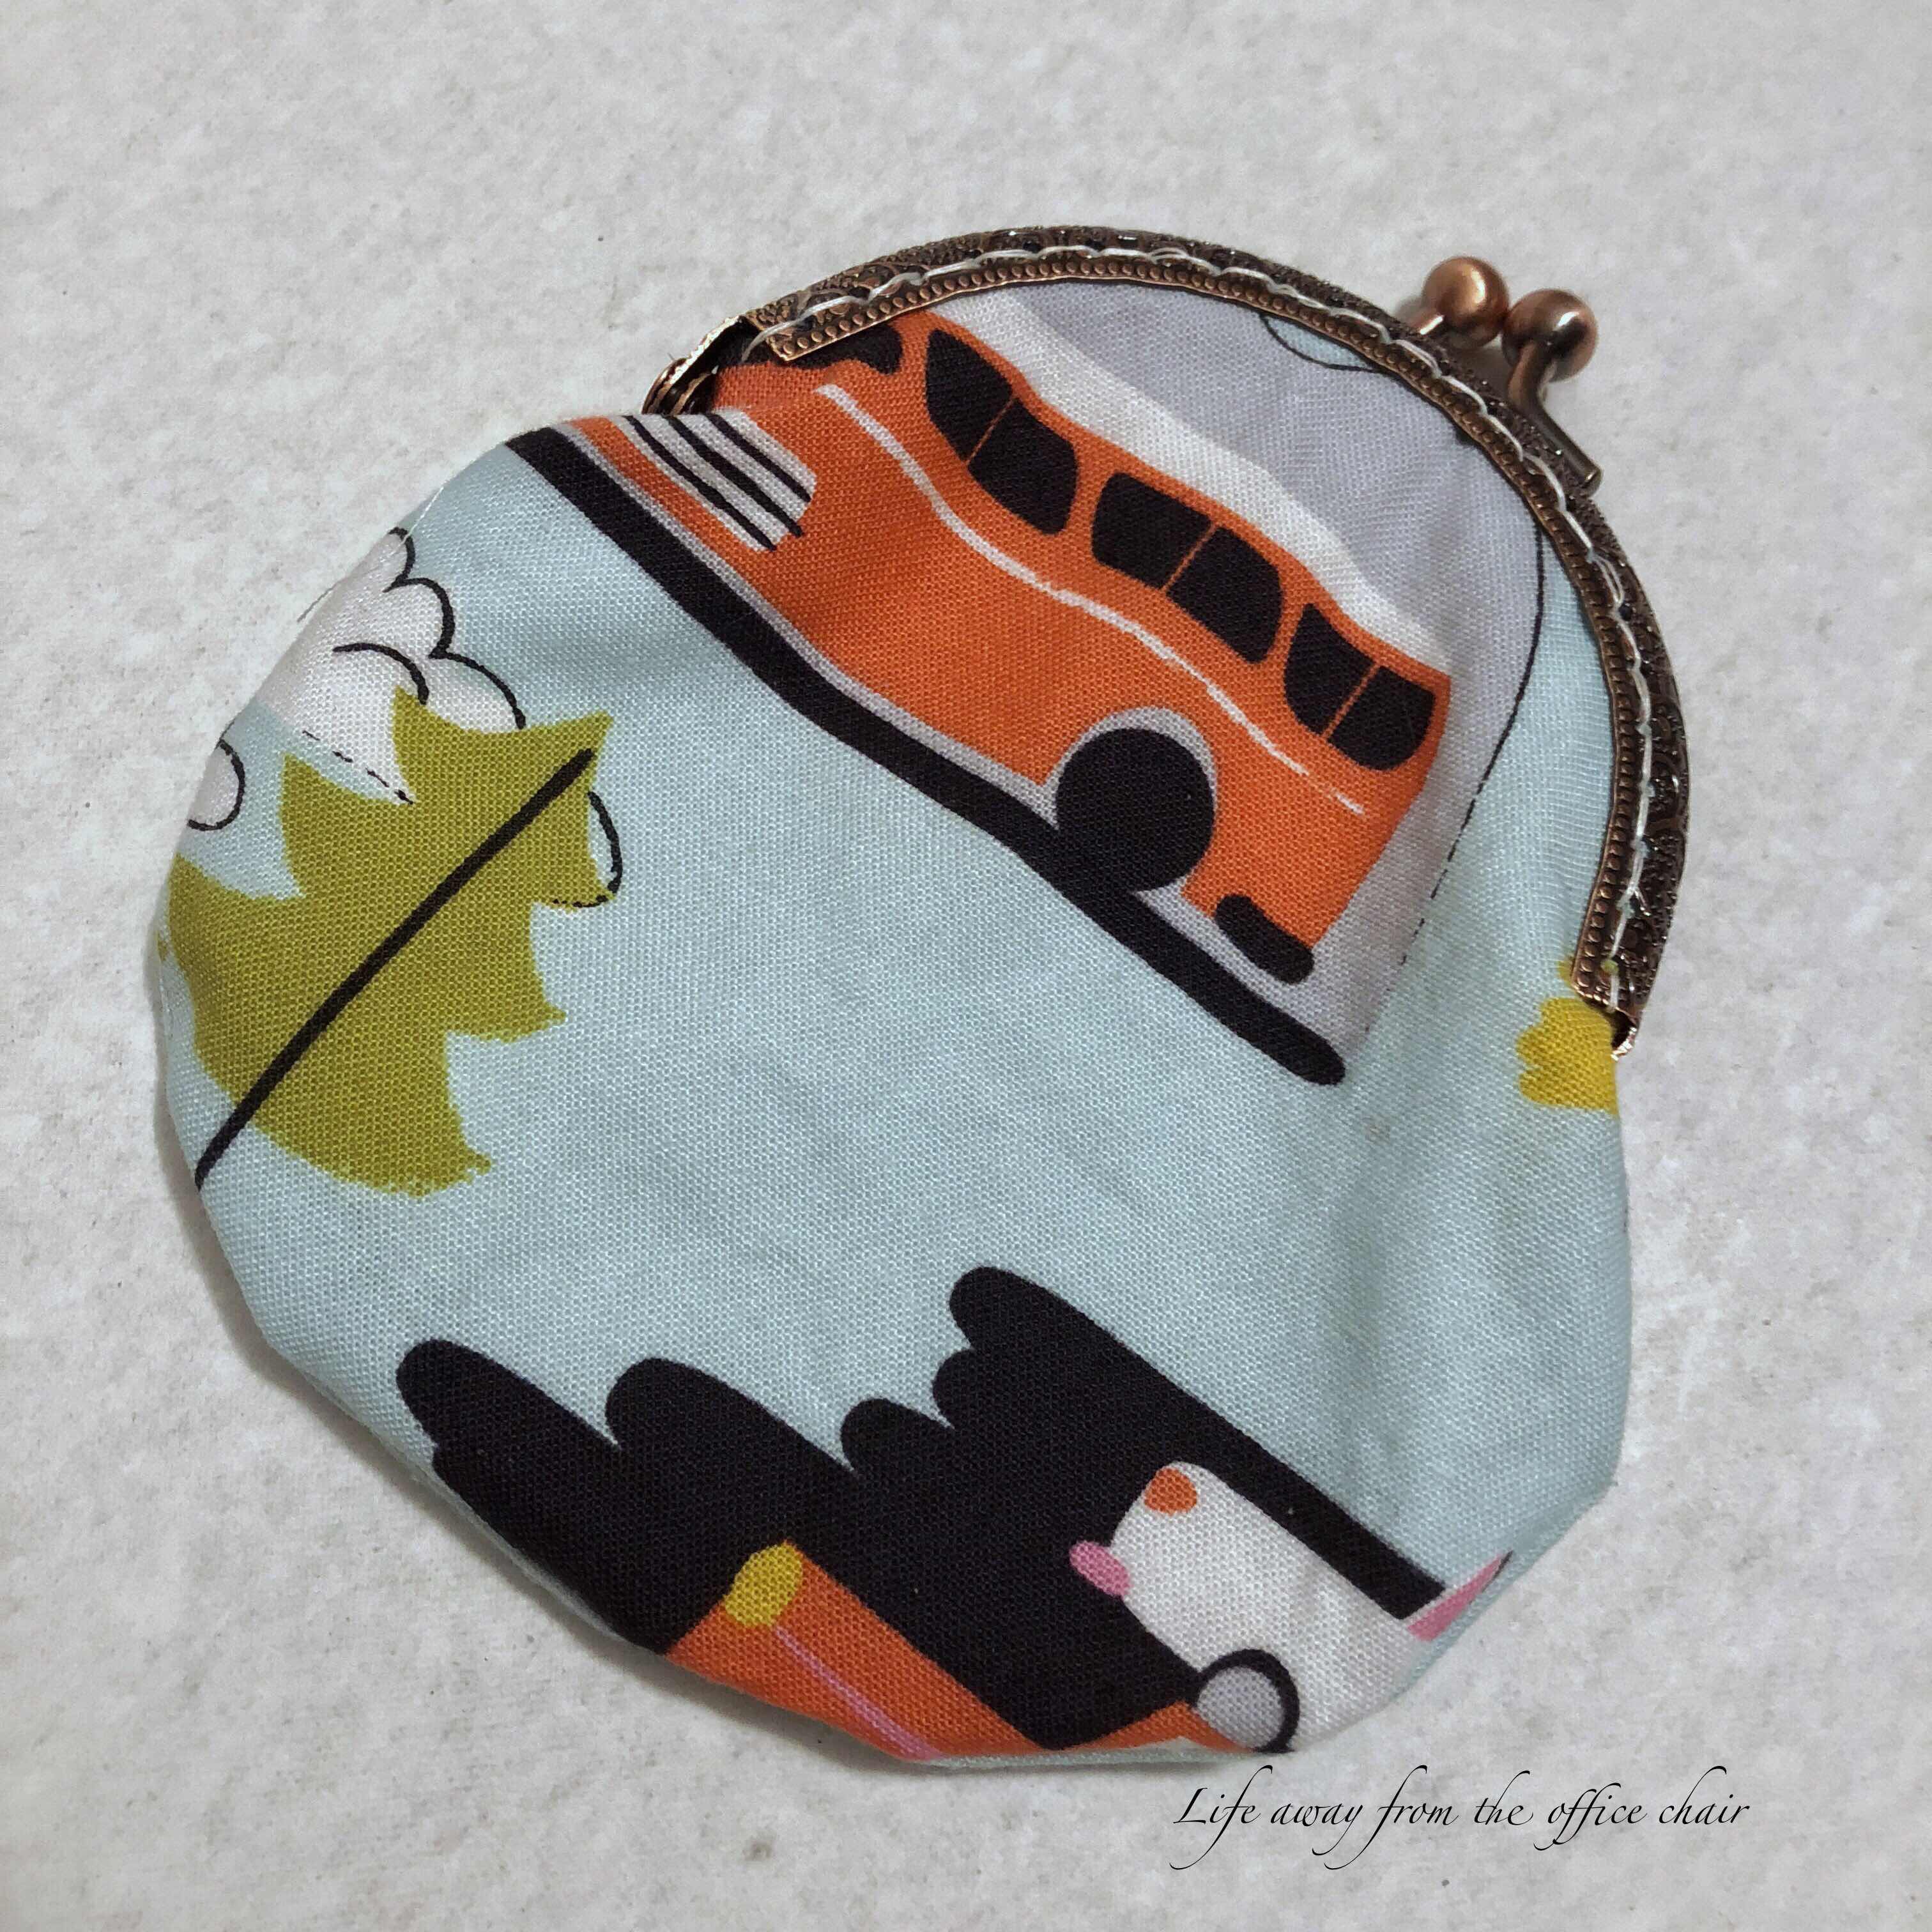
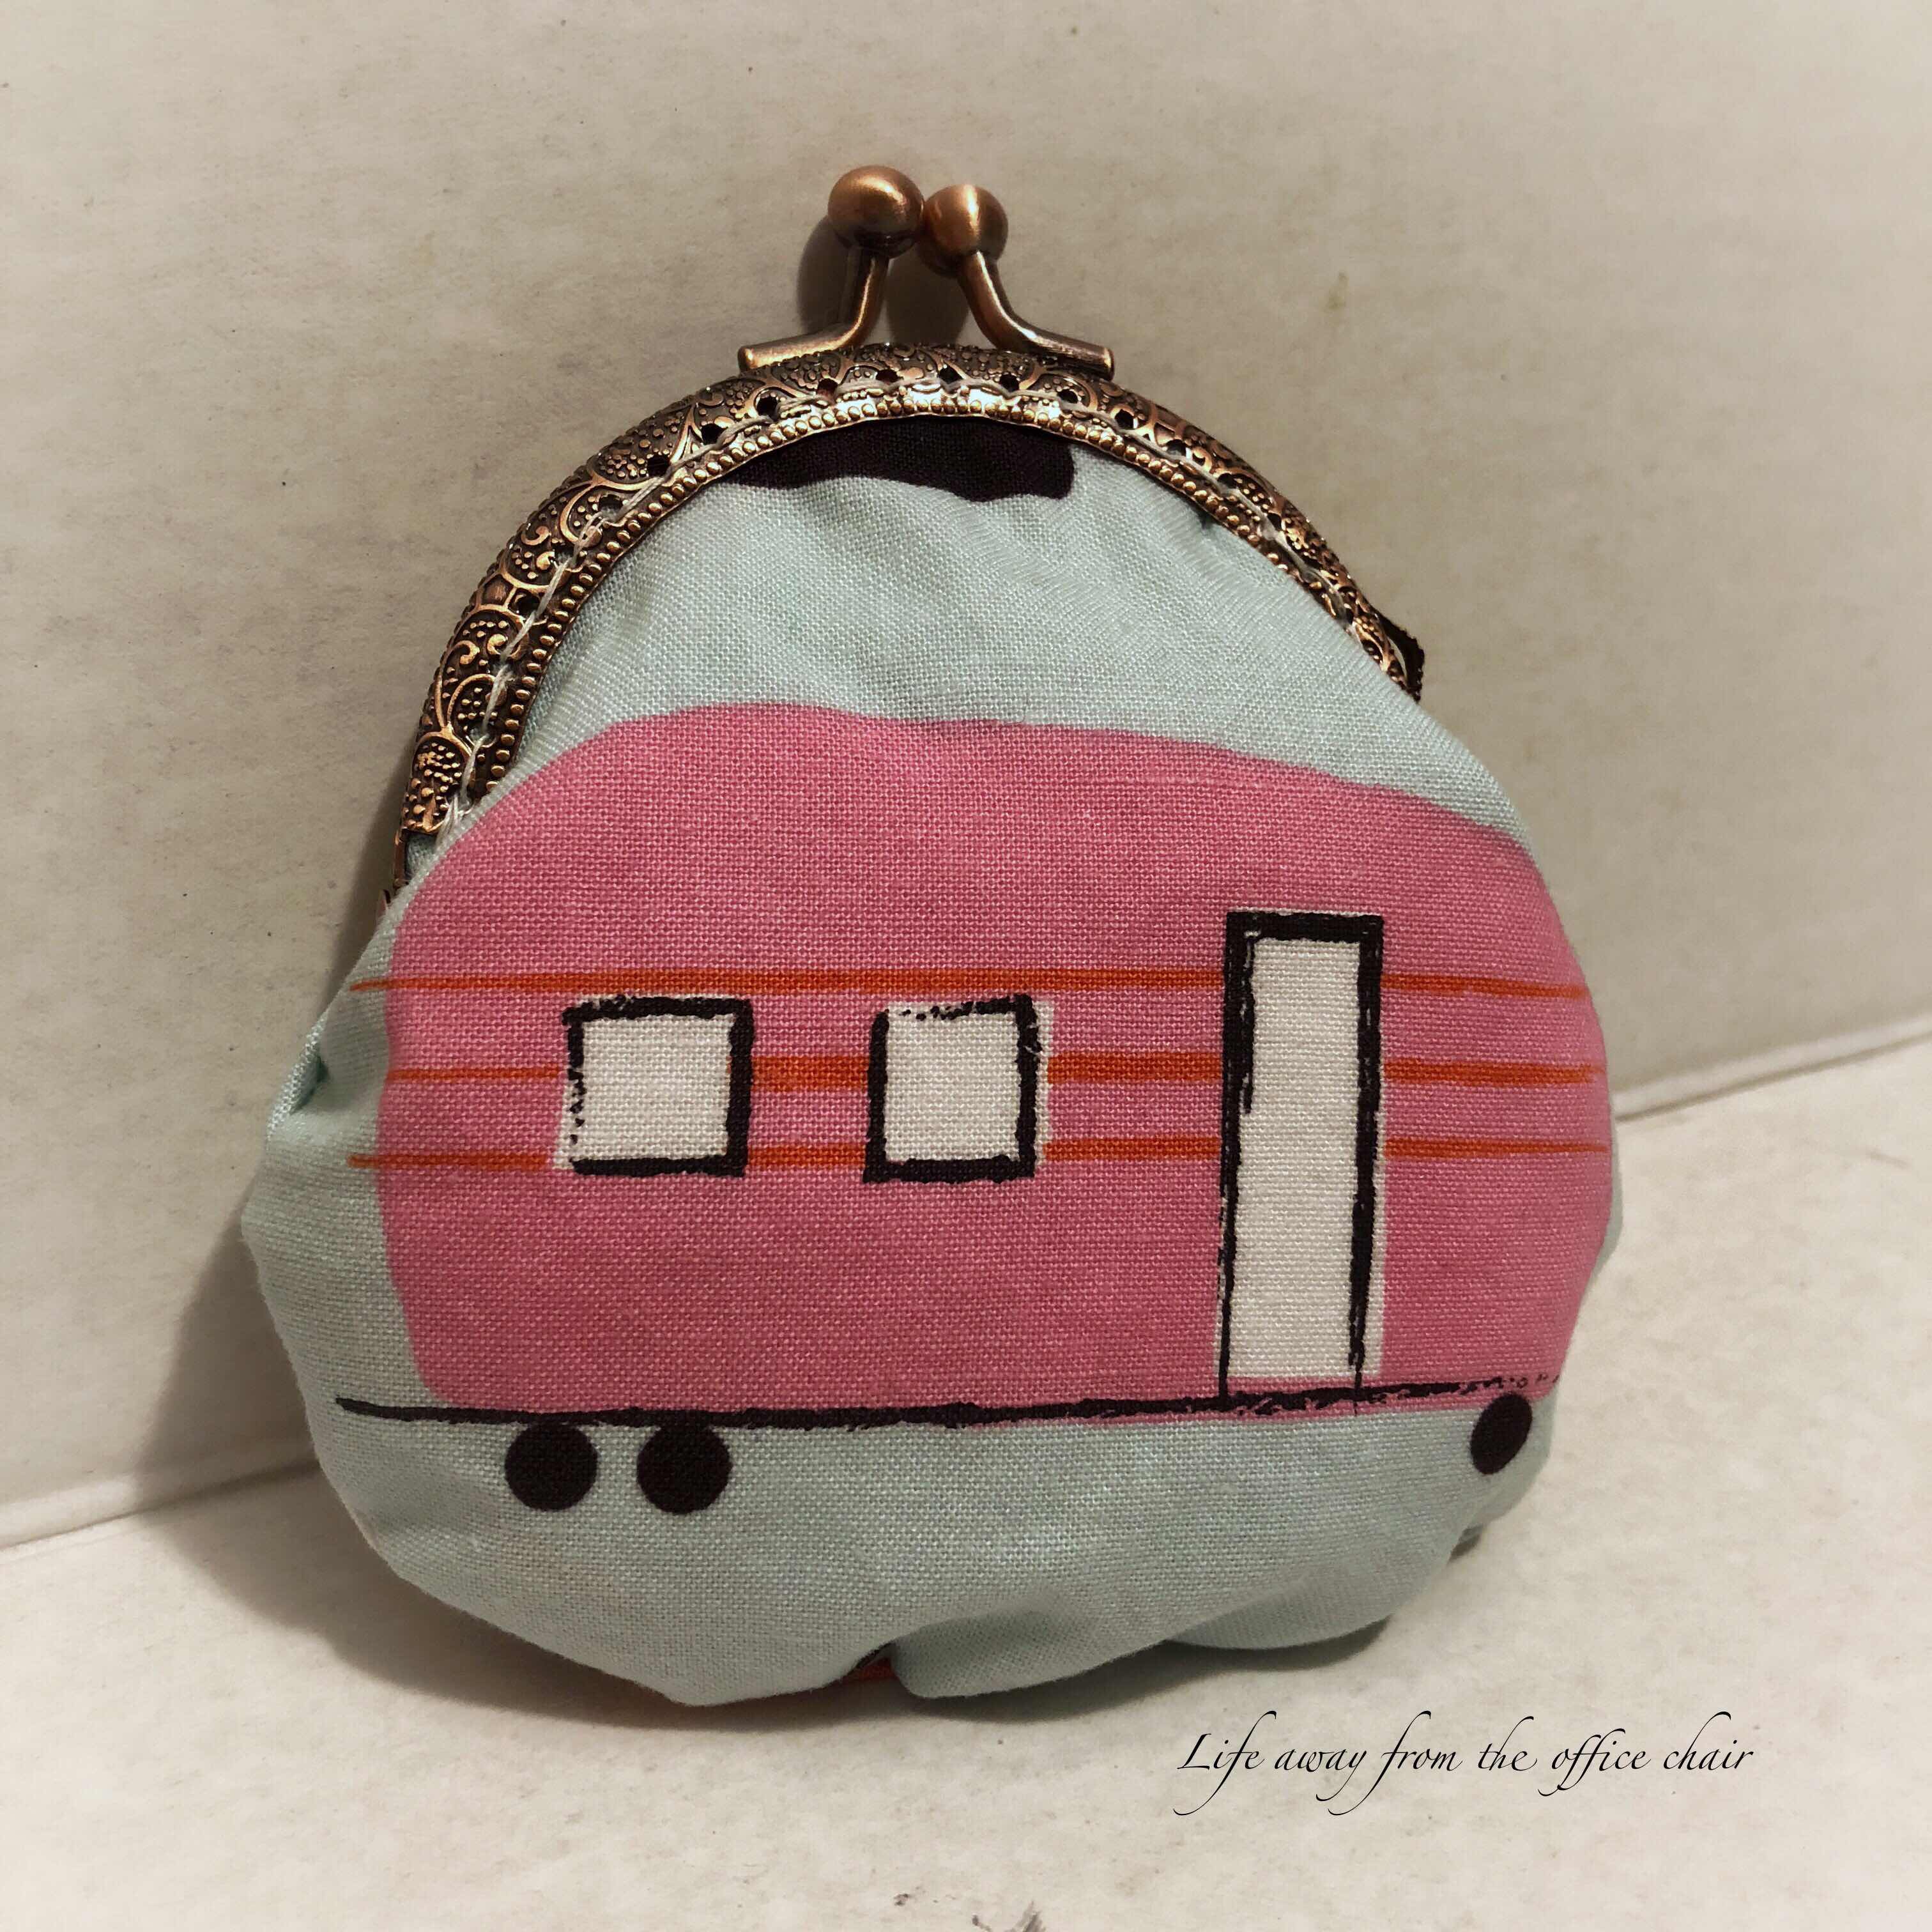
Well, the other night I decided I wanted to make some more crochet coin purses that I had made in the past. Then a bigger thought came to mind. I have this adorable piece of fabric with tiny little campers, cars and bicycles on it. I thought,"why not try to actually sew a little coin purse? I mean, they look easy enough". 

Ha! Who was kidding? It would have been easy for a seamstress but it was the ultimate task for me. 
First I searched online for a pattern to use. Most instructions just said to "guess at it". So basically that’s what I did. I drew out a pattern in the shape of a coin purse. Then traced it out on the fabric making sure I got one of the camper prints on the front. At least I knew I needed a front and back. Then there was the lining. I cut out two pieces of those with white material.

After about 20 tries, both by hand and by machine, I finally made a little change purse that looks half way decent. I will not fail to mention, I used up the whole half a yard of fabric trying. 
That’s determination!!


I could not for the life of me figure out how to get the lining inside without the stitched seam showing. But I figured it out. I had to leave a little opening in the bottom of the lining so I could turn it all the right way out and all seams hidden. Then I hand stitched up the little opening.


I showed it to my mom. I think she will like what I did. She is a professional seamstress, so I know she probably sees a lot of mistakes in my finished product. I’m pretty sure she could have also showed me a shortcut to making this easier, but it’s too late now.
However, I am pretty proud of myself. 
I put my mind into making it and I did. So, now I can put this thought away and move on to something else. 


I think Ill stick to crocheting.
What do you think?


I've linked up to theses fabulous parties:
Simple Homestead- Blog Hop / Condo Blues / Fiesta Friday / Fluster Buster / DIY Showoff
Create With Joy / SewCanDo / Run Jump scrap Lets Party

Mother’s Day-The Corsage

Happy Mother’s Day to all past, present and future Mothers! Hope your day is filled with love, happy thoughts and memories.

I remember when I was little, Mom would carefully lay out corsages for me and my sister and boutonniere's for my brothers that My Grandmother made. One by one, mom would pin our corsage to our Sunday outfit and to church we went. I hated it. I despised having to wear that big scratchy corsage that smelled like grandmaws basement! I was too young at the time to realize the reason of her making sure we all had a corsage to wear on Mother’s Day. 

The Mother’s Day corsage started in the 1800’s. Everyone wore one on Mother’s day. The corsage did not indicate that your were a mother, but rather that you are wearing something to honor your own mother. The flowers were usually made with an orchid, carnation or rose. The type of flower was not as important as the color. If your mom is living, you wore a red or pink flower. If your mom is deceased, you wore a white one. 

Sadly the tradition of the Mothers Day corsage has stopped. You will rarely see anyone wearing them anymore. I admit, I have not worn one in years. 


So, this Mothers Day, I have decided to make my own corsage to proudly wear over my heart in honor of my Mother (If it’s still alive).
I am who I am today because of her. She worked hard making sure all four of her children had everything we need. She showed us unconditional love but would also show us what a hickory stick was when we did wrong. She made sure we were in church every Sunday and raised us with Christian values that we still hold on too today. My mom is very pretty, smart, strong and always smells good. 
I made my mom laugh and cry. I have rebelled and hurt her feelings many times. I will always hold that guilt but I know she prayed and loved me through it all. That's what moms do. 

As a mom myself, I find and l learn new obstacles with my own daughter that make me think about the challenges and sacrifices my mom went through. Everyday, I am more thankful for the lessons she taught me and how much she has inspired me. Next to God, she is my foundation. 


My daughter is home this weekend to spend Mothers Day with me. We did some shopping, and crafting and took lots of selfies. I feel so blessed.
This afternoon, the whole family will meet for dinner with our mom. It's a mommy kind of day!!!!

I LOVE MY MOM!


Protein Powder Cinnamon Roll Mug Cake

I have been doing a little more exercise lately. Not a lot more, just a little more. I found a Bow Flex machine stashed away at work. I decided to use it and work out my arms on my breaks. The flabby arms left by my weight loss have been bothering me. When I wave at someone, I swear I could fly away. They need toning up and who doesn’t need a little muscle ? I have also been making sure to get my power walks in each afternoon and have added more hula hooping afterward.

When I finally settle down for the night, I’m ready for a healthy snack. I will usually grab a Nutrisystem snack or some crackers, but tonight I was in the baking/making mood so I decided to make a mug cake using Nutrisystems Turbo shake mix. It’s full of protein and vitamins. This may not have been the best choice for a night time snack but it hit the spot and saved me trip to the bakery. 


I have tried several mug cake recipes and most are pretty good, but I’m here to tell you, this one is absolutely the best! It turned out moist and delicious. Except for the glaze on top, there was no added sugar. The shake mix was sweet enough. I ended up making two so Nick could enjoy one too. With a full mouth, he gave it a thumbs up.


To be honest, with the added egg, flour, and glaze, its a little more than recommended while loosing weight on Nutrisystem. I am currently maintaining so I think I’m safe here as long as I don’t over do it....unlike my husband over there pouring on more glaze!


Protein Powder Cinnamon Roll Mug Cake.
1 scoop -Nutrisystem Turbo Shake (or protein powder)
1/2 tsp.-baking powder
1 Tbs.-self rising flour
1/2 tsp-cinnamon
1 large egg
1/4 cup-almond milk (or low fat milk)
1/4 tsp-vanilla extract 

Spray a large mug or ramekin with cooking spray. 
Add dry ingredients and mix until blended.
Add remaining ingredients and mix well.
Microwave for 1 min or until toothpick comes out clean.

Top with glaze, additional cinnamon and nuts (optional)

ENJOY


Destroyed Jeans

I’m on a jean frenzy again or should I say “jean fingy”
Summer is coming so I really do not need a pair of jeans but yet I want a pair. Everywhere I go, all I see are the distressed, torn and ripped jeans. It's the style.
I get it. But I can not bring myself to buying a pair of jeans that look like someone wore them for ten years and decided to return them to the racks. 

Seriously, I really do like the style and are perfect for warm weather, but why are they so darn expensive? Here is a pair I found online since I didn't have my camera out in the store.

They typically range in price from $39.99 to $99.99 depending on which store you shop or how bad they are torn up. I think the more holey they are, the more they cost. 

So, I said the heck with that and dug an old pair of Old Navy jeans out of the closet and destroyed a pair myself.
For free! 


I just made a $20.00 pair of jeans look like an $80.00 pair of jeans by using grandma's old grater and a pair scissors.  

I like them better now and it’s all I needed to satisfy my fashion nerve until....well....until next week. 
I need new summer shoes! 


Ive linked up to these fun parties:

DIY Rain Chain

I don’t know about you but I am ready for Spring to show up! We have warm days, then we have days that feel like the middle of January. Mother nature can’t seem to make up her mind. But, then again, it’s not unusual that we completely skip Spring and jump right into Summer. It’s crazy.

Do you like the rain? I love those short rain showers in the Summer time that bring thunderstorms along with it. You know, the short lasting ones that once they water the gardens, the sun comes back out.

Speaking of rain. I have been wanting  a “rain chain”. 
What is a rain chain you ask? 
Rain chains are a creative, beautiful and functional alternative to gutter downspouts. It guides the rain water visibly down chains from the roof to the ground. It can change the look of a plain down spout into a whimsical piece of art. 


Since I do not plan to actually use a rain chain for a down spout, I chose to add one on a shepherds hook near my patio for fun. 
I knew I did not want to actually buy one as they are expensive and looked too easy to make myself. The options to making these were unending. You can just use a chain alone and it will be pretty or you can add extra charm to make it one of a kind.


I wanted to make mine using vintage tarte tins.

First, I priced out some chain. It was outragious for a 6ft piece. So what did I do? I went to the craft store and purchased some split rings (key chains). You have to do the math on how many it will take depending on how long you want it. I needed about 6ft. I used 34-1 1/2 inch rings and spaced them with 24-1 inch rings. 

Then the search was on for some old tarte tins. I caved and bought some from a seller at Tin Roof Porch on Etsy. The lot of tins were more than I actually needed but his prices were great. You should definitely go check out the other vintage items he has for sale. I only needed a few to use on my rain chain. I plan to clean up the other ones and keep them. I’m a sucker for old kitchen and bakeware.


I cringed as my husband drilled tiny holes in the bottoms of these tiny tins for the chain. They were just so darn cute! I can’t believe I actually ruined them to hange outside. 

I had no idea how I was going to get the tins on the chain. I ran to my art closet and pulled out some beads and wire. I played around until I found a solution. The cups were a bit wobbly on the wire, so I dabbed some hot glue on the top beads to hold them straight. I really did not want to do that.


Now my rain chain is ready. I love how it turned out. This will make watching rain even more fun.
I can see the chain from my kitchen window. 


Once I decided on a spot to put it, I anchored it down into a small rock pile. It’s also in a spot where my husband will not have to worry about cutting around it, so that made him happy. I’m sure I will be adding some additional looks around the bottom of the chain. Maybe a pot of flowers or a fairy garden. 

Note: It cost me less than 20.00 to make this one. How cool is that?


I've linked to these fabulous parties:
dishing digging it link party at Lifeandlinda.com
totally terrific tuesdaylink-party at Liveradomlysimple.com
great ideas at flusterbuster.com

Tiny Crochet

I took a break from crocheting a gingham check blanket to try something different.
Remember the lot of vintage crochet thread my mom gave me a while back? Well, I wanted to see what it would look like if I actually crocheted a dish towel out of it. 

I pulled out me tiny crochet needle and the large spool of thread to see what I could do. 
I chose to crochet using the moss stitch as its makes a tighter weave look. 


Oh my gosh! It took like for..ev...er! After a couple rows I wondered what in the world had I started. I refused to give up and kept on crocheting. A few nights and several TV programs later, I created a small dish towel. I’m pretty sure that after its washed, it will be the size of a washcloth as it’s made with 100% cotton thread. Well, see.  


My husband felt of it and like the texture. It’s soft and thin. It was almost like gauze. If it comes out as a washcloth, we can still get some use out of it. 


Now I will get back to working on the gingham check blanket. I have really been taking my time with it as its boring me. The warm weather is among us now too, so it makes crocheting a blanket less appealing. 

I also have another project in the works that I can’t wait to show you. 
So stay tuned. 

Bath Vapor Balls

I’m one of those moms that can come up with a solution in a tight situation. My daughter calls me “resourceful”. Find me some twigs, and I’ll make a rope. I will make a heating pad out of a sock and rice. You get the idea. I can just figure ways to make things work with whatever I have at hand. So, when I found a recipe for vapor bath balls, I could not figure out why, in my whole mommy life, have I never thought of this! During cold season, I’ve used menthol on Kleenexes, and made cotton ball sniffers, but this? I should have thought of this years ago.


I have been lucky to escape the cold and flu in over a year but I know a lot of you have been down with the crud. Or maybe you just need a fresh eye opening shower. Like when you bite into a York peppermint patty, you get that sinsat.......Never mind. 

I’m going to share with you this easy 3 ingredient recipe to make medical history..... Not really, but you will love these if you ever get a stopped up nose or develop a head or chest cold. They are safe for kids, however, I would limit the exposure just in case. They also will not harm your tub, shower or drains. So before you head out to the drug store, grab a bowl, Vick's VapoRub and some cornstarch. I’m gonna share with you this easy and fun way to make a feel good aroma.

 Bath Vapor Balls


1 cup - corn starch
3 tablespoons- Vick's VapoRub (or other mentol gel)
3 tablespoons water
2 drops Food Coloring (optional)


  • In a glass bowl and a fork, toss and mix VapoRub and cornstarch until it starts looking pebbleish. (Is that a word?)


  • Drop in tablespoons of water one at a time while mixing. (You can add food coloring at this time but its optional.)
  • If you pinch the mixture, you will now see how it sticks. (It will still just look "pebbleish").
  • Now use your hands and form balls as big or little as you like. (I was able to make four palm size or 3 inch balls.)
USE:  Place a ball in the floor of your shower or tub. As the ball melts, it will release a menthol vapor to help open up those sinuses.
I have a bowl of these sitting in my room and my room smells like menthol. They are that strong!
STORE: You can place them in a plastic bag or container for keeps.

ENJOY!!!

NOTE: I am not a doctor and this is simply a home remidy to feeling better during a cold. Please consult a doctor if you are not feeling well.


I was inspired by the Original recipe found HERE.


Ive shared this at:
the dedicated house- anything-blue-friday
uptodateinteriors-the-creative-circle


Crochet Bath Pouf

Some call it a bath puff. Some call it a bath pouf,  and some call it a loofah. Whatever you want to call it, it’s a washy thing.


I usually purchase a two dollar nylon bath puff at Walmart. I love them. They are easy to use. When I'm finished washing, I rinse it out and hang it to dry until the next wash. After a few weeks, I can toss it out and get a new one. 

I had a request the other day. After seeing one I made in my Etsy shop, a customer asked if I could make another color? “Sure!” I said. 
Then she responded, “Great, I will need four plus 4 matching washcloths by March 16th”. I did a face plant in my hand and looked over at my husband. ‘I have a crochet request for a batch’. He smiled and said “thats a good thing “right?” Well, yes and no. Yes I'm thrilled by the request, but there is no way I can get the order filled in a week. Heck, I don't even remember how I made the bath puff that’s been sitting in my shop for months. I thought she just wanted one. Working full time only leaves me with a couple hours at night to get any crocheting done. I had to decline the request. 


Later the next evening I grabbed a ball of yarn and began making a bath puff. I figured I needed to refresh my memory on how to make one and how long it will take. It took me three evenings to complete this bath puff! It is super easy to make but time consuming. I thought I was never going to get to the end of the last row and ran out of brown yarn half way through and had to add another color I had on hand. Now not only do I remember how to make one, I also remember why I never made any more. Ha!


These are better than the store bought kind as they hold up longer, suds up better and can be thrown in the washing machine instead of the trash. This saves money. But then again, what’s two dollars right?  I’ll stick to buying the cheep kind and put this one in my shop. Maybe it will sell. I might make more if I get bored or have some time on my hands, but I am currently working on a blanket.  


For the fun of it, I’ll share the pattern for this puff. 
I consider this a large one as it is approx 17 inches around.

You can use cotton yarn which is my favorite because I love all things cotton, 
but I used Acrylic for this one. Acrylic will not mildew, dries faster and is light weight. 

If you can read crochet,
Here goes:

Crochet Bath puff
Size I crochet hook.

Make a magic circle then chain 40 ( this will be your hanger). Sl stitch into the magic circle.
20 SC in the magic circle. (20).
Ch3, 3DC in same stitch, 4DC in each stitch around, Join. (80)
Ch3, 3DC in same stitch, 4DC in each stitch around, join. (320) 
Ch3, 3DC in same stitch, 4DC in each stitch around, join. (1280)
Tie off, weave ends.

Do you like the one I made here? If so, you can purchase it from my Etsy shop
I can make other colors.....Maybe.


I have shared this at 


HandMade Greeting Cards

I’m trying my hands at something new. I have recently been creating greeting cards using my crochet art as the main focus. I know cards are becoming a thing of the past, but it is always nice to get a little happy card in the mailbox.

I currently have a few listed in my shop. I want to see how it goes before I create too many. It was not as easy as I had expected. I thought I could simply stamp a few words on a card and run with it. Instead, I struggled with every letter to get them straight. I might have even said a bad word.


I learned that stamping was not meant for lefties. You have to work left to right as you line up each letter with the one before. Well, unless I go backwards, I have to stamp right handed. The struggle is real. It was fun for me though. I think with practice, Ill get better.
I admire anyone that can stamp in a straight line. Just how do you do it? 

Anyway, I left my cards as they turned out. They each have their own character. No two are alike. Some of them took several tries just to get them half way readable. The imperfections add a unique style along with the carefully crocheted tiny motifs that adorn them. I even have my little shop signature on the back of them. Just Hallmark! 


I actually sold one on the same day I posted it. This made me happy. I rely on my buyers, readers and friends to help spread the word. No pun intended.  

Below are examples of some of my greeting cards. You can find more by clicking HERE.
Be sure to look at my other things while your there. 


Arn’t they just so darn cute? 
I plan to make a few more with different sayings. You can help me out with ideas if you wish.

Do you have a reason to send a card?  If so, please purchase one from my shop. I could use the Christmas money. I'm not begging am I?

Now, I am currently crocheting a baby hat and diaper set by request for my baby nephew due in December. 
I also have an order for ten of my mug cozies to create.  This will keep me busy for a day or two as I'll be stamping in between.

Crochet Fairy Pumpkins

My plan this season, is to decorate using only things I made added to some old stuff I already had. Blaah! I may toss the old stuff to the road after this year. I hate the smell of old fake floral when it ages. Being in the attic all summer, this is exactly what happens. Now, I know why people burn lots of fragrant candles during the holidays. Ya think?

I have a slew of remnant pieces of yarn left over from other projects. The pieces are too small to make anything useful so I decided to make some tiny pumpkins to use in my Fall decorations. Cute huh?


They call these fairy pumpkins because of the size and the wonky little stems. Sort of  like the ones you see in fairytales. 


I was inspired by THIS PATTERN found at "A Time for all seasons" blog. 
I adusted the rounds a bit to create different sizes and used my own imagination on the stems. 


They were so fun and quick to make that I had to stop myself before they ended up all over the house. 

Meanwhile, I have had some request from family and friends asking me to make them a couple of these cuties, so back to my yarn stash for more pumpkin making. This will be fun to do while I enjoy some Hallmark movies in my recliner. 


DIY Cotton Stems

Happy Fall yall!
Gosh that was hard to say. I’m a sunshine and Summer gal.
We were suppose to head to the beach this weekend but the campground has no vacancies. This has never happened to us before. I’m thinking it’s due to all the Florida folks in for higher ground. Uggh!!! We will just have to wait a couple weeks. The beach in October is still good. It may be a chill in the air but it is what it is. So,with that being said, I went ahead and put summer behind me and got busy creating a few decorations to go with the season.

Today I’m going to share my latest craft I have been itching for months to make. “Cotton stems”.
For the record, there were no farmers, slaves, immigrants, maw maws, paw paws or kids used in making this decoration. It's just the work of my own two hands and maybe Johnson and Johnson. 


My husband has pretty much stopped asking “why?” when I mention needing certain random things. I may get “the look” but he knows by now that I have a craft idea in mind and when that happens, there is no stopping me. I'm sure he appreciates this more than if I were to go on a shopping spree to Hobby Lobby. 

I pulled out a bag of cotton balls from the cabinet and a glue gun from the craft room. I asked my husband to pick me up two pine cones on his morning walk. I snapped a few dry twigs from a Crape Myrtle. That's all I needed for this project. 


I cut off several spikes from the pine cones and glued them onto the hand puffed cotton balls to look like the pods. 


With another dab of hot glue to the middle of the pods, I slid the end of the branches into the cotton. I wish I would have stuck to the darker pine shell. It gives it a better look.
Once finished, I put them in a vase, or jar to make the perfect natural decoration for the season.


I always admire the cotton fields we pass in South Carolina on our beach trips. My creation looks almost like the real thing minus the beetles.

Question: Just how long is a cotton picken minute?
My Answer: As long as it took daddy to fix something.
I've heard it many times "Just give me a cotton picken minute!"

Rustic Bundt Pan Wreath

It's September. I hate to see Summer go but I do like the smell of Autumn. I enjoy the colors its brings. I like flannel and fire pits. It's that time for falling leaves, football games, bonfires and Pumpkin flavored EVERYTHING hits the selves. I have a confession: Pumpkin flavor is not my favorite. Pumpkin Pie is ok if its loaded with whip topping.

I'm ready to bring out my Fall decorations but we don't want to rush it. We want to get one more beach trip in first, so I'll wait until its officially Fall. 

Meanwhile I had this bright idea to make a fall wreath. We do not have much money so I'm always thrifty. When I say thrifty, im talking thrift store or dollar store thrifty. Today we made a trip to the dollar store for some cookies. They have a kind I like and they are only a dollar!

I never go to the dollar store without leaving with a handfull of "things". 
Today I grabbed a spool of seasonal ribbon and a floral stem. 
My husband just gave me a look. "I have a plan", I exclaimed. He just nodded and said "well, ok".

Once we got home, I had an hour to waste before meeting my brother-in-laws for dinner. My husband was resting on the sofa. I quietly pulled out my old rustic and stained bundt pan from the cabanet while my craft idea was still fresh in my head. I cut the ribbon and twisted the floral stem until the idea became reality. 


I created a fall wreath to hang in my kitchen. It took me all of two dollars and two minutes to create. 
The bundt cakes will have to wait till Winter. 

Camper Hack

We have been using a travel trailer camper on vacations for about 15 years now. My first experience was after I married. I had no clue what to expect but now I love it. Something about having your own bed and toilet away from home.

We have owned two campers. The first one was a 27ft sportsman without a slide. The second one and the one we currently still have is a 34ft Puma with a super slide.


When I speak of a slide, its where part of the camper will slide out a few feet to make the room larger. It really makes a big difference in comfort.
With just a push of a switch, the room will slide in and out. 


Our slide switch is located inside the door right below the light switch. It is a much larger switch but can easily be confused with the light switches. I have actually hit the slide switch causing it to slide in while the camper is occupied. It will stop when released but that single oops of hitting it will cause it to move in just enough to smash a toe, break something in its path or possibly blow a fuse. 
It could also result in a safty issue if you leave a pet in the camper while your gone or a child left unattended while you turn around a second. 

After trying to figure out a solution. My husband came up with the bright idea of purchasing a receptical cover and placing it over the switch so there are no accidental hits.


Though red is the only color he could find, I will accept the tacky look for a sense of safety. 
Isn't he smart? 


I think newer campers and RVs come with a cover over the slide switch or the slide switch is located out of reach of children and pets. Speaking of "newer", We are ready to look for us a new one. We want a different set up with a front living area and give up a second bedroom since the daughter is older and travels less with us on our trips. Thought they are nice, we are also ok having one without a slide. We spend most of the time outside under the awning anyway.

Now if I can just find a hack to keep me there so I don't have to come back to work.


Sun Flowers and Burlap

This past weekend I attended my nephews wedding. It was a cute little wedding out in the country on lovely Lin-Way Farms. These two kids are some of the sweetest, and most down to earth people I know. They are also as southern as you can get and will have you rolling in stitches laughing when your around them. They have known each other from church since they were little and grew into best friends that will last them a life time.


Being an outdoor wedding there was always the fear of rain. We have not had rain for weeks but today, it rained. However, It didn't affect the wedding at all except for a slight delay while they redressed the tables for the reception. The little bit of rain that came down gave us a break from the hundred degree weather we were about to endure as we all sat anxiously in a field waiting on the wedding to start.

(source)
As the wedding began, the bride came in on a horse and carriage. She was just beautiful. When the Father gave the bride away, there was not a dry eye around. It was so sweet. 

Once the marriage was complete they rode off on a John Deer Tractor. It was so funny how they put it all together to surprise the guest as they jump on and rode off while the song "She Thinks My Tractors Sexy" played in the air. 
(source)
The farm was made up beautiful, yet simple just like the bride and groom. They did a lot of the decorating using their own ideas. Just check out this bouteneer the grooms and groomsmen wore. A bullet tied with a burlap. The bride made these herself.


The isles were decorated with mason jars on shepherd hooks filled with wild flowers.

(source)
The tables were simply decorated with the wedding colors. The center pieces were made up of sliced wood rounds cut by the father of the bride.

(source)
I'm sure that a lot of family and friends had part in all the decorations. It was perfect. Look how they did the guest cake table. That was unique.


In the barn, we enjoyed visiting the horses while we visited the guest table and suggestion table.


(source)
(source)
And the food?? Oh man, the food was delicious complete with venison stew, BBQ, slaw, potato salad, a chocolate fountain and more. It was all so nice and Lin-Way Farms fit this couple perfect, and the owners were the sweetest couple and did everything to make sure the day went smooth.


(source)

After a trip to Tennessee, The couple will continue living happily ever after the way God has planned..