Showing posts with label Crafts. Show all posts

Scrunchies

I was a teenager in the 80's and one of the big fashion statements of the time was hair scrunchies. I mean, the bigger the better. So was the hair but I'm not going back there.

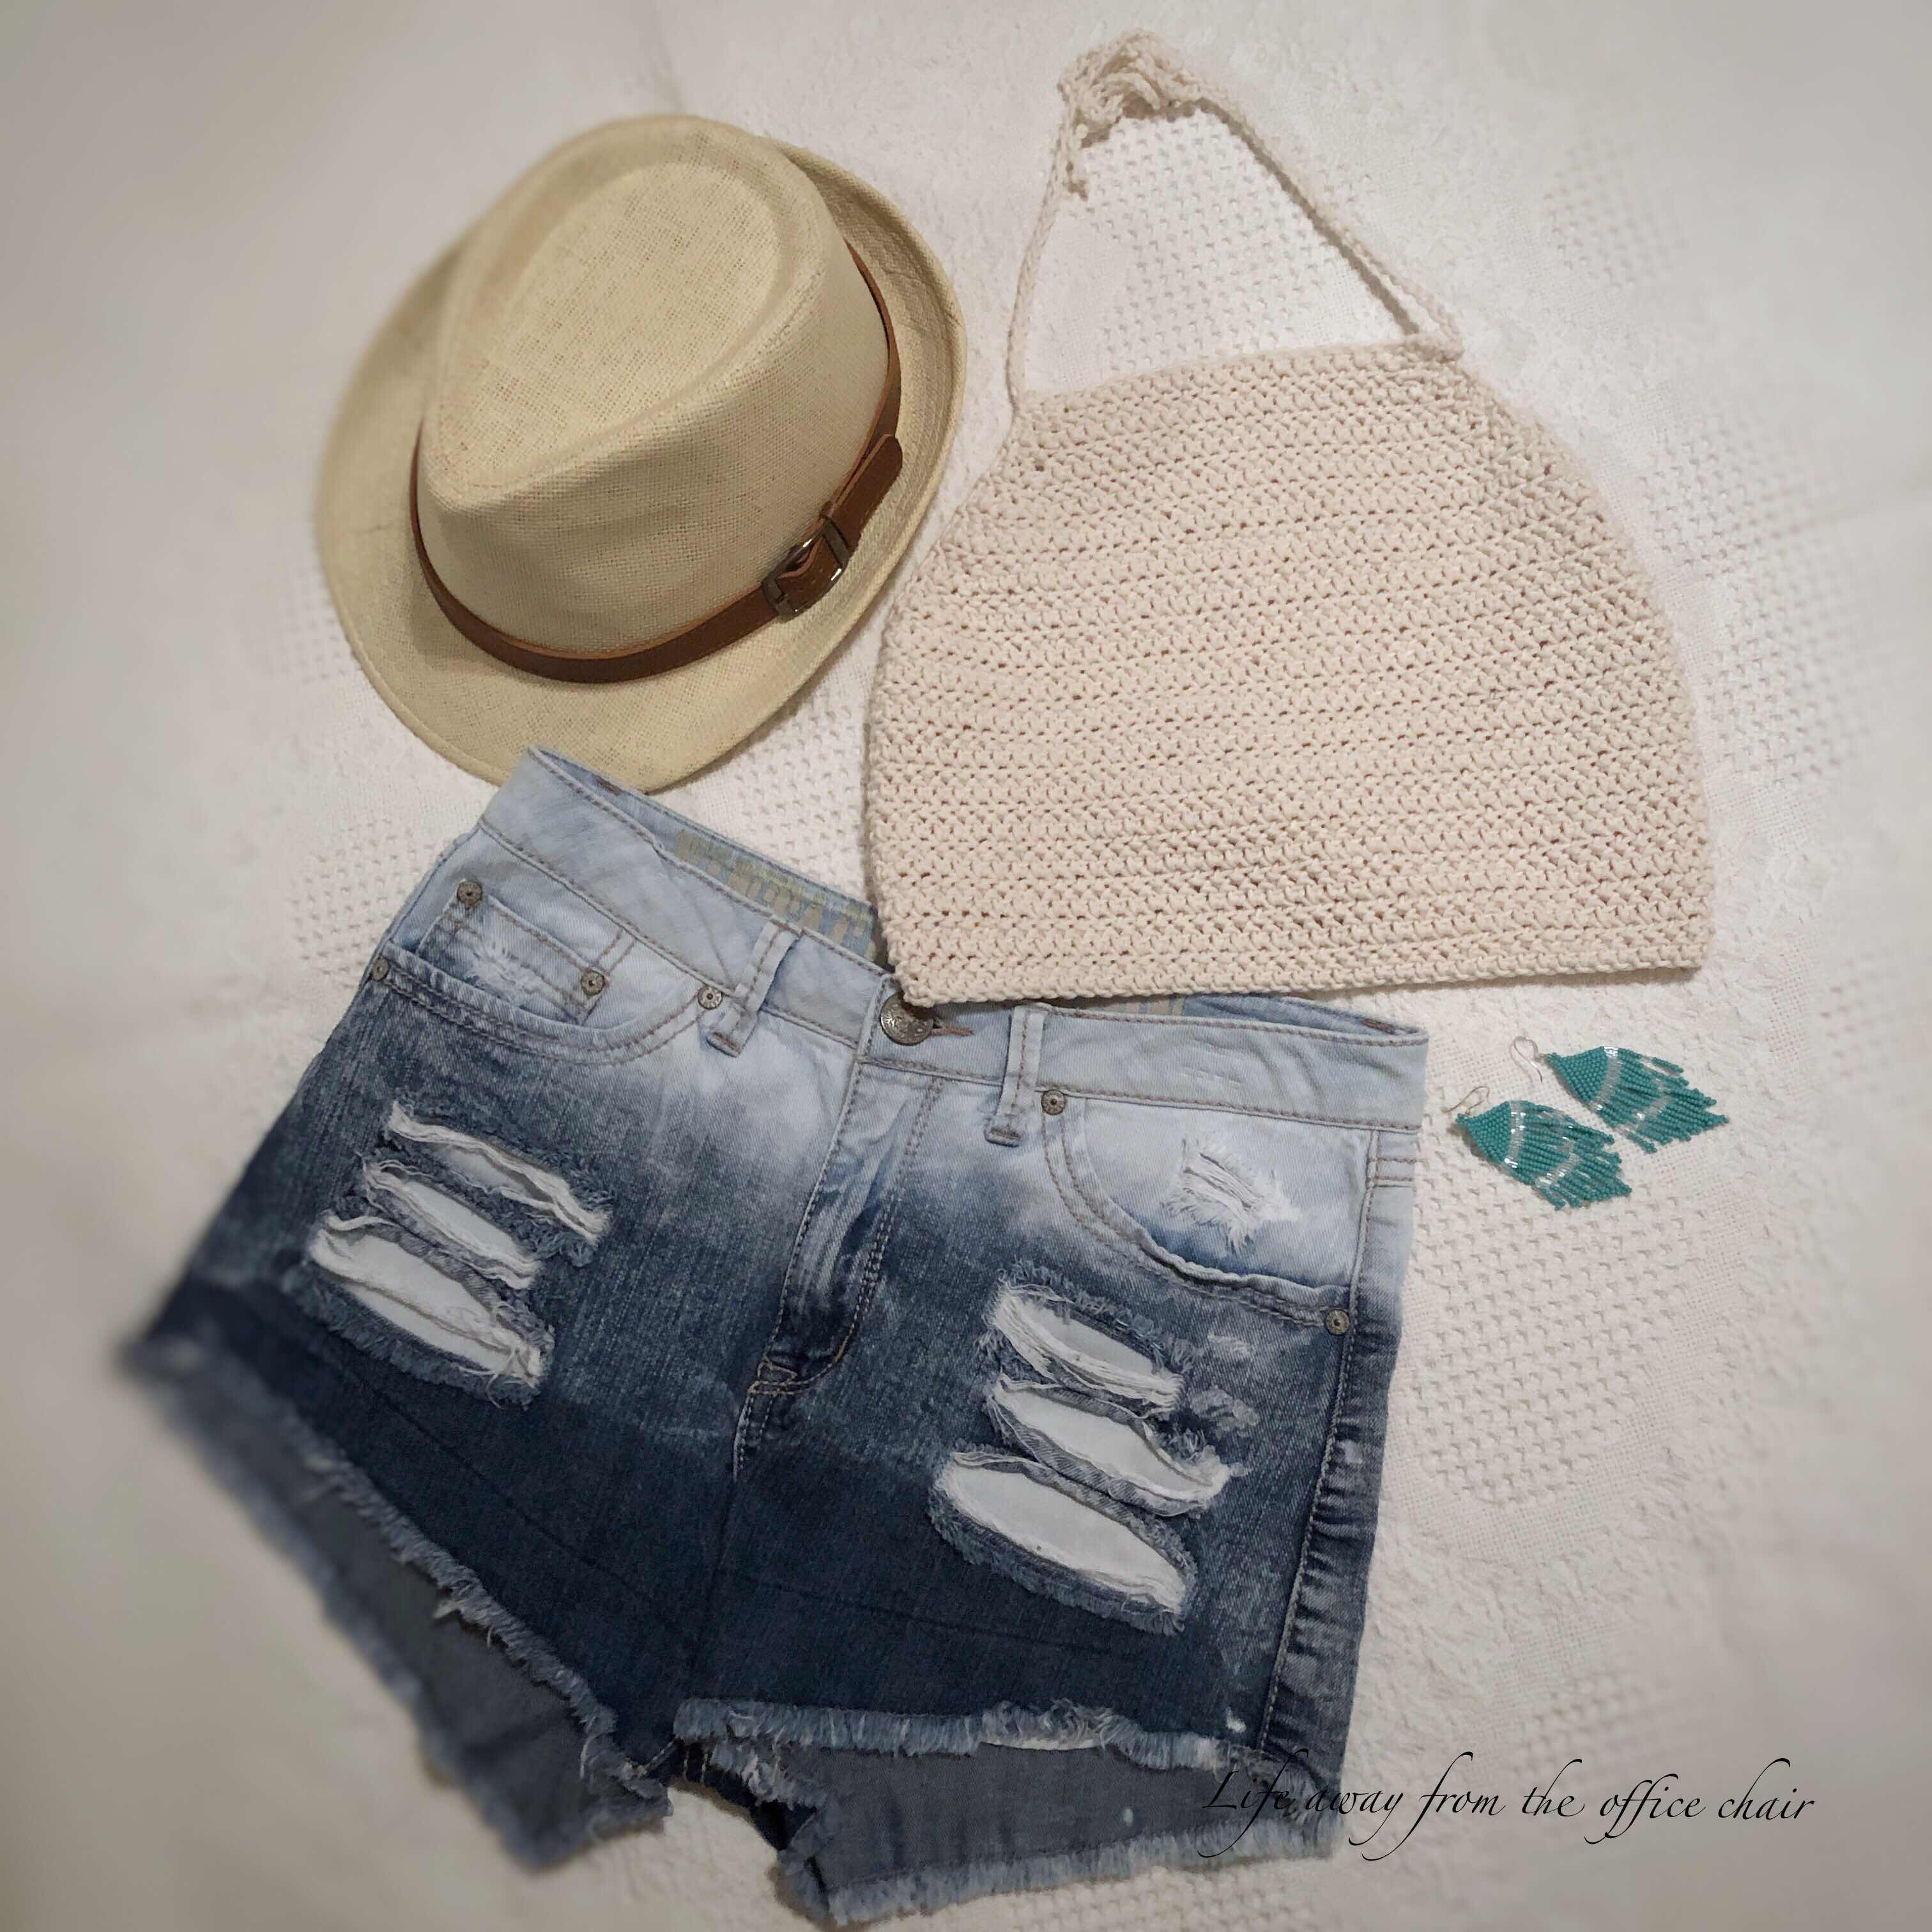
I had all sizes and colors. They finally went out of style and you could not find them in the stores anymore. Now they have made a come back. [eye roll]. Does this mean the big hair and jelly shoes will come back too? Oh wait, It could get worst. They could bring back the banana clips.

I have been there and done that so I'm still not sure about the scrunchies.....Ok, yes, I admit I'm actually wearing one in my hair today. I sorta like it [again]. I refused to go out and buy a scrunchy when I knew I could make one myself. It was quiet simple. Just kidding.

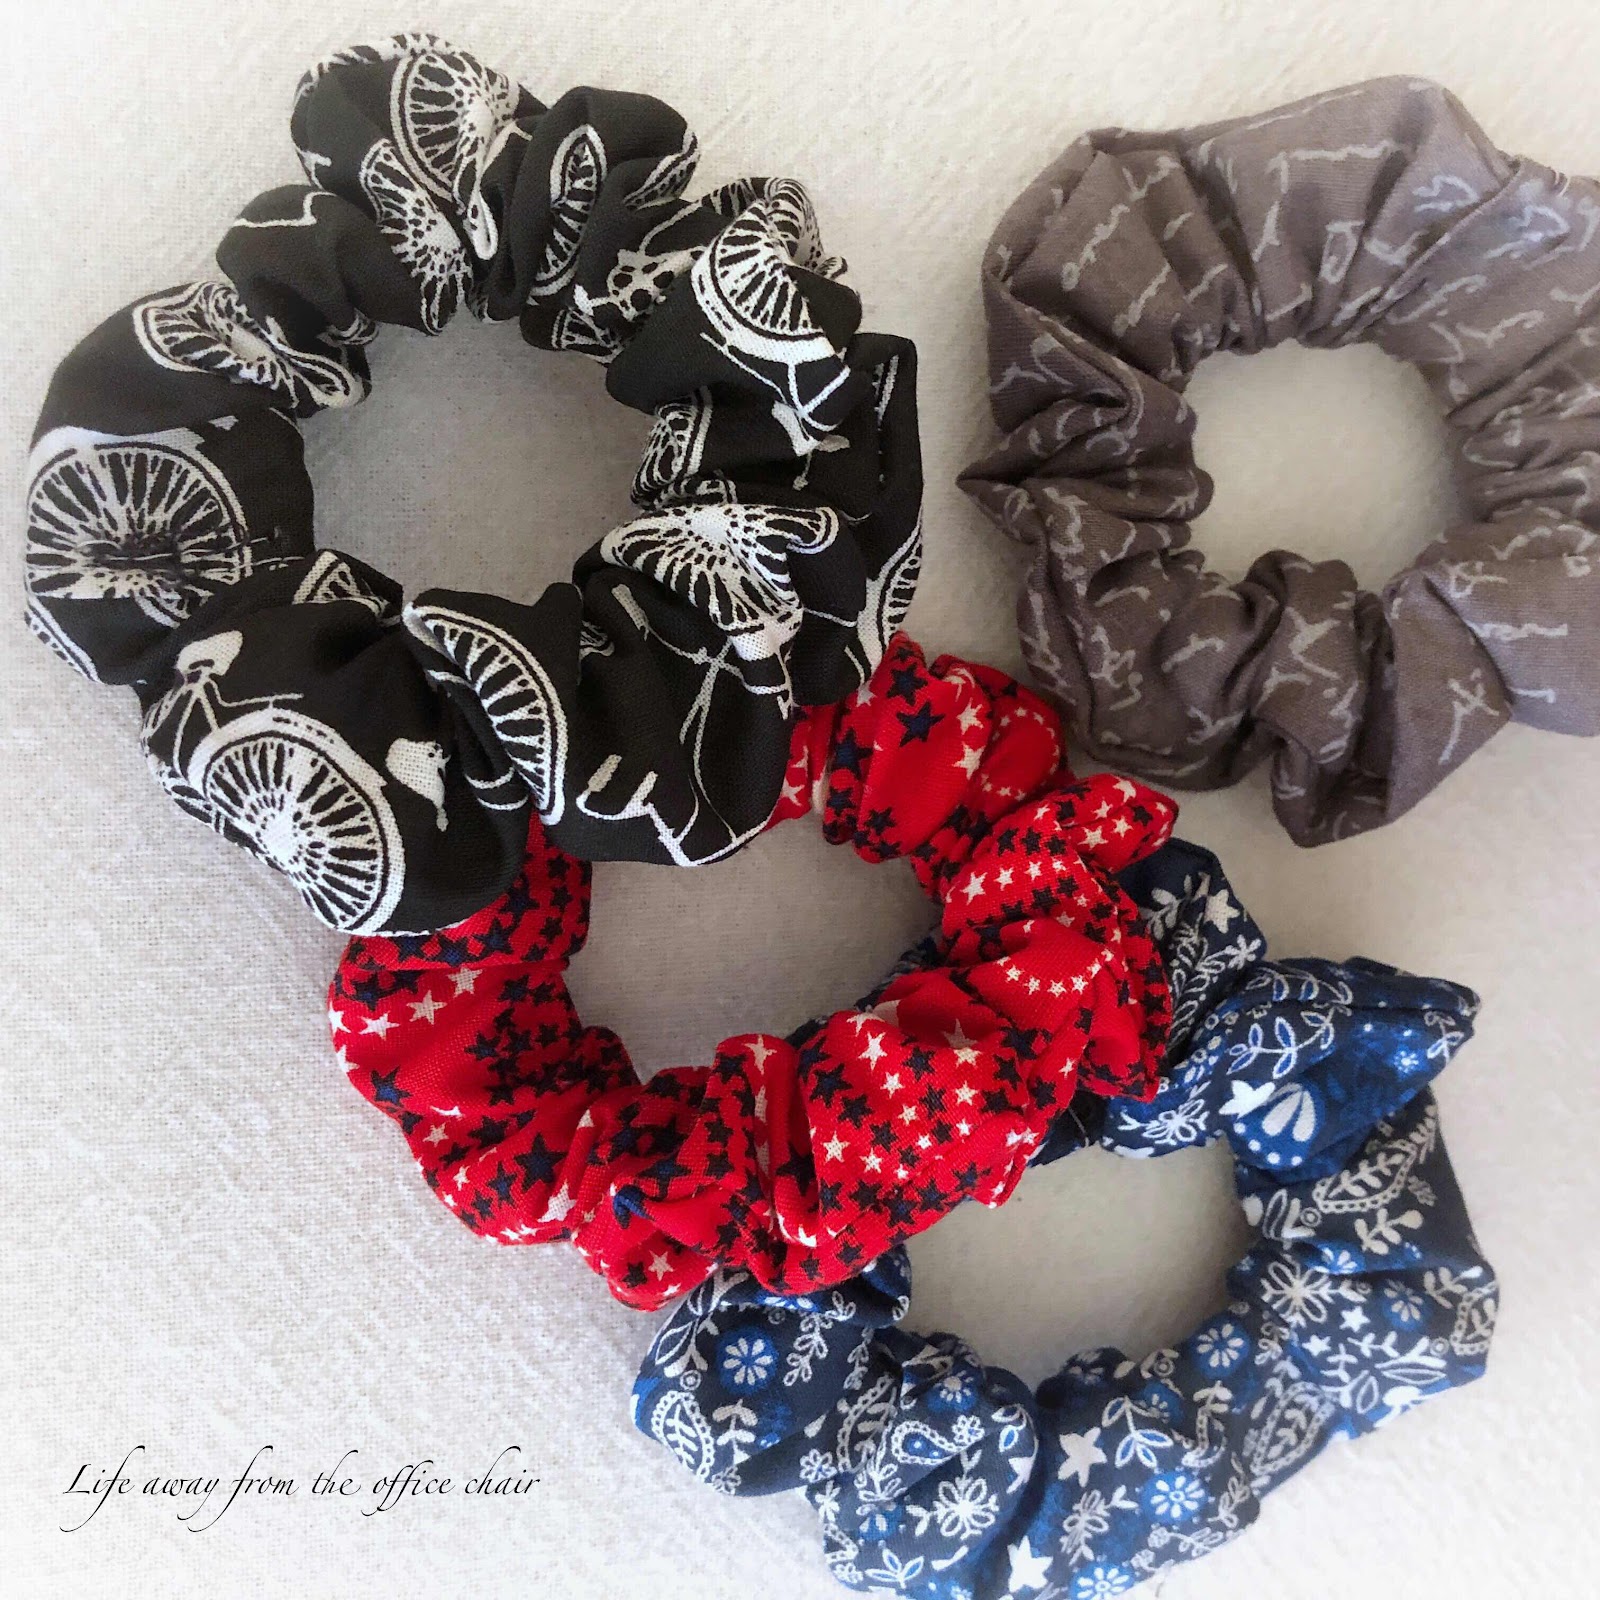
I picked up some cute fabric at Walmart for .50 cent.
Then went by the DIY video HERE.

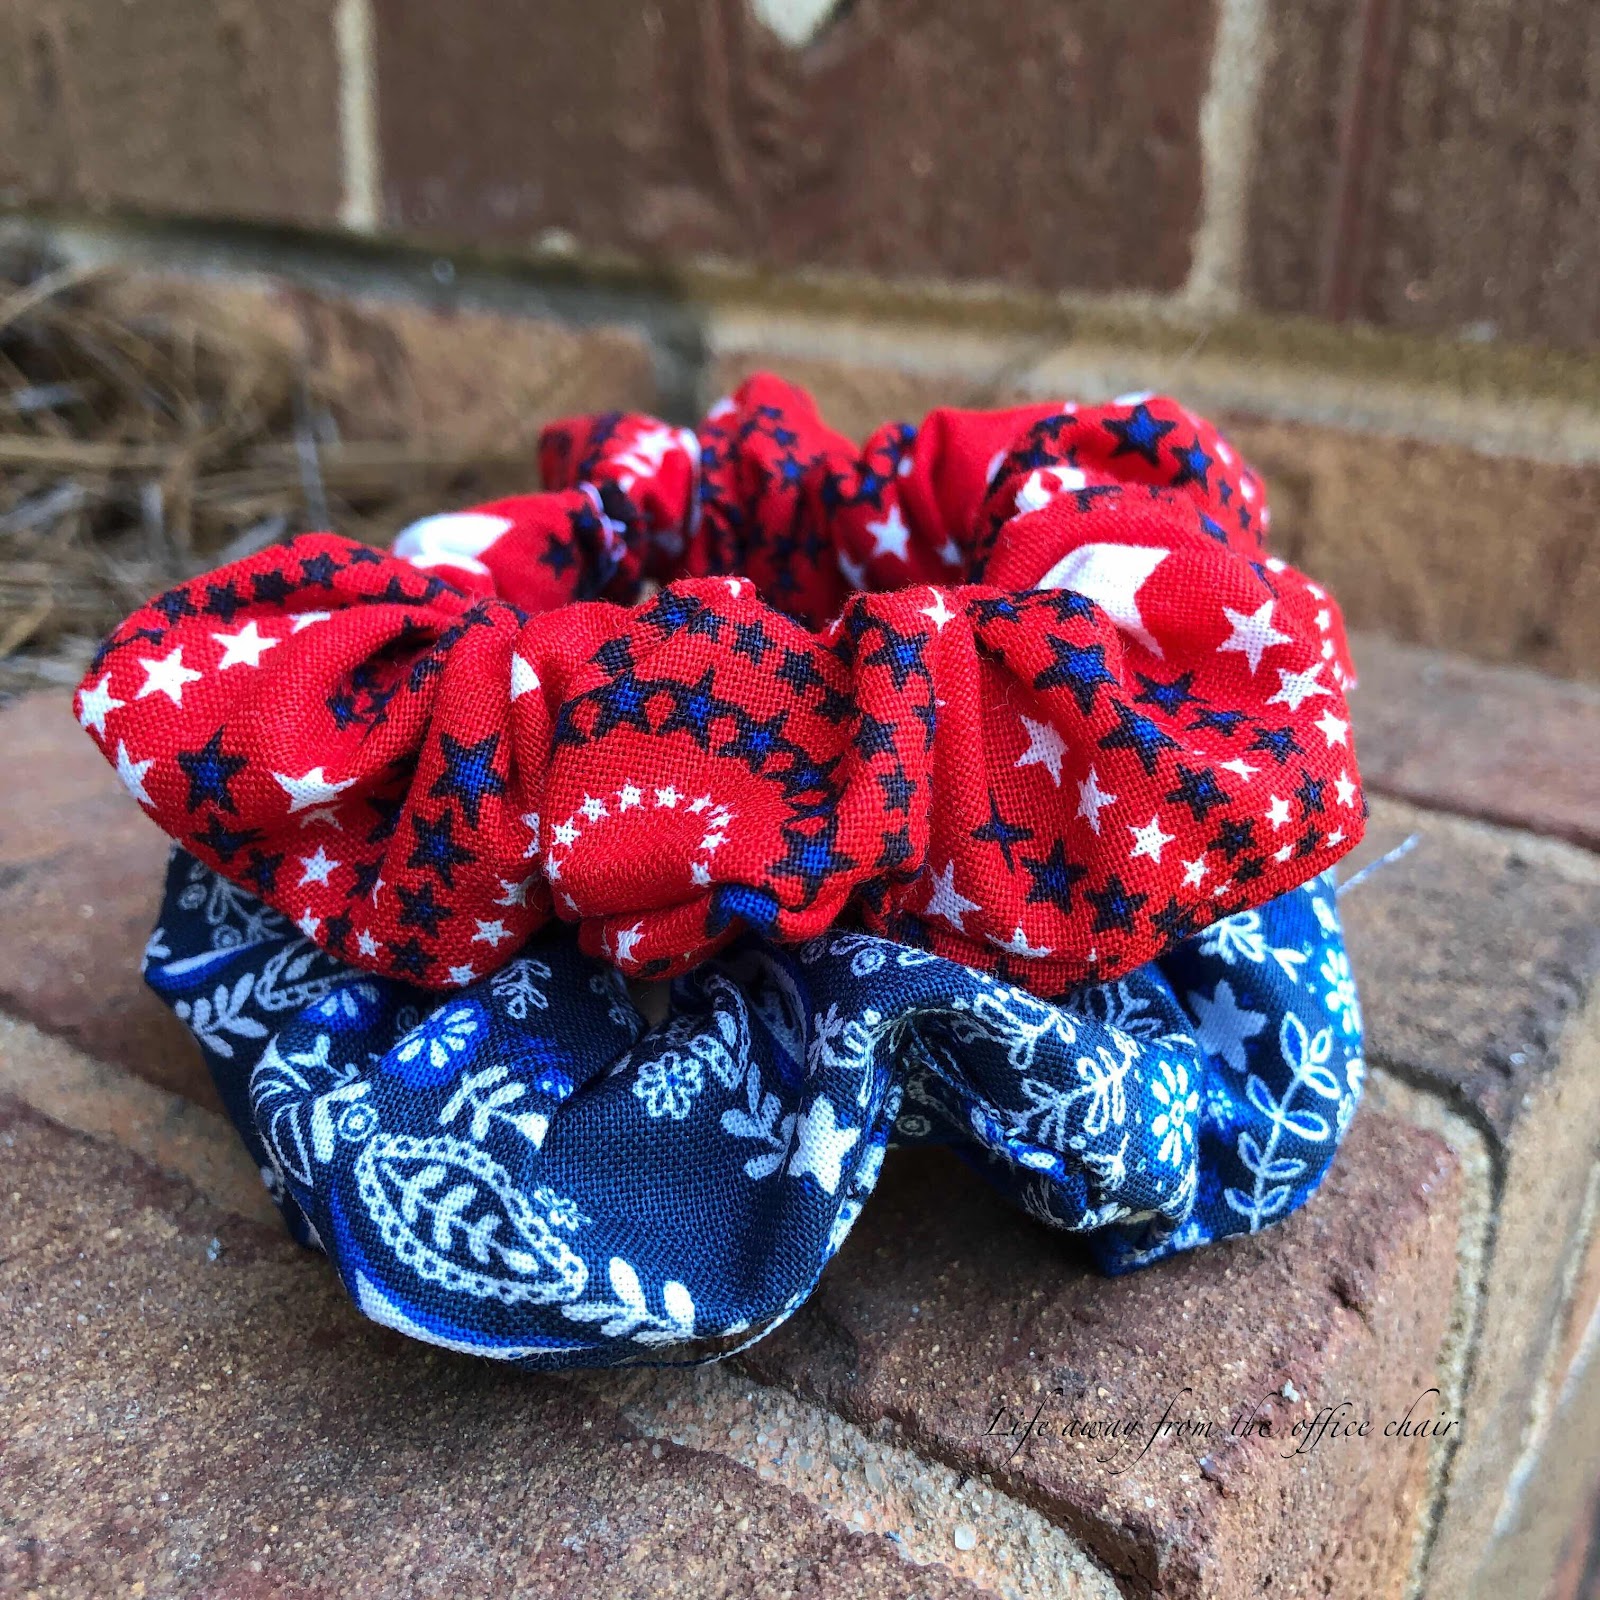
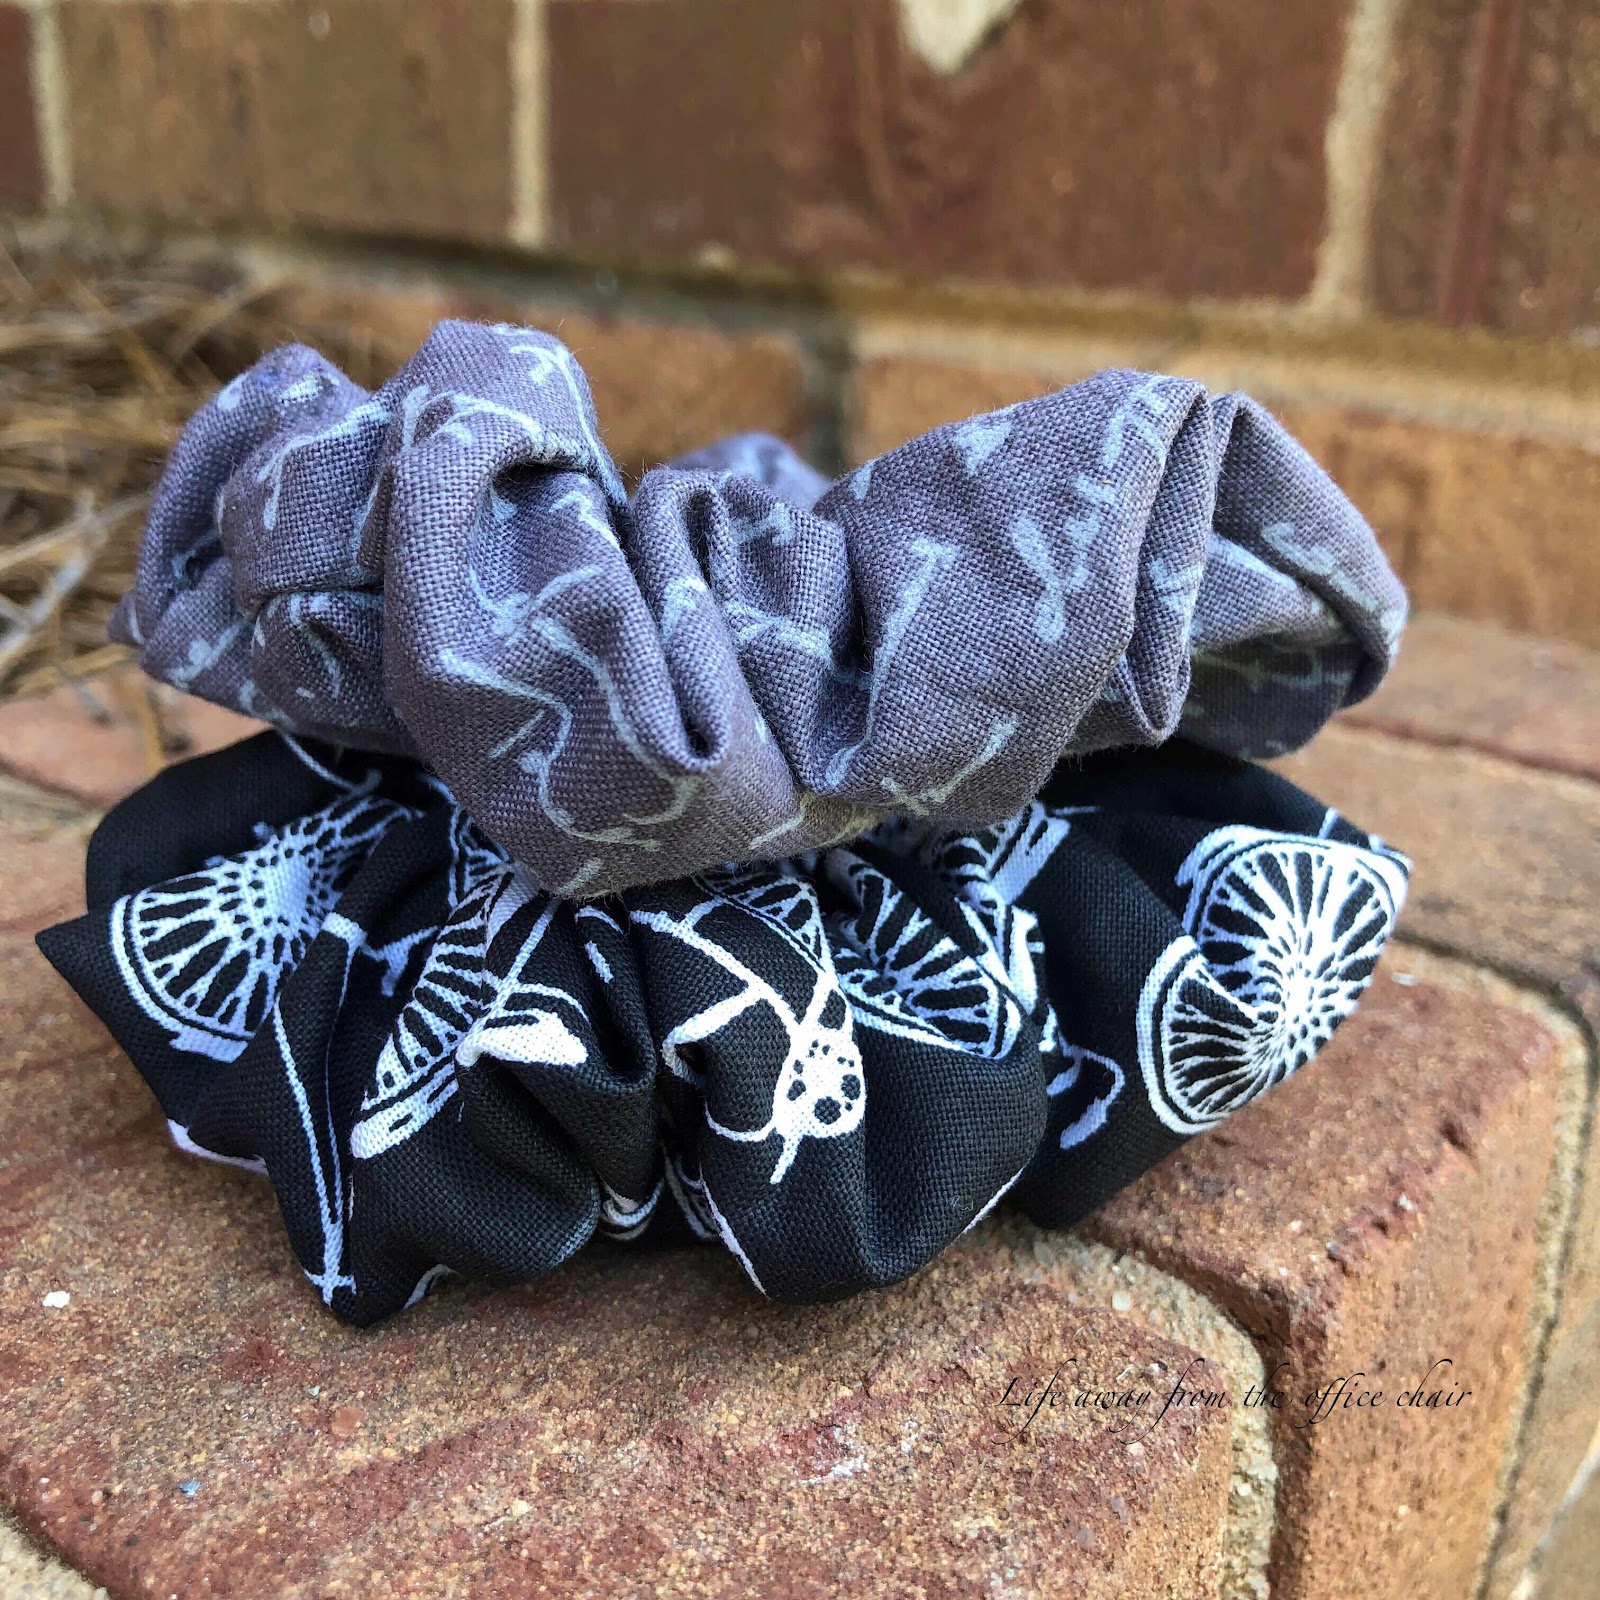
After almost tossing the machine out the window and saying a few cuss words, 4 scrunchies were born.


My sister wanted one and I took one. Then I gave the other two to my daughter. I might make more, but I might want to find me a new sewing machine first. I just want a small simple machine for crafts. Mom gave me her old one and it is really nice but I get in a fight with it every time I use it. I mean really, and I can't see myself making any clothes in the future anyway. 


It seems like this time around, with the scrunchies fad, I see more girls wearing them on their wrist as a fashion statement for an emergency hair tie. I guess it does look more cute than the rubber hair bands around their wrist. 


These little hair accessories are actually great for your hair and help prevent against breakage.

Can you think of other fashion that's making a come back?

Rep Announcement

I'm proud to announce that I am now a PuraVida Bracelet Representative. If you follow me on Instagram, you have noticed a lot of post of me promoting these cute little bracelets.
Dreaming Outloud Pack
One day I ordered one and later my sister gave me a little set of them. Before I knew it, I was hooked. Then, in no time, I got an email letting me know I have been approved as a rep.
Bestie Pack
This is perfect for me as I love the beachy vibe of each bracelet. I also enjoy taking photos and promoting brands I love. I may even make a tiny commission and receive free gifts with sales I make. It's all for fun. It feels good to promote something that has a story behind it. Something that helps make a difference in other lives.
Rose Gold Wave Pack
PuraVida bracelets was founded in Costa Rica where two Southern California friends went on a college graduation trip. They met two struggling artisans making colorful string bracelets. The two friends wanted to help so they requested 400 bracelets to take home to with them. After putting the bracelets in a local boutique, they sold out in just a few days. This was a movement that celebrated the simple things in life. This is were the name came from. "Pura Vida" is Spanish for "Pure Life". You can read the whole story HERE.

LaurDIY Pack
One size fits most as they adjust from 6 to 11 inches around with a small slip knot.
Each bracelet has a waxy feel and is waterproof and sand proof.
Each purchase includes little drawstring dust bag and a set of their popular fun stickers.

Watermelon Charm 4

By purchasing one of these bracelets you are creating jobs for artisans.
Puravida also gives to more than 175 charities around the world through purchases made.

If you would like to purchase one of these bracelets 
you can visit my special link to the site HERE and get 20% off 
or just go to Puravidabracelets.com and use code: LISADIMEO20. 


Fruit Coasters

I haven't really be feeling up to par the past few weeks. My Menier's has been at about a level eight. It will literally just wipe me out. I fight it. I still go on my walks and keep doing my normal daily activities except drive. I do not trust myself behind the wheel during my episodes so I get my sweet husband to take me to work. There I struggle to get things done because my concentration level is berserk.
What is Menier's Disease? Check it out HERE.

I have a few Ambassador task to complete with a new company I have been playing with lately. I will share more on this one soon. I feel a little overwhelmed and need to do some thinking.
In the meantime I have done some relaxing and enjoying a little crocheting for my own good. It gives me time to clear my mind. I do a lot of thinking while I crochet.

I made these fruit coasters to add to my Etsy shop. Are they not just the cutest thing ever? They scream summer picnic to me.


They were fun to make and I plan to do other fruits later. My attention span is about that of a two year old. I get bored making the same things over and over so I move on to something else.

Once I shared these cute fruity rounds with my social media followers, someone reached out to me and asked if I could make some Kiwi coasters. "Sure", I said. That was actually in my next plan. I made them using the same pattern as the fruits but the details were just different.


They turned out cute and as soon as I posted them online, they sold. I wasn't even finished writing the description before I heard the "Cha Ching" chime in from the app alerting me that they had just been bought. It was from the lady that had asked me to make them.

HERE is the pattern I used for the coasters if you would like to make some for yourself . If you can't crochet and want a set, I still have the fruity ones listed. I plan to make some pineapple and pear ones soon.


Oui Pot Crochet Hangers

Often you will find me sitting in the center of the living room organizing my yarn basket. While most crochet addicts have a whole closet of yarn, I just have a little square storage cube type basket. It works perfect to hold the yarns I need and fits perfectly beside me chair.

I do not stock up on yarn. I buy as I go. It gives me an excuse to visit Hobby Lobby. Most of you can relate. However, I do wind up with a lot of smalls balls of yarn that are not big enough to make a full project. I will normally roll into what I call my scrap ball and will eventually use it to make a crazy multi colored scrap blanket.

I keep my acrylic yarn and cotton yarn separated. Cotton is my favorite fiber to crochet with. I like to keep scraps of cotton yarn to make small things like baby teethers, face wipes or coasters but I found something new to make with my scrap pieces.

Oui Pot Crochet Hangers


I am obsessed in these cute little crochet hangers. I'm thinking of adding some to my Etsy shop. They are just so darn cute. Can you imagine some cute little succulents in them? Oh my!


I have several Oui yogurt glass jars. Oui is a French yogurt by Yoplait and is delicious. You can find them at most grocery stores in the yogurt section and are usually only a dollar each and have several flavors to choose from. I always keep a few of these empty glass pots in the cabinet because they make great candle holders, and plant starters. You can actually purchase special lids from the Oui website if you want to use them to store things. They also have some other crafty ideas you can use these little pots for.


These crochet hangers are quick and easy. The original pattern can be found HERE.

DIY Wine Glass Charms

My daughter received a gift from a friend to host a wine tasting. She can invite up to ten guest. She only has to supply her home counter space, glasses and a few pick ups. Her boyfriend has a nice home and has allowed her to use his place for the wine tasting event.

I was invited but I will not be attending. I will leave it to her and her group of gals. Though I feel like I'm in my 20's, when I get around girls in their 20's, I feel I'm in my 40's again.

For the wine tasting, she will have some lite pick ups for snacking. She can sit back an enjoy the rest of the party as the wine demonstrator will be doing all the work.

She was looking for some wine markers for the wine glasses. These can be a little costly when you need to buy more than a couple. They usually will come in gift packs of four and can be as much as $10.00 a pack. I put on my thinking cap and came up with a simple and cheap solution. Wine tassels.


She liked the idea as most of her friends like the look of little trendy tassels on things they purchase.

I can hardly call this a DIY project as all I did was add a charm on an earring hoop.


Yes, that's all. I went to the local craft store and found a pack of earring hoops for 2.99. I was going to make the actual tassels but since I was running out of time, I decided to purchase some from a crafter on Etsy. I got twelve different colors for less than 8.00.


I chose more regal colors instead of the pops of bright circus colors.
We liked how they turned out and each person will have a choice of their own color as no two colors are the same.

I put this project together in less than ten minutes but now looking at them, It's driving me crazy that the ring hoop and the tassel loops are two different metals. Maybe no one will notice. ya think?

You can use the same technique and add other types of charms or beads to the earring hoops.


Artificial Nest

As soon as my friends on Facebook caught a news story of the local Carolina Waterfowl Rescue needing help from crochet and knitters, they started sending me messages. I sort of felt special that so many people remember that I like to crochet.

As soon as I read the article from the news, I was interested. I contacted them to confirm and make sure they were still needing little nest. I know how places can get an overwhelming amount of support from caring people.

Every year I choose something to donate my talent too. I always feel like God gave me the gift of crochet, so this is my way of giving back. Once, I crocheted fifty tiny baby hats for an orphanage in Haiti. I have also donated crocheted baby hats to local hospitals for their preemies. Last year I donated a box of red hats for "Little Hats, Big Hearts". It's a charity that provides resources and raises awareness about congenital heart defects and hospitals all around give each baby born in February a little red hat to wear. Here is the post.

So I was happy to find something else to donate too. The waterfowl rescue is reaching out to crocheters and knitters to supply them with some artificial nest for tiny birds they rescue. I found some wool yarn at the dollar store and thought it was perfect for this project as it was a natural fiber and natural colors.


I am allergic to wool so I have never made anything with wool fiber but I could not resist. Fortunately, the wool did not irritate me at all while making these. The texture is cotton soft but the structure is hard and stiff. Like a rug. 


They are not made perfect and even have a few flaws, but I think that adds to the nature of the purpose. They only asked that the nest be crocheted using two strands of yarn and stitched tight so the little bird legs would not fall through the holes. I whipped these up in just a few hours and shipped them to their location. I hope they can be of use.


Looking at these make me think of little nesting bowls. Well, that's exactly what they are.


If you crochet and would like to help. Click HERE.


Happy Mail from Cali

My sweet friend Annette is a maker of crafty stuff. She is also another Nutrisystem Ambassador. How cool is that? I love how we can follow and support each other on our weight loss journey and be able to share craft ideas at the same time. You can find her on Instagram under the name "Mexicanstew". Her names comes from her being Mexican and married to a Stewart.
Is that not the cutest thing?
I was thinking, If I created a name like hers it would come out something like "Americandime"

Well, I got my first Happy Mail the other day. When I came in from work there was a package for me sitting on the counter. My husband smiles and says "your popular today". It was from Mexicanstew. I tore into it not knowing what I was going to find, but I knew it was going to be good.


Inside was the most adorable little hand made greeting cards. Now, she had no idea I loved greeting cards, but I do. Especially the ones that are blank inside. I hate shopping for cards in the store and you can't beat a pretty handmade card with a personal hand written note inside.


There was also one of her handmade lotion bars. I will keep this one in my purse. It's good for dry skin and even safe enough to use on your lips. I love lemon smells and it just so happens to be the fragrance of Lemon Grass.


To top it off, she included one of her little draw string bags shes makes.
I have been all over the house thinking of what I can use it for. I will be heading out of town this weekend and will be taking it with me. It could be used for a makeup or a jewelry bag. But I plan to either use it to pack my lingerie in my suitcase or carry a small crochet project in it. decisions, decisions.

You can find items like these in her Etsy shop but you may have to wait until she gets it stocked back up and running.


Crochet Halters

Today your getting another crochet post. In case your wondering what I have been working on lately,....Com on, I know you have...

Well, I wanted to make some socks....and I did but, Oh my gawsh! While they are cute, they are not something I enjoy walking around on hardwood floors in. Talk about rough on the feet. I felt like I was turning my heels into waffles.

Needless to say, my crochet socks were a fail. Knitted socks are way more comfortable so if anyone would like to make me a homemade pair I would love you forever.....I'm serious.....I'll send you my mailing info, just ask.

So, I decided to crochet these cute little Simple Summer halter tops.


No, silly, not for me.
At 49 (almost 50) years old, I do not think I can rock a halter top.....Ok maybe I'll try this summer who knows. But for now, I just hope to sell them in my Etsy shop so I can have some beach money.


They are simple to make (says the fiber artist). I found a basic pattern and added a few of my own special touches. I also played around with a different stitch..

I made a granny square halter a while back. It still sits in my shop waiting for an owner. Again, I can't pull the look off, but some cute little beach babe or boho chic could.


I think they all turned out adorable and were fun to make. I would pair them with a pair of shorts or boyfriend jeans.


Handmade halters and more at LiLiDi on Etsy

Distressed shorts- Rue21.
Earrings- Sashka Co.
 Fedora- Ebay

Free Pattern to the Original Simple Summer Halter can be found at


Woven Slip Knot Bracelet

Holy cow! I just made this slip knot bracelet using a cracker box. Seriously! Just wait for it....


I have been seeing these cute weaved or braided slip knot bracelets online and in stores. During the 80's and 90's, we called them friendship bracelets. They are making a come back and the market is flooded with them.

I knew I could make my own if I could just figure out how to make the slip knot. I used to know how to make all kinds of knots when I was younger. It seems like every kid was taught this in school. Maybe it is some kind of survival technique we will need in the future. But now, I just want a cute little bracelet, so I freshened up on my knot course.

(excuse the blown out tattoo)

I didn't have any wax string needed to get the original look so I turned to some crochet thread instead.
The thread was too thin. I looked to see how I could crochet in some thickness. That's when I came across an idea of using a piece of cardboard cut in a circle with a hole in the center and 8 slots around. The way the string is moved around the board creates a weave that magically comes out of the hole in the center.

Ok, I had to try it, so I put down the crochet hook and ran into the kitchen where I knew there was an empty cracker box that Nick just finished off. I cut and slotted it then headed back to the instructions.


By golly it worked. It was sort of a long process, but it actually created a tight weave using 7 strings of thread. It was so easy a kid can do it. I just suggest thicker string for a quicker process.

After I had the length I needed, I tied if off. I made it adjustable by adding a slip knot and decorated it with a couple beads. I like how it turned out. I also like how it looks paired with my Alex and Ani string bracelet.


Instructions I used for the woven bracelet can be found HERE.
Alex and Ani Bracelet can be purchased HERE.

Meet My Gnomies

I did not do a whole lot of crocheting for my Etsy shop this Christmas season. I wanted to take a break. During December, I am usually swamped with orders, so when I get off work, I hardly have time to do anything else but create and fill orders.
I worked on my own time this season. I still sold a lot of things out of my shop but no custom orders were made except one thing for my sister. It was nice not having any demands.

For fun I created some little crochet gnomes. They were easy and I was able to make them using scrap yarn that was not enough to make anything else. They only took a few hours to make so I crocheted while watching Hallmark movies. I picked up the crochet hook and began single stitching using my imagination.


I crocheted in rounds and increased until I got the width I wanted for the bottom. Then I continued crocheting around and around until I got the depth of the body and then began to decrease the stitches to close it up. Before closing it all the way, I filled the body with rice and finished it off.


For the hat, I also crocheted in the rounds but increased every couple rows to give it the cone shape until I reached the length I needed. But the fella needed a beard so I looped on strands of yarn to the crochet of the body and unraveled the yarn to created a puffy beard. Then I sewed the hat to the body covering the knots where the beard was attached. Oh and then I made a little nose.


If you do not crochet this just sounded Greek to you, but are they not the cutest little creatures? Gnomes were all over the stores this season and this gave me the idea to make a couple. I have one left in my shop and may make a few more when I get some free time.

My sister asked if I would make her a gnome.
This gnome is slightly smaller than the other ones as it too was made from scrap yarns. Once I completed it, I added some special touches to it.


My sister loves butterflies so I crocheted some tiny butterflies using crochet thread and sewed them on the nose and hat. 
She seemed to love it and named it Scrappy.

I did not follow any pattern but if you would like to make one of these for yourself. Below is a link that will lead you to the pattern that inspired me.

Christmas Goodies

This is the only time of year I will spend hours in the kitchen baking cookies, cakes, candy and fudge.

This is the first year I have made sugar cookies. For some reason I have always felt it was a hard task. (or maybe I thought I might like it). I have put it off long enough. I usually always make pecan butter cookies or Biscotti. Not this year. I tried all new recipes that I have never attempted.

Sorry no photo of the sugar cookies yet because technically it’s only 8:00 in the morning and I haven't made them yet. I wanted to get my post out before I start with all of my Christmas Eve festivities. 

I made a batch of Italian Canestrelli cookies. They turned out delicious! The slight taste of lemon and powder sugar, set these cookies away from the typical butter cookie.
Since I have an Italian husband, It's always fun to throw in a special Italian recipe in the mix.


I'll never be able to compete with my mom or the little Italian grandmother that once held this green handled rolling pin. But its always fun to take a shot at it.


I have been wanting to try out my extra large muffin pan so I made a dozen apple muffins. I did not have any large muffin cup liners so I made my own using parchment paper. They looked like they were right out of the bakery. Dontcha think? I ended up eating one and giving the rest away. I may make some more of these later. My dad has requested some. I can't say no to daddy.


I also made some shortbread cookies. These were the easiest ever! With just three ingredients they turned out great. Perfect with morning coffee. 
Did I say "only three ingredients"?


Then there was the Fudge. I have an easy fudge recipe, but when I saw the award winning peanut butter fudge recipe over at Andrea's blog, I had to give that one a try. I love peanut butter fudge and when she mentioned it could be made in the microwave, I was sold! Mine did not turn out as pretty as hers but it was still delicious! Thanks Andrea.


Today we will make a trip to a few neighbors and hand out boxes of homemade goodies. Later we will head over to mom and dads for some family time with dinner pickups and gifts for the kids. 

Before I close, I want to show you this darling Christmas ball that my favorite friend made me. The movie “Die Hard” is one of my favorite Christmas movies....Ok not really, but it is the most exciting Christmas movie....Ok maybe technically I should call it a Holiday Movie....
Anyway, she made me a Christmas ball that represents one of the main phrases in the movie. You have to see the movie to understand. 


I love it. Thank you Anne!!!


Yall please remember the true meaning of Christmas. 
Jesus is the best gift of all.

I WISH YOU ALL A MERRY CHRISTMAS!!!!

Snow Candy

We woke up Sunday morning to about an inch of snow. The weatherman got it right. Snow is something we do not see but maybe once or twice a year here. People will get into a panic and rush to the stores and close businesses with the slightest threat of the white stuff. We rarely get just plain snow, It’s usually mixed with sleet or freezing rain. In fact, it has been sleeting here for hours, laying a blanket of ice to seal the snow. Basically, we get our Winters in bundles. It can be 70 degrees one week and 30 the next. But I will not complain. Nothing is prettier than a snow in December.

I really miss my daughter being home on snow days. We used to rush out and build a snow man followed by making snow cream, then settle down inside to a warm cup of cocoa. Now we snap photos back a forth. 

The kid in me still likes to go outside when it snows. While I was having my breakfast and coffee, I came across a recipe for Maple Snow candy.  I could not wait to go outside and try it. Holy Moly it worked! 


I am 49 years old and have seen every Little House on the Prairie episode and still never knew about “snow candy” until today. I bet my mom knew about this, but with four kids I can see why she kept it a secret. 


Supposedly, Snow taffy or Snow candy is a traditional favorite in Canada. When maple syrup is boiled to the right temperature, it is poured onto a blanket of snow creating a taffy or hard candy. I guess it depends on the heat of the syrup. There is an art to making candy just like making peanut brittle. But ill save that one for another post. 


I did not have any Maple syrup so I used the optional recipe of honey and brown sugar. 

SNOW CANDY
1/2 cup of honey
1/4 cup of brown sugar. 

Bring to a boil while constantly stirring. You want the temperature to reach about 235-240 degrees.
I did not have a thermometer so I let it boil for about 5 minutes. It will foam up but the foam will disappear as soon as you take it off the heat. 

When the syrup is ready, pour strips of the honey mixture into the snow. With straws (or wooden sticks) roll the candy to make pops. This has to be done rather fast because it quickly turns into a hard candy. If this happens its ok, the kids will have fun picking the pieces up to get a sugar fix. 

I’m sure the real Maple syrup would have tasted better than honey but a poor girl only has so much to work with. 


WARNING:  Use adult supervision at all times and be very careful. Boiling sugar can be the worst burn ever if it gets on you because it will stick while burning your skin off


Crochet Chapstick Cozy

I took a break from big crochet projects to do some small things. I have been busy Christmas shopping, wrapping gifts and tidying up the house for Christmas.

Speaking of wrapping gifts, every year I wrap up some little gifts for the girls.
“The girls” are my daughters friends. One is her roommate and one is her best friend from college. The three are inseparable. Every year they pick a night during Christmas to set out a little tree , pull out the Christmas movies and bake cookies. I make sure they have some little gifts under their tree to have fun opening. They are addressed "from Santa". 

This year I got each one of them a planner, some beauty accessories then added a chapstick to top it off. My daughter is always looking for her lost chapstick, so an idea hit me. I decide to crochet each of their chapsticks a little chapstick cozy (aka holder). 

I told Nick my plan and he gave me a funny look. “You just watch me” I said as I flipped open my iPad and searched for a pattern.

Bingo! I found several different patterns, so I had to decide which worked best for me.
After fiddling around with my yarn and crochet needle, three tiny chapstick cozies were born. 


I showed them to Nick and he was surprised. He thought they were rather cool.
I finished the cozies off by adding a key ring to the top and packed them neatly with each gift. 


My daughter texted me once they opened their gifts. They giggled and thought the crochet cozies were the best. 

It was just a little something fun to add to the mix. Now maybe my daughter can keep up with her chapstick and leave mine alone. 


Crochet Chapstick Cozy (free) pattern can be found HERE.

Crochet Holes

I enjoy wearing my holey distressed jeans. If you follow my blog, you may have read how I distressed my own jeans. I will go shopping for new jeans and can’t hardly find any that are not full of holes and look like they have been in a bull rink. I just refuse to pay high prices for ripped jeans. But then, again, they are my favorite. Go figure.

Last night as I was itching for something to crochet. I seen my jeans laying in the stack of clean clothes that my husband had just folded. Yes I have a wonderful husband that does the laundry a lot. He also washes dishes. We are good at sharing chores.

As I was looking at my worn out jeans, A thought crossed my mind of crocheting a patch on one of the bigger holes. When I get a thought, I have to attempt the process or it will drive me crazy. I found some instructions online then pulled out my yarn and hook and crocheted a hole. 
[Husband rolls eyes]. 


I like how they turned out and it gives them some unique character. Distressed and holey jeans are fun to wear when the weather is too warm for pants but too cool for shorts. 


I remember back in the day we would wear holes in the knees of our jeans and mom would sew patches on them. We did not go anywhere with holes in our pants. We also used to wear our jeans until they were too short, then mom cut them off to make shorts. The cut off part would go into the scrap barrel and used for more patches in the future. 
Clothes were not thrown out and wasted like they are today. 


Crochet pattern can be found HERE.


Wave Ring

I have been wanting a “wave” ring. So I went online and started shopping.


The more I looked at them, the more the do-it-yourself-er in me said, “Hey I can just make one of these!” So I jumped online to find some directions and within two clicks, I found an instructional video. Seriously, you can find anything on Google or Pinterest now days.

I jumped from my recliner and told my my husband I would be in my craft closet if he needs me. Yes, I have a craft closet not a craft room, but that's a good thing. I would have a mess if I had a whole room. This is where I store my paints, ribbons, buttons and other crafty stuff. I really do not do that many crafts, well, unless an idea strikes, like this ring idea

After about 30 minutes of finding my roll of wire and the tools I needed, I started on the ring. I bent and twisted a two inch wire until I had what appeared to be a wave, or in my mind looked like a shark fin. At this point I knew I needed to stick to crochet and leave the jewelry making to someone else. 


While It looks ok in the picture, I did not have the right kind of wire. What I used was too thin. I wore it to work the next day but did not like how it felt. It was too flimsy and as fidgety I am, I had it bent all out of shape. I got the general idea of how to make one but I refused to keep trying. My patience are only about 30 minutes long. 

The next evening I went online and ended up ordering one from a shop in California. I chose not to pay a lot for it and I did not care what it was made of really. However, It will be a 925 piece (which means it 92.5% silver) and I’m sure I will enjoy it longer than what I can make myself.

Now I have to wait for it to get through the California fires and should be here sometime during the first week of December.

Instructional video I used for my DIY Wave Ring- found HERE.
Ring Purchased- found at The Vault Silver.